|
Home
Overview
Links
 Empennage
Inventory
Vertical Stabilizer
Rudder
Horizontal Stabilizer
AirVenture 2006
Horizontal Stab. Cont.
Elevators
Elevators Part 2
Tailcone
Wings
Main Spar
Main Ribs
Rear Spar/Top Skins
Leading Edges
Fuel Tanks
Fuel Tanks continued
Ailerons
Flaps
Fuselage
25-26:Getting Started
27:Firewall
28:Forward Ribs/Skins
29:Fuse Side Skins
30-31:Steps, Fwd Fuse
32-33:Tailcone, Baggage
34-35:Baggage Door, Etc.
36-37:Brake & Fuel Lines
Finishing Kit
38-39:Brake/Rudder Pedals
40-41:Flaps/Fwd Fuse
42:Cabin Top
Instrument Panel
43:Cabin Cover
45:Doors
Overhead Console
45:Doors (cont)
Door Latch
More Door Work
Landing Gear
Misc. Stuff
Panel Work
Wingtip Lights
Cowl Work
Baffling
Intake
Wing Work
Empennage Tips
Empennage Attach
Wing Attach
Rigging
Final Prep Work
More Final Prep
Gear Fairings
Inspection and First Flight
Firewall Forward
Engine Installation
Systems
Instruments
Antennas
Wiring
|
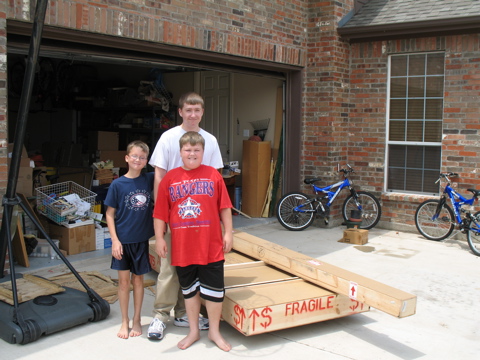
5/4/06 - Delivery & Inventory - 3 hours
Today was the big day for the new RV-10 project. Where the -9A empennage was delivered by UPS in two cardboard boxes, this one was delivered by ABF and the boxes looked almost like the wing kit.
Here are some of my contract laborers. They are ready to get started. They sort of know what to expect, too, since we just did all of this. One of the first things they said after opening the boxes was "yes, the famous blue plastic is back" referring to the plastic film that all of the alclad surfaces are shipped with. |
 |
| |
|
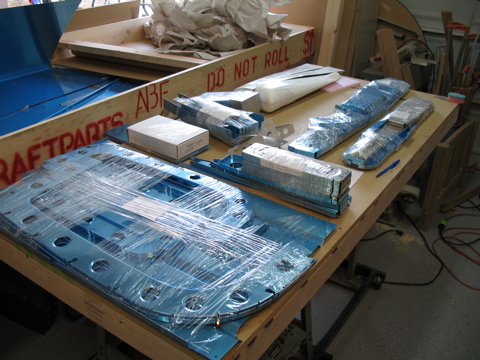
It didn't take long for me to get the boxes opened up. I got a volunteer to help with the inventory list and before long we were checking off each of the items in the kit.
Dude, these are big skins. The tail of this plane is going to be huge. I've seen several of these planes up close, and the sense I've gotten is that they're big RV-9s. There are plenty of differences though, and I'm going to have to pay attention so I don't mess something up. |
 |
| |
|
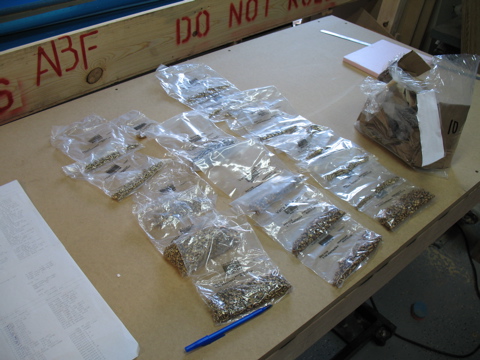
Here's an interesting, and welcome, development. In past kits all of the rivets and hardware were shipped in brown paper bags with nothing more than a bag number on the outside to identify it's contents. I remember a while back reading about Van's getting a new bagging machine, and boy is it cool. Each bag has it's contents clearly labeled on the plastic. Not only that, the bags are transparent, making it much easier to do the inventory.
I already have lots of rivets left over from the -9A, so I refilled my rivet bottles and put the rest of the rivets away for safe keeping. |
 |
| |
|
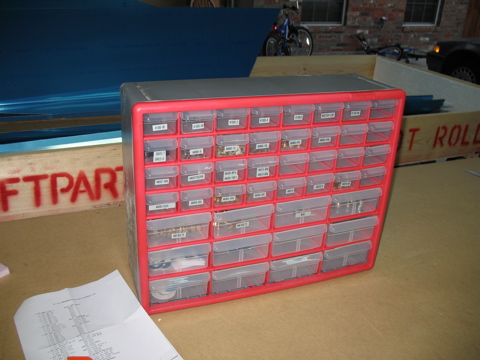
An hour or so of sorting and organizing and I had another nicely labeled organizer. My wife likes to make fun of the way I label everything. I even put a label on the labelmaker, which is really funny to her for some reason. Maybe I should put a label on myself as "Goofy RV Builder."
|
 |
| |
|
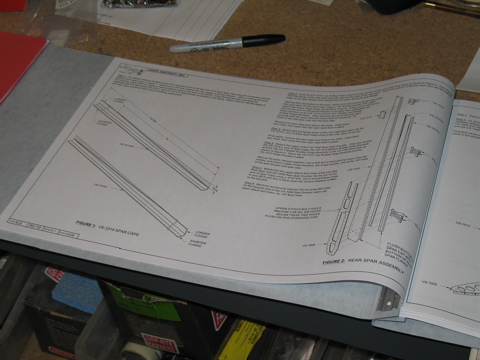
Here's another new development: no more instruction book. Everything is spelled out on the newer, smaller, plan set. These are on 11x17 paper and the steps they want you to complete are listed right next to the images of the parts. While this is unsettling at first, I think I'm going to really like this configuration. It should make searching for the right plans page a thing of the past.
Next: Vertical Stabilizer
|
 |
|
