Previous: Cowl Work |
| |
|
8/5/11 - 9/4/11 - Baffling - 30 hrs
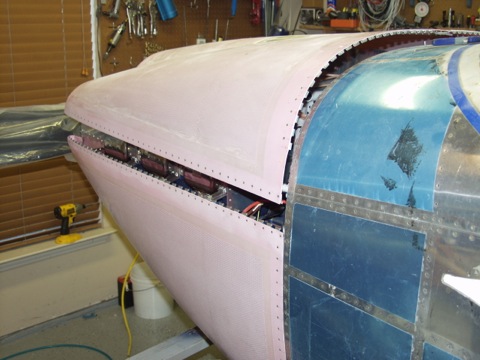
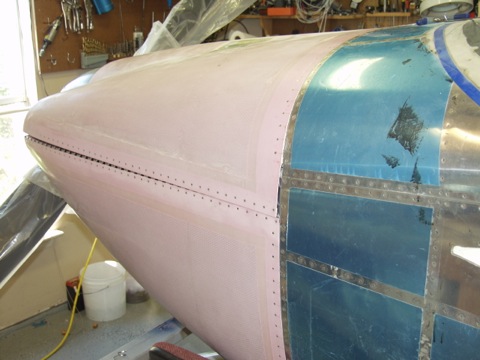
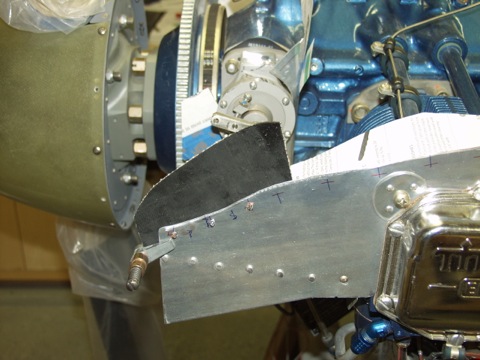
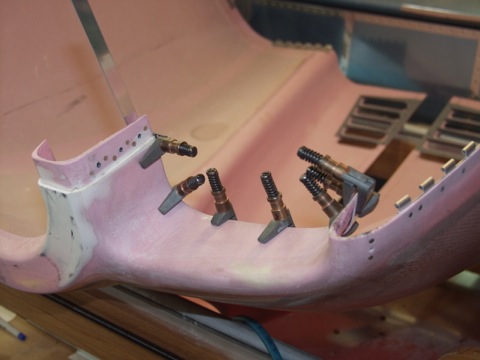
I set out to trim the baffle down to size by first setting the upper cowl on top of the baffle and seeing how far we had to go. Turns out that initially it's not even close, as you can see in the picture.
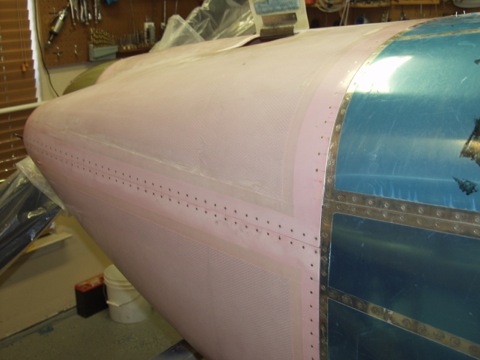
So I marked the baffles as best I could and trimmed them down a little at a time. Each time I got a little closer to being able to close the cowl halves around the engine. |
 |
| |
|
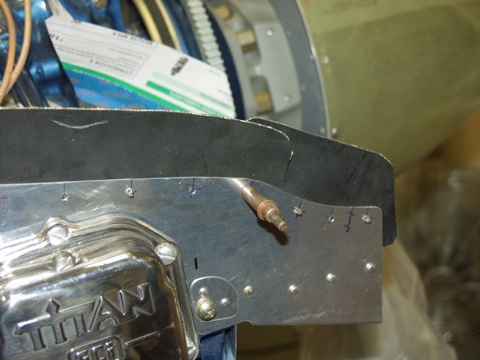
The baffle in the rear corner above the oil cooler flange needed the most trimming.
|
 |
| |
|
| |
 |
| |
|
Getting closer...
|
 |
| |
|
Closer...
|
 |
| |
|
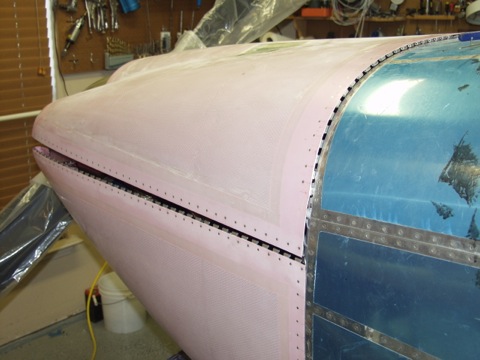
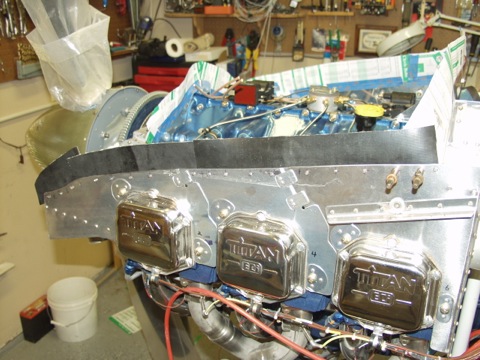
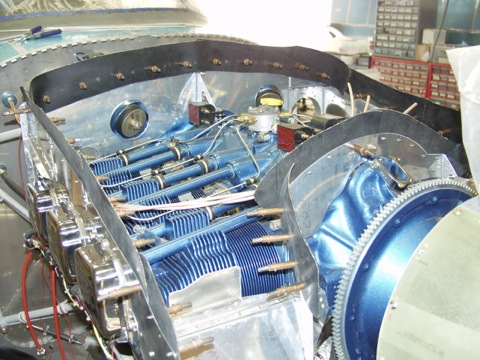
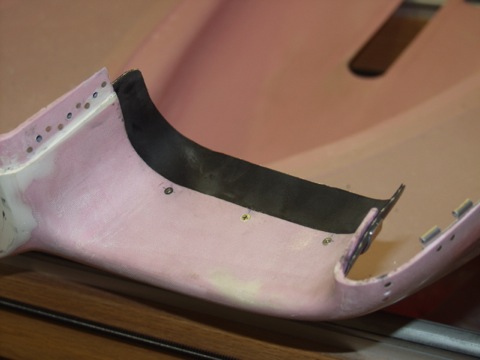
Done. I then had to make sure none of the baffle aluminum was touching the cowl. I don't want it to wear a hole in the cowl .
|
 |
| |
|
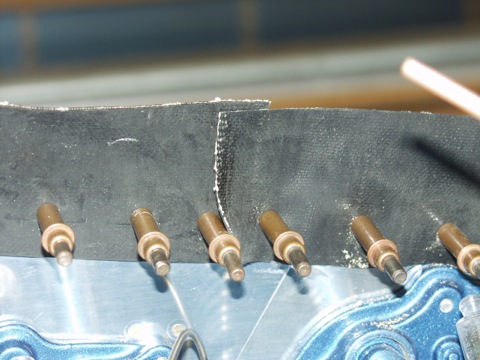
Here you can see how much material was removed. The clips I had installed previously were just barely low enough so they didn't have to be trimmed.
|
 |
| |
|
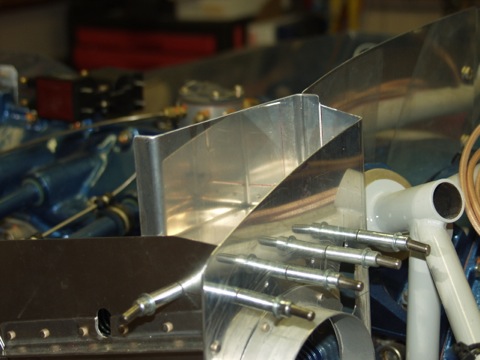
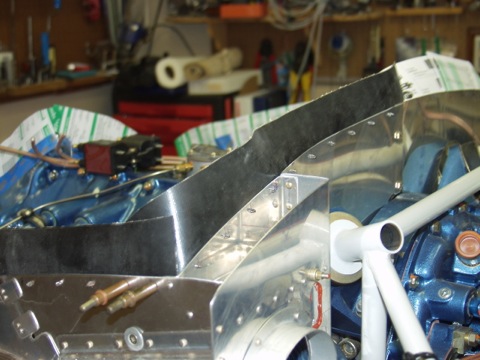
Here are the cuts around the air intake.
|
 |
| |
|
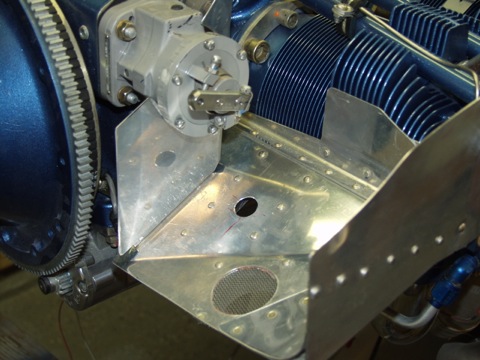
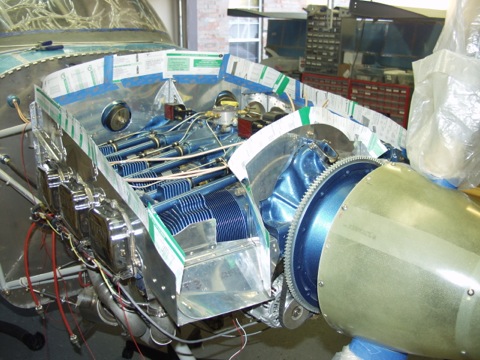
The baffle is attached to the engine with screws, but the bottom wraparound pieces are held snugly around the back and front of the cylinders using rods that Vans wants me to thread for locking nuts. Well, doing this was way harder than it sounds. The stainless steel rod material is very hard on the thread dies, and I went through two dies before I decided to try a different route.
I eventually switched to stainless rod that was already threaded. This was much easier and worked perfectly. |
 |
| |
|
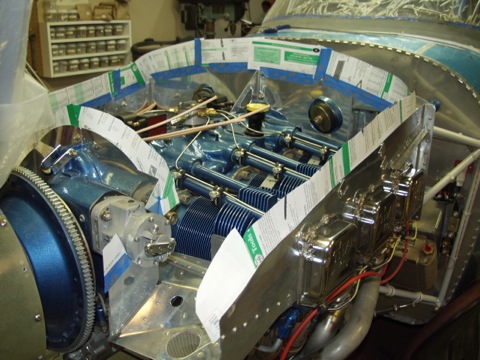
With the aluminum trimmed to fit the upper cowl, it was time to add the rubber seal. The overlaps are important in order to create and maintain a high pressure area above the engine. So I first figured out the overlaps using pieces of paper and masking tape. I cut the paper templates so I could know exactly where the real baffle material would go and how big to make each piece to allow for adequate overlap. |
 |
| |
|
Also, with the cowl back off the plane I was able to spend some more time cleaning up the surfaces and making the gaps less noticeable.
|
 |
| |
|
| |
 |
| |
|
Next, I took each piece of paper off the plane and cut a corresponding piece of baffle seal to go in its place. I then drilled for the rivets, deburred, and then pop riveted the baffle seal in place. I did this one piece at a time and observed the overlaps that I had figured out with the paper.
|
 |
| |
|
One side is mostly done.
|
 |
| |
|
| Clecoes to hold the baffle seals in place while I drilled. |
 |
| |
|
The corners are tricky.
|
 |
| |
|
On to the other side.
|
 |
| |
|
Here it is mostly done.
|
 |
| |
|
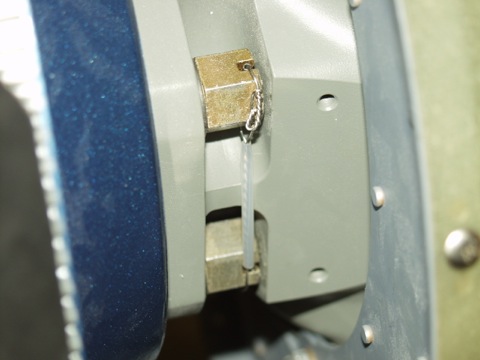
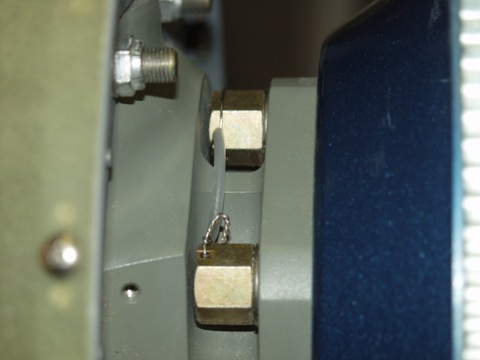
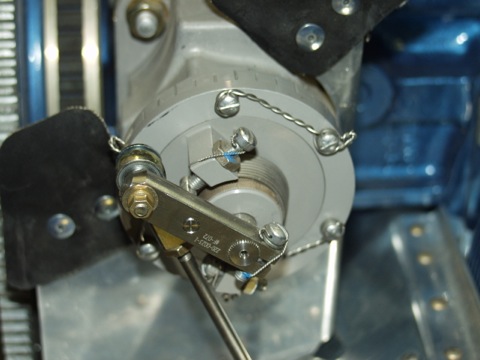
I got some tubing to put around the safety wire on the prop bolts. This should keep it from wearing against the hub.
|
 |
| |
|
| |
 |
| |
|
For the baffle material around the lower part of the air intake, I had to bend a piece of aluminum.
|
 |
| |
|
The baffle material was glued to the aluminum and then the whole setup was bolted to the cowl.
|
 |
| |
|
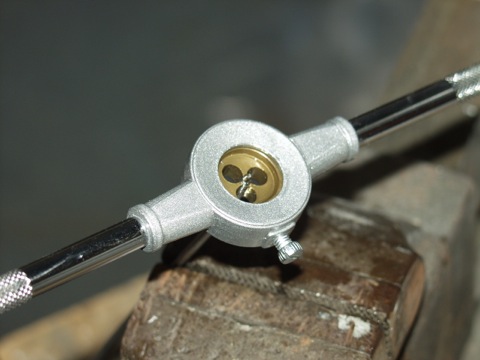
Hey, I finally managed to rotate the prop governor and re-safety the screws.
Next: More engine tasks |
 |

