Previous: Fuel Tanks |
| |
|
2/16/07 - 2/18/07 - Sealant - 12 Hours
Building the fuel tanks is like a marathon run in the mud. You know there's a finish line but you'll be covered in muck when you're finally done.
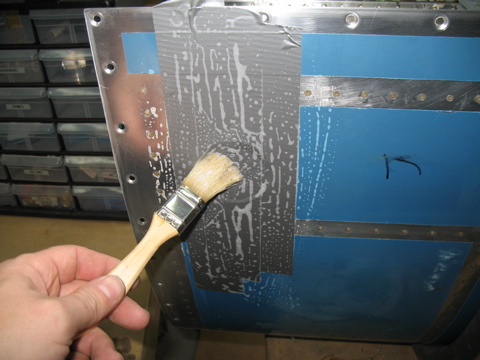
The first set of tanks I built I went to great lengths to mask the inside of the tank to make sure I didn't make a mess. This took a lot of time and was only somewhat effective. On these tanks I'm not masking at all and there are only a few places that need cleaning. So I'd say that masking is a waste of time and energy. |
 |
| |
|
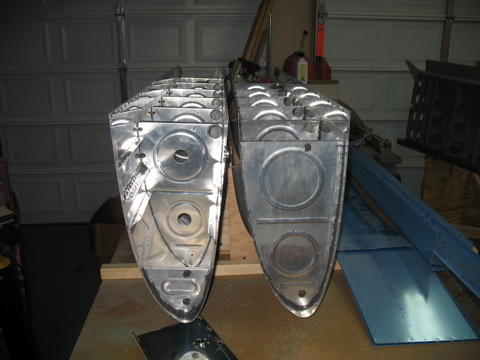
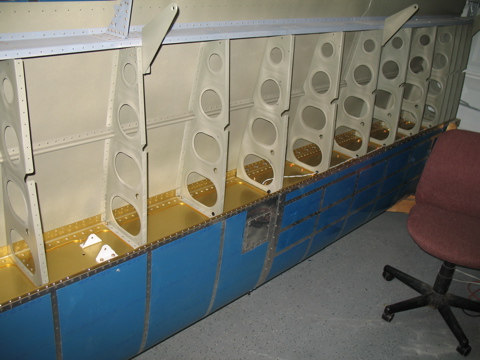
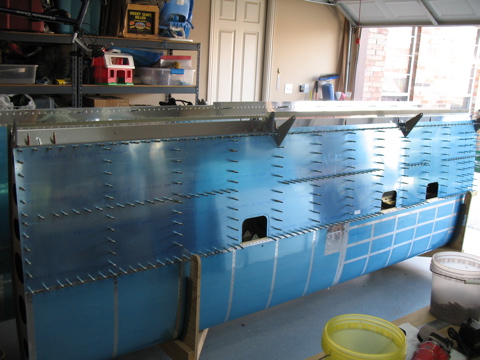
I did make progress on the tanks over the weekend. Slowly but surely I riveted each of the main ribs to the skins.
|
 |
| |
|
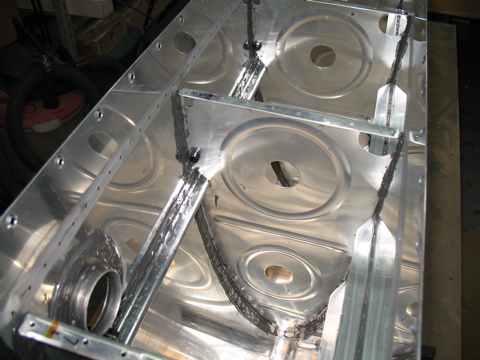
Sunday afternoon I finished the main ribs and then installed the J-stiffeners. The instructions say to put the sealant on the tank skin and then slide the J-stiffener into place. This worked quite well and didn't cause a big mess like I was fearing.
Once the stiffener is in place it's pretty easy riveting.
You may notice that I have covered the entire flange of ech rib with sealant. This is probably not totally necessary, but what I was finding was that just putting a dab of sealant on each rivet caused a lot of drips and mess all over the rib, which would require a lot of cleanup. So I just "painted" the flange with sealant. |
 |
| |
|
2/19/07 - Plumbing - 3 hours
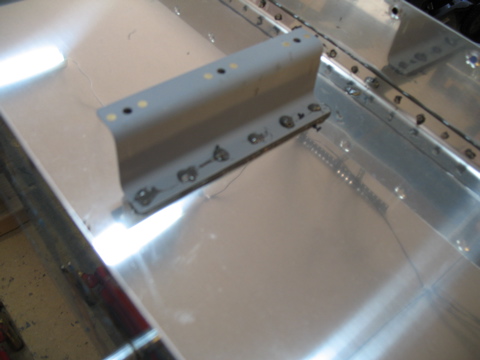
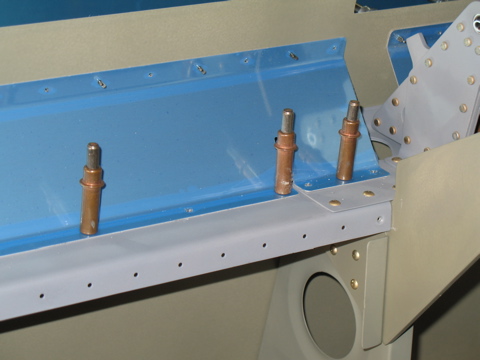
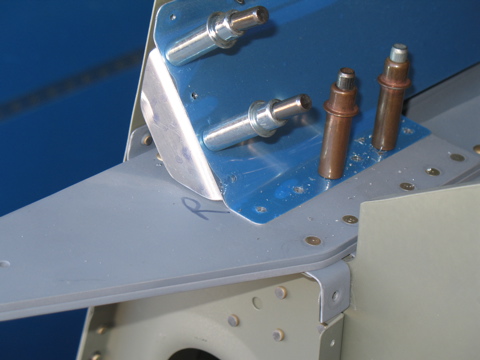
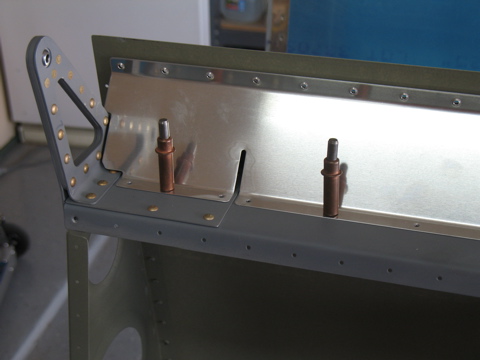
First I installed the tank attach brackets. That took a little while but was uneventful except for one rivet that I messed up.
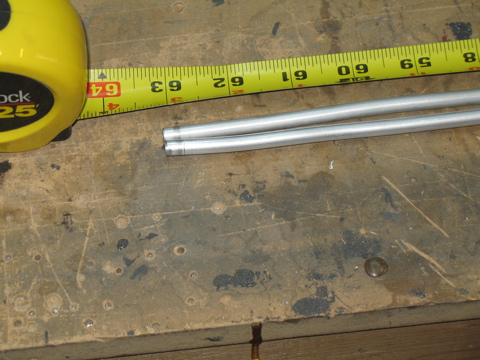
There is a vent that goes inside each fuel tank. The vent is a piece of 1/4" aluminum tubing that runs to the highest pint in the tank and ultimately exits underneath the fuselage. Making these is fairly easy using a tubing cutter and a flaring tool. This tubing is pretty soft, and there are no real bends that need to be put into the tubing, so it can all be done by hand.
First the tubing is cut to 63". |
 |
| |
|
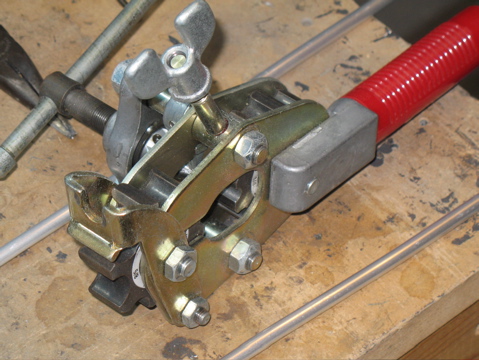
This is the flaring tool that I use for putting the 37 degree flare in the aluminum tubing.
|
 |
| |
|
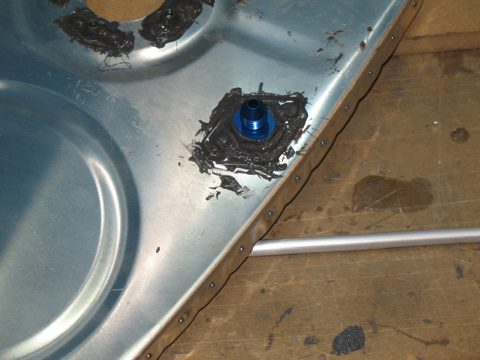
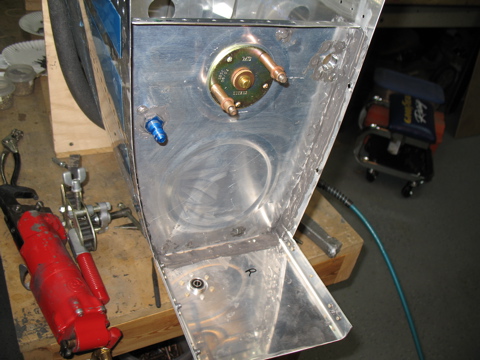
Sort of a dark picture, but here is the vent bulkhead fitting.
|
 |
| |
|
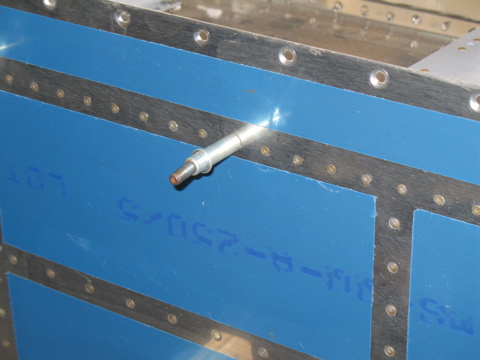
This is the end of the vent.
|
 |
| |
|
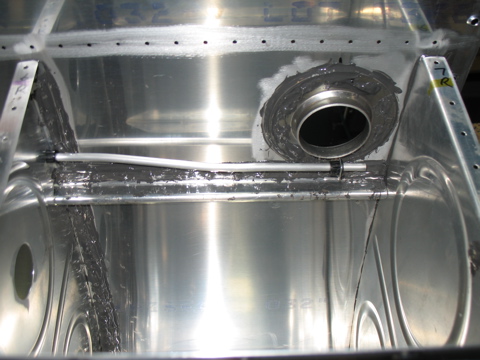
Here's the bend required for the tubing to connect properly to the bulkhead fitting.
|
 |
| |
|
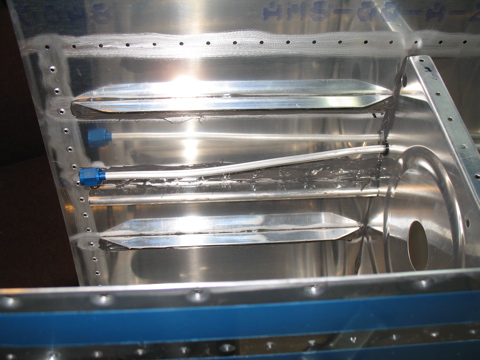
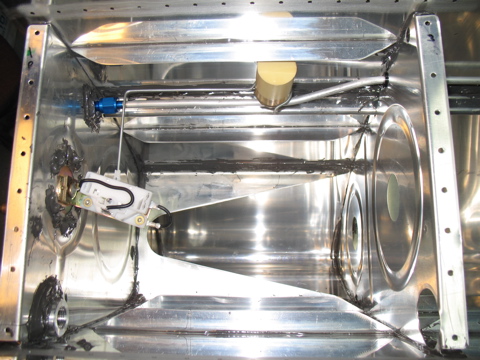
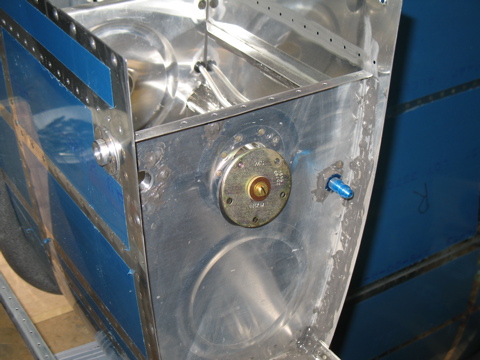
I installed the internal rib and then attached the fuel level sensor.
|
 |
| |
|
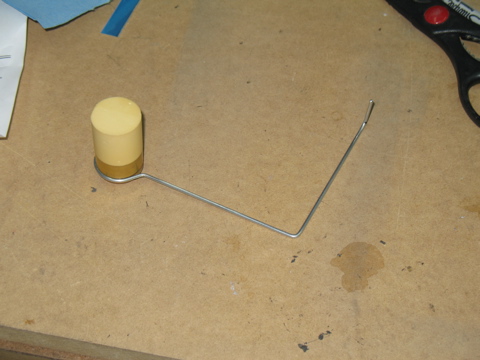
I had to bend the float arm.
|
 |
| |
|
The only real tricky part is that the float needs to fit between the stiffener and the vent tube.
I am planning to seal the fuel level sensor to the rib, and not use the rubber gasket that is included with the sensor. |
 |
| |
|
2/20/07 - 3/1/07 - Rear baffles - 10 hours
Sorry for the delay in reporting on this, but I had some traveling to do and the fuselage kit arrived, so I had to spend a couple of evenings inventory-ing the fuse kit.
I flew the RV to Santa Fe, NM with my oldest son who is looking at colleges. We had a good flight out and a rough flight back. The weather on the return trip required us to divert to Denton, where we parked the plane for the evening in one of their big hangars. Good thing, too, because we had a massive dust storm swing through which covered everything outside with dirt. Yuck. |
 |
| |
|
Before doing the baffle itself I had a few tasks to accomplish. First was the fuel level sender. It is installed on the inboard rib using screws and platenuts. I had to decide what to do about the rubber gasket. It's a bit redundant when using sealant, but I figured it'd be easier to open up the tank if the gasket was there, so I smeared sealant on the gasket and installed the sensor that way. It's not going to leak. |
 |
| |
|
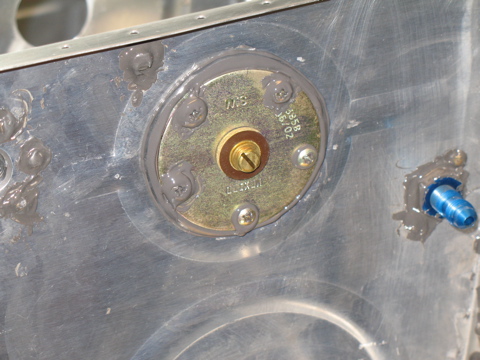
Here is the cover with the sealant applied. Notice that each screw has a goob of sealant underneath and around the edges.
|
 |
| |
|
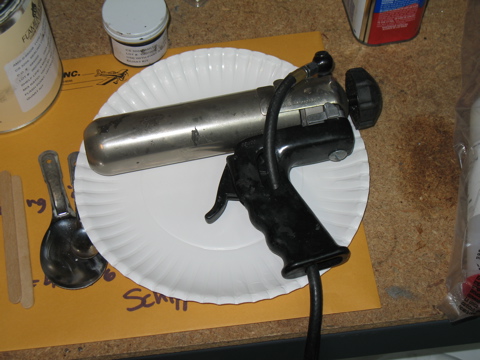
One thing I'm doing differently with the baffle installation is that I'm using the canister sealant rather than mixing it manually. The canisters fit into this Semco sealant gun that is pneumatic powered. Just squeeze the trigger and you get sealant exactly where you need it. This is good when you're working on a large amount of sealant in a short period of time. I used the gun to squirt sealant on the skins and on the flanges of the ribs.
|
 |
| |
|
Probably not necessary, but I went ahead and sealed each of the snap bushings in place. I just didn't want them rattling around dry. If they were to wear through it wouldn't be good. |
 |
| |
|
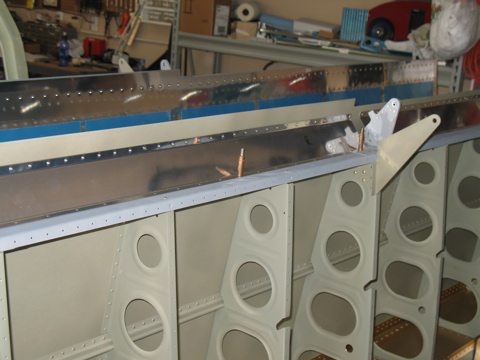
Riveting the baffles in place is slow. There are lots of rivets and each one gets dipped in sealant. I found that having a helper is a good timesaver. Tim came out and helped me by removing and cleaning off the clecoes as I installed and squeezed the rivets.
The cleco at the right is in one of those alignment holes...the ones that didn't get countersunk yet. These will be left alone until the sealant cures and then the countersinking can be done. |
 |
| |
|
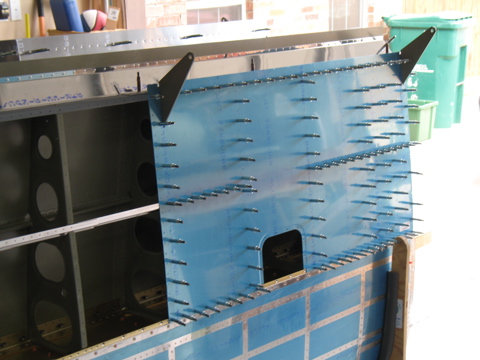
Another interesting piece of the puzzle are the z-brackets. These things get pop-riveted to the aft flanges of the ribs and to the back of the baffle. I put sealant around the flange and then dipped each pop-rivet in sealant before installing them.
These aren't the regular pop rivets with holes in them, rather they are solid aluminum pop rivets. |
 |
| |
|
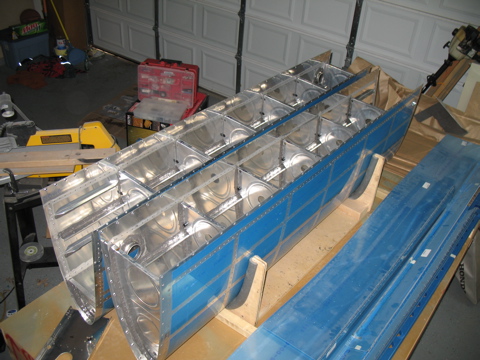
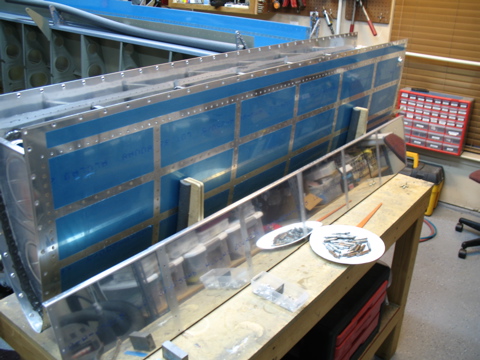
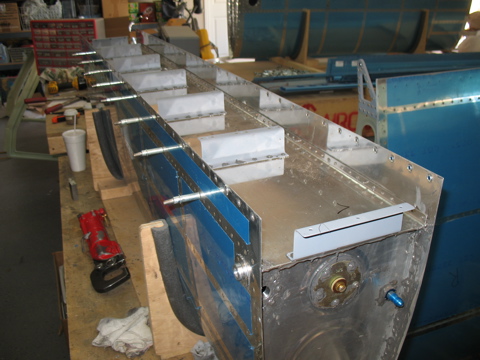
So, after more than a week of sealant and delays, I now have two completely sealed fuel tanks. I'm going to give them a week or so to cure nicely before I attempt to leak test them. I'm also going to be doing Spring Break stuff with the kids this week, so don't expect any updates. |
 |
| |
|
3/2/06 - 4/10/06 - Update - 20 hours
Okay, so it's been a while since I updated the site. I realize that I haven't been diligent enough on both the project and on the website. The short story is that I've had a lot of stuff going on. Here's the update:
I got both fuel tanks sealed and tested. Here are some pictures. |
 |
| |
|
| |
 |
| |
|
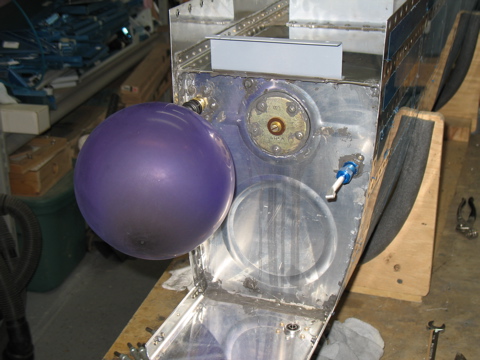
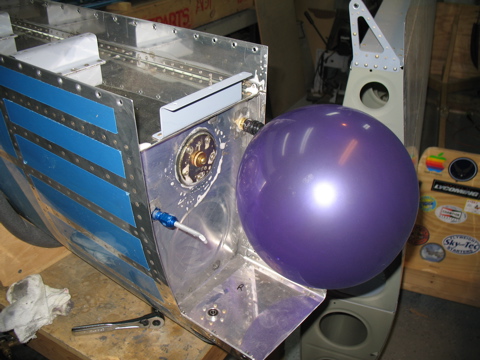
Here I am doing some leak testing with soap suds.
|
 |
| |
|
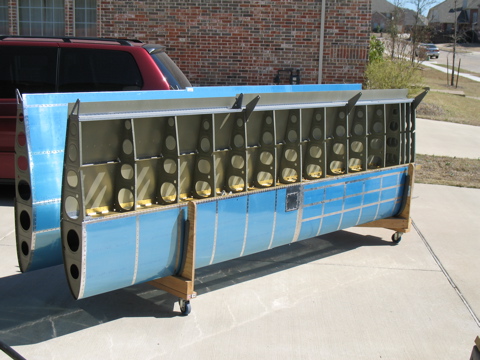
Next, I installed the tanks onto the spar, using the hardware specified. |
 |
| |
|
Here are the wings with the fuel tanks attached. Notice that I modified the wing cart so it would hold the wings more effectively.
|
 |
| |
|
| |
 |
| |
|
| |
 |
| |
|
| |
 |
| |
|
| |
 |
| |
|
| |
 |
| |
|
| |
 |
| |
|
| |
 |
| |
|
Next: Ailerons
|
 |

