Previous: Oshkosh 2006
8/2/06 - 8/26/06 - HS Work - 12 hours
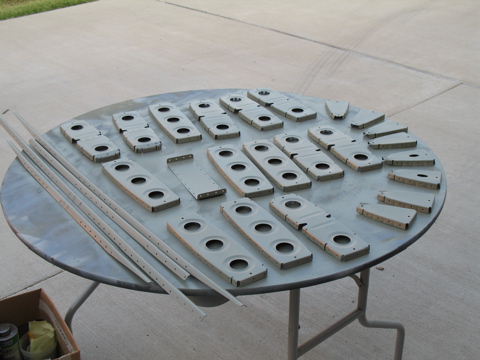
Okay, this is the catch-up page. I have been extremely busy with "real work" and haven't had time to properly update this site for the past few weeks. Not that I've done a whole lot of work on the plane, but I have made a bit of progress that needs to be noted.
I'm not going to go into a great deal of detail here in the interest of getting caught back up. |
|
| |
|
| |
 |
| |
|
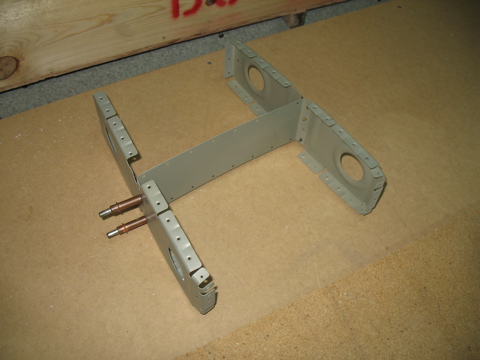
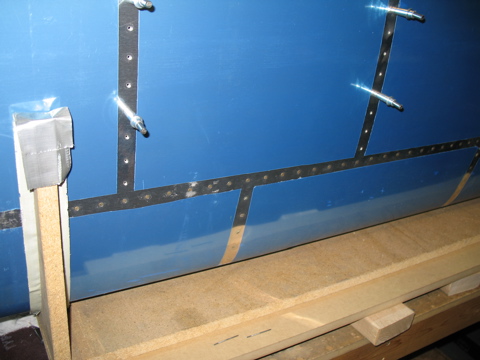
Oh, I had a heck of a time with this assembly. Probably because I wasn't paying close attention to what I was doing. First I installed the reinforcement strips backwards. Then I installed them off-center. Do yourself a favor and mark these better than I marked mine. I can see in the picture here that this is one of the "wrong" assemblies because I can see my arrows facing to the back.
So, I had to drill out those AN4 rivets and do it over again...and again. Finally I got it right, but not after a good deal of frustration. |
 |
| |
|
| |
 |
| |
|
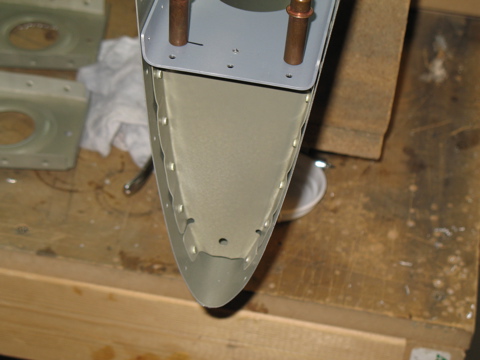
These nose ribs are notorious for being a problem. I did the best I could but I can still see a little puckering of the skin at the nose rib. I really think those things are undersized from the factory. |
 |
| |
|
| |
 |
| |
|
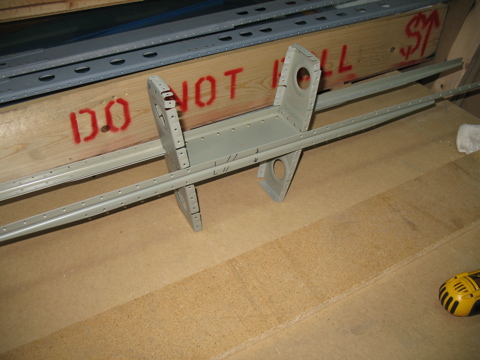
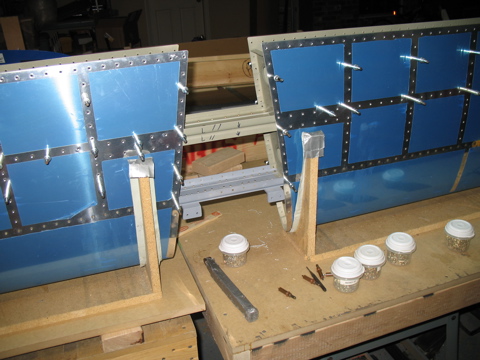
Lots of riveting to do. This was all done in very short blocks of time over several weeks. Really it's not very difficult.
This picture is supposed to show where I forgot to rivet the reinforcement "stringers" together. You can barely see the shop heads for these rivets in the picture. I noticed it only after I had already riveted too much to go back. So, I spent a couple of frustrating hours setting these with the pneumatic squeezer and many unnatural body contortions. |
 |
| |
|
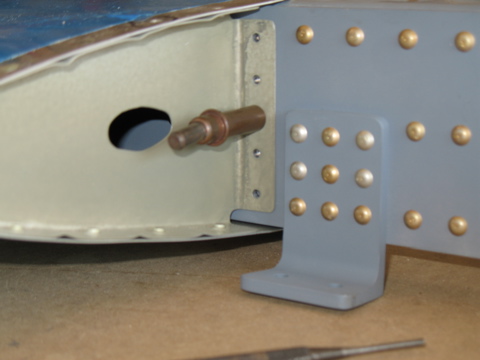
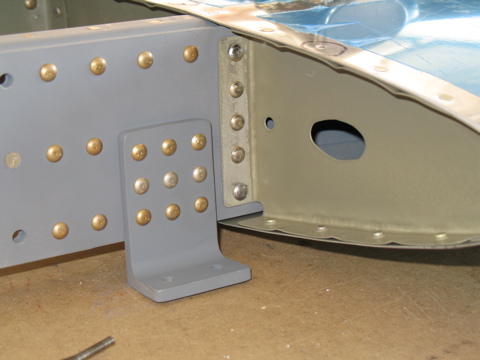
With everything finally riveted, I removed the assembly from the cradles and turned my attention to these problem rivets at the root of the main spar. By using an offset rivet set and an angled bucking bar I was able to drive these without too much trouble. |
 |
| |
|
| |
 |
| |
|
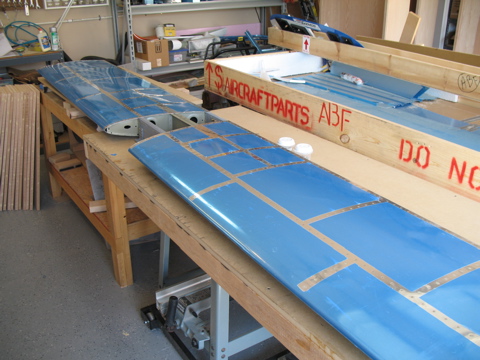
So there you have it. One completed horizontal stabilizer. It's going to hang from my ceiling in the same place that the HS from my RV-9A occupied.
Next: Elevators |
 |

