Previous: Elevators Part 1
9/23/06 - Assembly - 6 hours
Wow, it's been a while since I updated the site. I'll try to fill in the blanks here and there, but mainly I'll just post the pictures and move on.
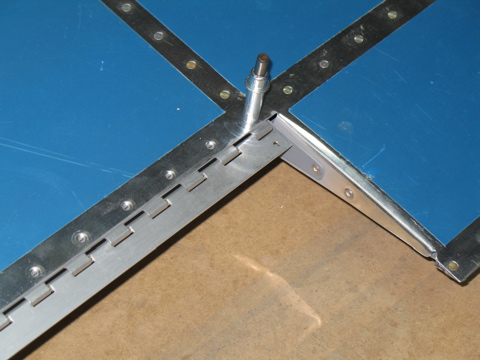
Here I riveted the counterbalance arm. |
|
| |
|
| |
 |
| |
|
| |
 |
| |
|
This looks worse than it is. The skin isn't really creased. It's just the light. |
 |
| |
|
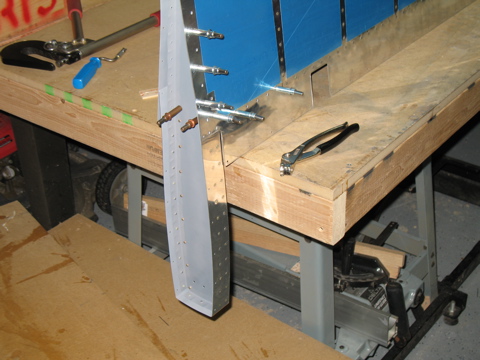
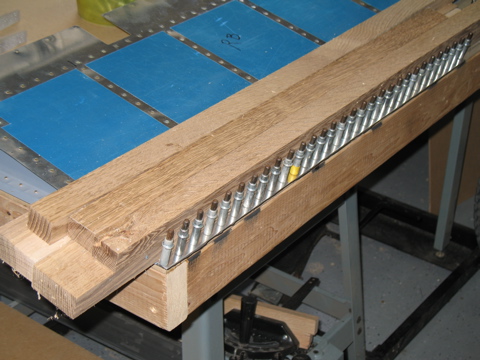
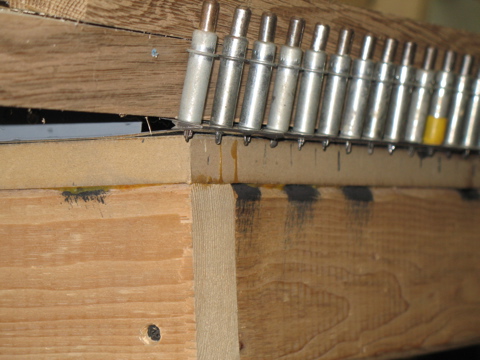
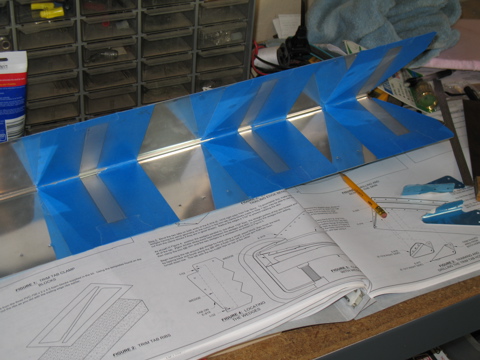
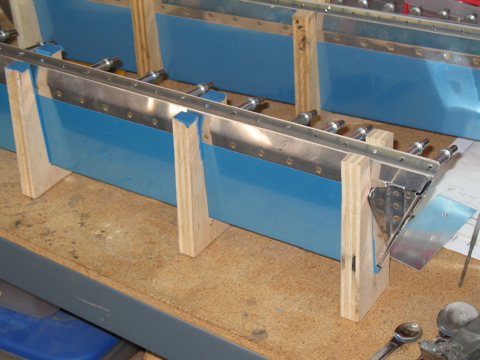
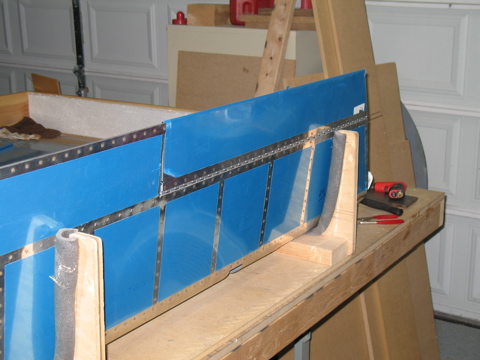
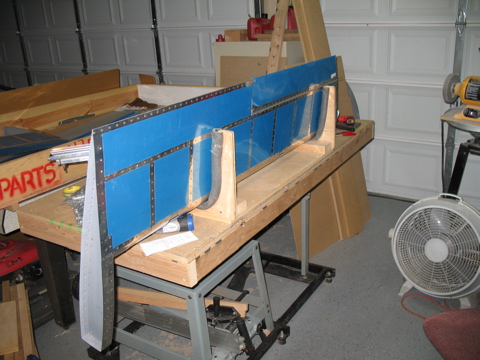
Time to get out the ProSeal. I got both elevators laid out on flat surfaces and then I gooped up the trailing edges with ProSeal and squeezed the extruded wedge in between the skins. I used some old clecoes as you can tell from the picture. I weighed the whole thing down with chunks of hardwood. |
 |
| |
|
| |
 |
| |
|
Remember these? Well, there is a Service Bulletin about the way these nuts are welded, so I had to order new ones from Vans. Stay tuned for the upgrade. |
 |
| |
|
9/24/2006 - Trim Tabs - 3 hours
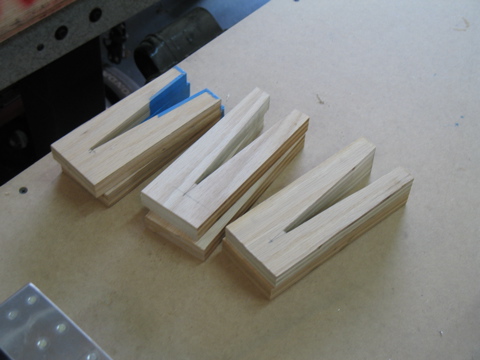
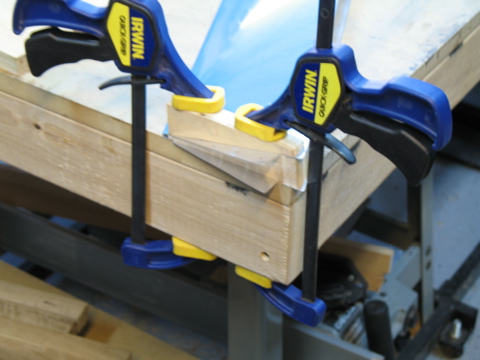
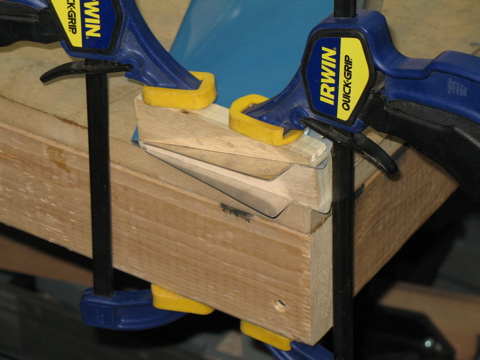
Time to get busy on the trim tabs. I started by making these. They are clamps for holding the trim tabs together while the ProSeal sets up. Two of these are from the RV-9A project. The other four are identical in size. |
 |
| |
|
That is masking tape. I used it to mask the area I was scuffing so the ProSeal would stick better. That's sort of funny to think about, since ProSeal sticks to just about everything anyways.
|
 |
| |
|
9/26/2006 - Closed up the Elevators - 2 hours
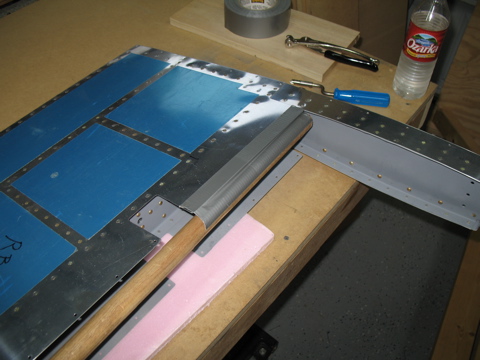
You will notice in these pictures that the trailing edges are all riveted. I did this and then replica omega realized I didn't take pictures. The bottom line is that they turned out just fine and dandy.
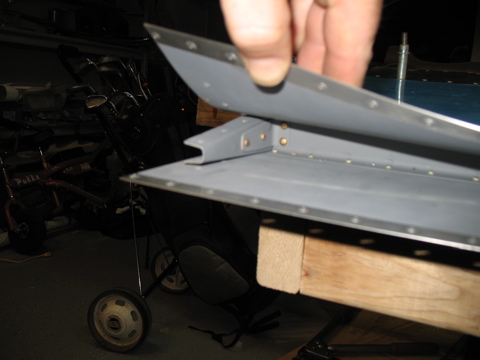
What this picture is showing is the way I rolled the front part of the skins. I used a piece of 1" dowel along with some duct tape. By twisting the dowel, it is possible to bend the skin into a somewhat round shape.
|
 |
| |
|
The bend is necesary so that you can install clecoes into the rivet holes.
Oh yeah, prior to doing this I had also edge-rolled the top skin so that it would sit more flush against the bottom skin when they overlap. |
 |
| |
|
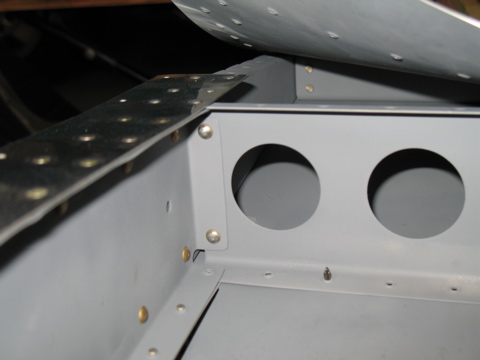
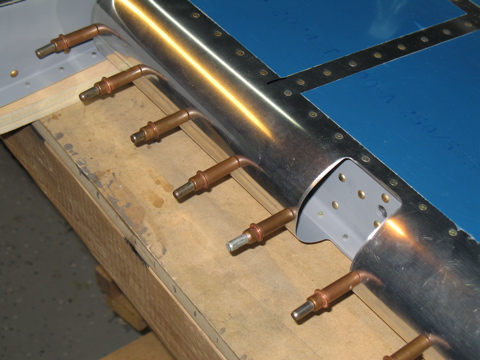
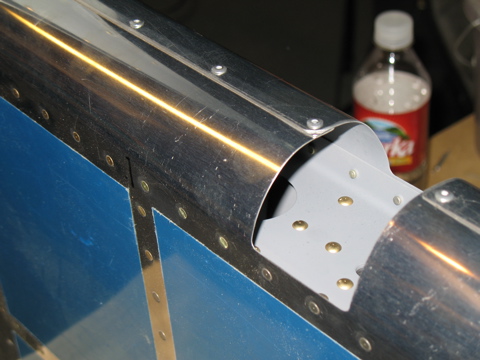
Here are the skins all nice and pop-riveted.
I should mention here that there is no conceivable way for this operation to be perfect. There are just too many variables. The best you can do is line up the holes and get them riveted, and then fine replica watches tune the look of the bends by squeezing them with your hands. Ultimately I just gave up because these will be buried in the trailing edge of the Horizontal Stabilizer and you'll never notice them. |
 |
| |
|
9/27/2006 - Trim Tab Work - 2 hours
The trickiest part of the trim tabs are the little bends that you must make to "close out" the ends. Mine turned out looking sort of bad, but not bad enough to order new parts. |
 |
| |
|
I used the pieces that I cut out of the clamps I showed you earlier. With these clamped in place it was time to start banging on the aluminum with a mallet. :-(
As I said, the results were something less than perfect, but not totally horrible. Let's just leave it at that. |
 |
| |
|
| |
 |
| |
|
10/7/2006 - Closing up the trim tabs - 3 hours
Here you can sort of see the tabs I referred to earlier.
|
 |
| |
|
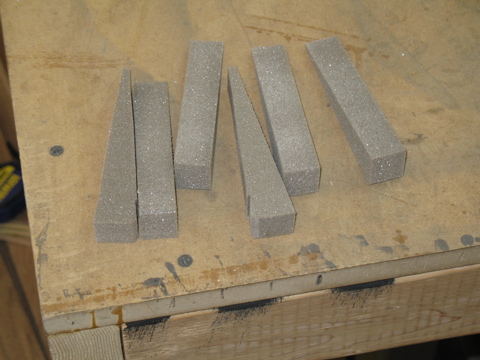
These are foam ribs that get ProSealed inside of the trim tabs. I cut mine out on the bandsaw. Before I could do this, I had to go to the craft store to buy some rolex replica spray adhesive. I used the spray adhesive to temporarily attach the cutting template to the blocks of foam. I then cut them out using the template lines as a guide, and then I peeled the paper off of the foam ribs. |
 |
| |
|
Next came the ProSeal once again. This time I used the cool clamps I had cut. These have to sit for a couple of days. So, while they're curing... |
 |
| |
|
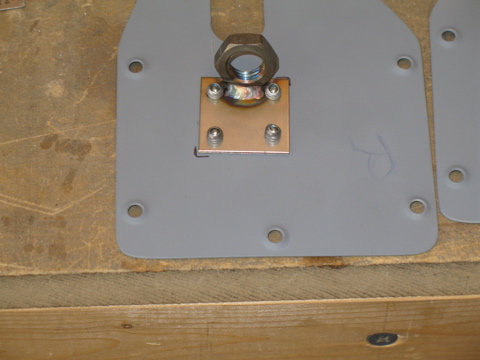
Here are the new trim cable thingies. Notice the significantly more beefy weld along the base of the nut?
I also cut my thumb really badly when I was drilling these. Remember, these are stainless steel, and stainless can be really sharp. Anyways, I wasn't being careful and I ended up with a nice cut in my left thumb hublot replica. I'm surprised there aren't drops of blood all over these parts. |
 |
| |
|
10/10/2006 - Finishing up the trim tabs
Okay, I gave the trim tabs a couple of days to set up, and so now it's time to drill the hinges. |
 |
| |
|
Yipppee.
|
 |
| |
|
Sorry, I sort of zoned out on this whole process and didn't take any pictures. It's really common sense. I used an edge marking tool to mark the centerline on the hinge material. I then clamped it in place and drilled one hole. then with that hole clecoed, I drilled the next hole, and so on.
The hinge material doesn't get countersunk because we already countersunk the spar. So the hinges get deburred and then riveted. |
 |
| |
|
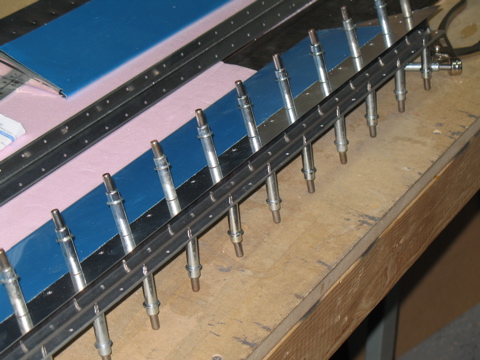
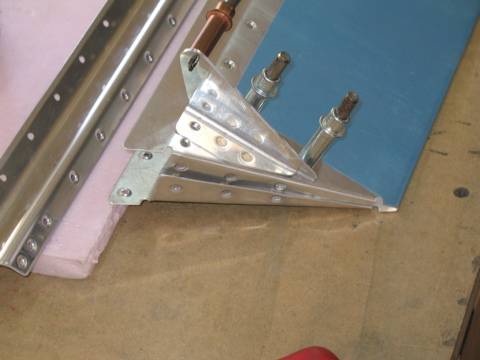
Okay, so the elevators are done except for the counterweights and the fiberglass tips. The wing kit should be here in about three weeks. I am planning to skip the tailcone for the time being and move directly to the wings. That way I won't have to find a place to put the partially assembled tailcone.
Next: Wing Spars |
 |

