Previous: Vertical Stabilizer
5/14/06 - Rudder - 4 hours
Moving on to the rudder. The assembly of this rudder is a bit different than the one on the -9A. Apparently there have been some issues with cracking around the unsupported stiffeners. On mine I had globbed a bunch of proseal around the stiffener ends to try to avoid this, but Van's has re-engineered the stiffener situation on the rudder of the -10 and hopefully the results will be better.
The stiffeners interlock with each-other at the aft end, and are joined at the spar with some shear clips. Simple pop-rivets are used to connect everything. |
 |
| |
|
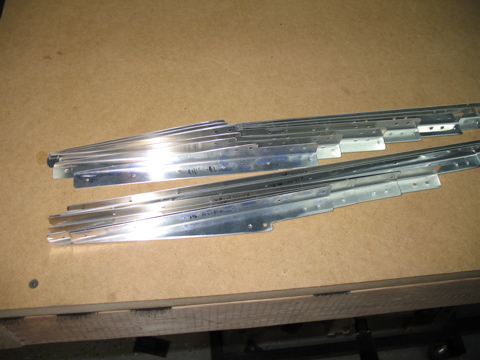
So, down to business. First, I cut out each of the stiffeners and deburred the edges. Next, I found the rudder control horn and deburred the edges. The rib pieces came next. These needed to be separated and then trimmed a bit. |
 |
| |
|
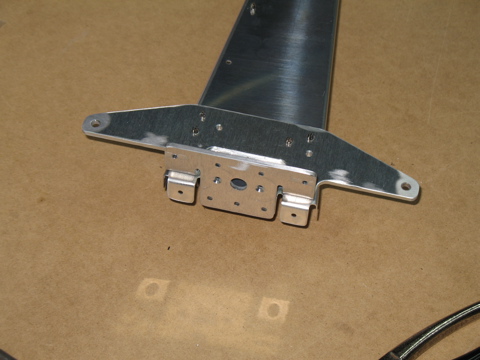
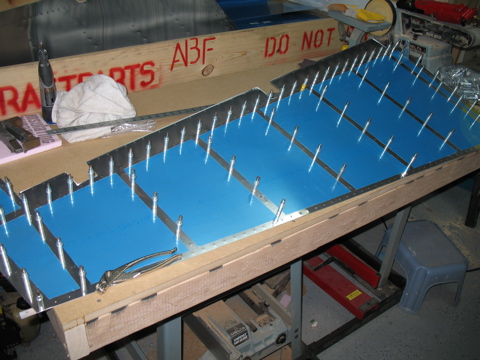
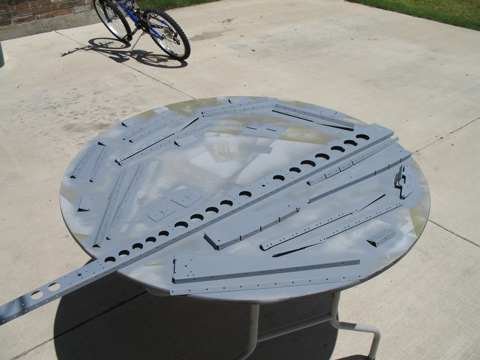
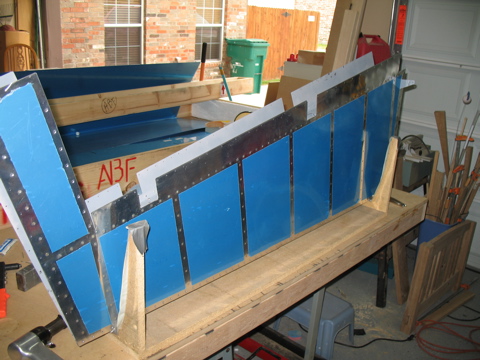
The spar starts to indicate the size of the rudder. Wow, it's going to be big. I preassembled the spar and the ribs and did all of the driling and deburring.
|
 |
| |
|
| |
 |
| |
|
The skins are flimsy pieces of .016 aluminum. These can be damaged quite easily. |
 |
| |
|
5/15/06 - Rudder - 3 hours
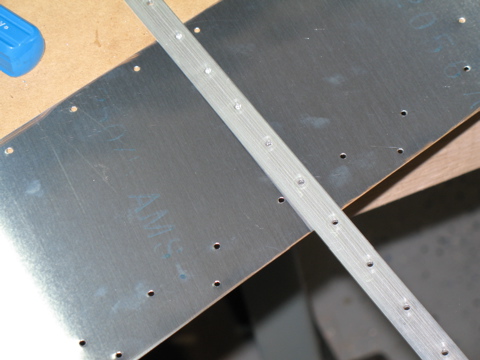
The trailing edge is made of a piece of extruded wedge. The hardest part is countersinking the wedge material to acccept the dimples in the skins. I did this on the drill press using a scrap piece of wedge behind the piece I was countersinking. |
 |
| |
|
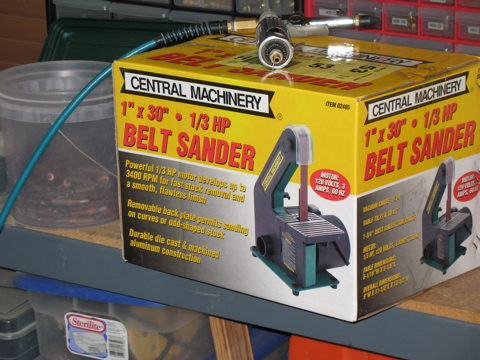
I had to visit Harbor Freight to buy a new blade for my bandsaw. While I was there I picked up this belt sander for deburring ribs. We'll see how well it works.
|
 |
| |
|
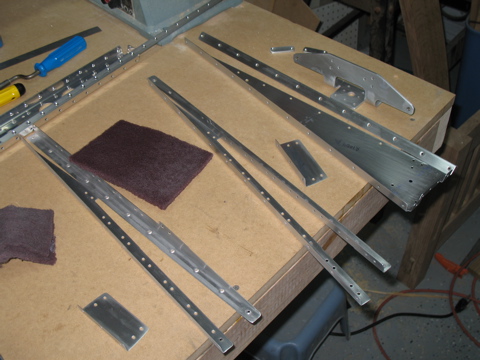
5/16/06 - Scuffing Parts - 2 hours
With everything deburred and dimpled it was time to prep all the parts for priming. |
 |
| |
|
5/17/06 - Priming, Assembly - 3 hours
It's getting hotter here in Texas and the primer dries really fast outside. I used the spray can primer instead of mixing up the two-part stuff. |
 |
| |
|
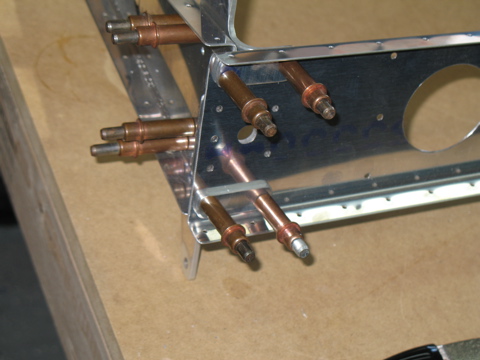
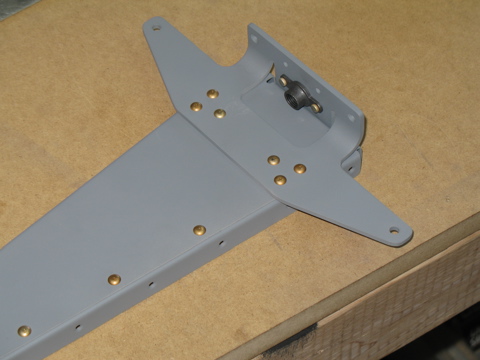
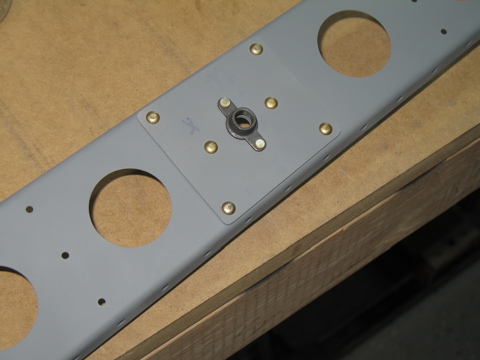
Next I started assembling the completed parts. I was able to use the pneumatic squeezer for all of these rivets.
|
 |
| |
|
| |
 |
| |
|
5/20/06 - Texas RV Fly-In
One of the benefits of having an already flying RV is that I don't have to build every day. On this day I went down to the Texas RV Fly-In at the Midway Regional Airport. It was a great event and we had four flying RV-9As there on display as well as two RV-10s. |
| |
|
5/22/06 - Stiffeners - 2 hours
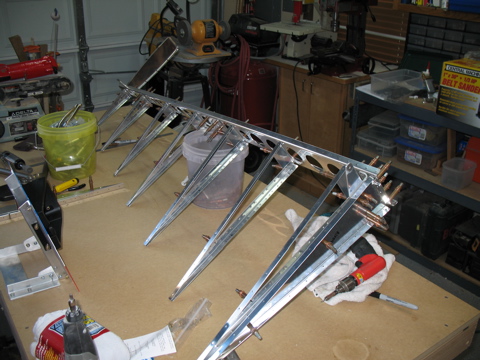
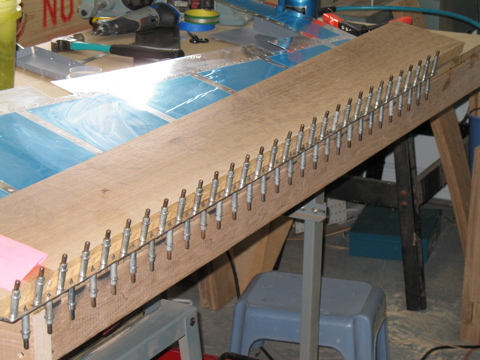
Back riveting is the coolest thing. It produces perfect results every time (as long as you don't forget the stiffener.) I worked through the stiffeners on both skins. |
| |
|
5/27/06 - ProSeal - 2 hours
Before riveting the trailing edge, the wedge is bonded to the skins using tank sealer. I bonded the TE and then remembered that the stiffeners needed to be pop-riveted together. So, I removed the clecoes and peeled the left skin back to pull the rivets. |
 |
| |
|
6/14/06 - Back at it - 2 hours
We had a nice family vacation and now it's time to get back to work. I cleaned up all of the ProSeal mess around the rivet holes and removed the excess that squeezed out of the trailing edge. I also riveted the spar in place. |
| |
|
6/17/06 - Finishing up - 6 hours
Today was supposed to be a flying day, but the weather was bad, so the backup plan was to work on the -10.
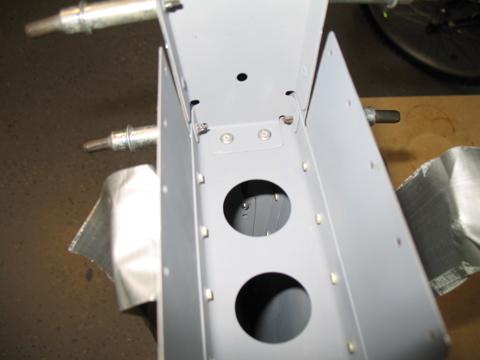
My goal today was to finish up the rudder. So, I started by riveting the spar in place. This is done with a combination of pop rivets and solid rivets. I have a 4" no-hole yoke for my rivet squeezer that worked just perfectly for getting around the forward skins.
|
 |
| |
|
All of the solid rivets are installed except for the ones that are shared by the lower counterbalance rib.
|
 |
| |
|
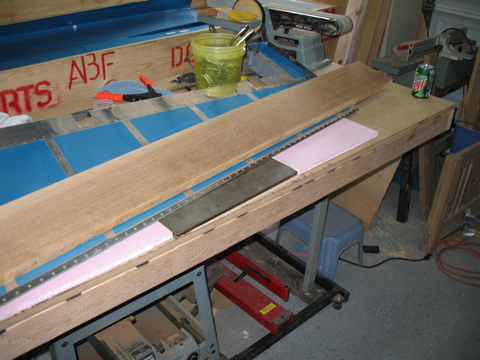
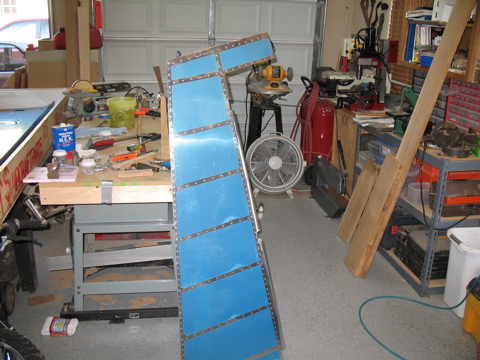
Next it was time to rivet the trailing edge. This brought back some bad memories of the first rudder I built for the RV-9A. On that one I had made some other boo-boos along the way and the result was a pretzel.
So, on this one I kind of knew what not to do, and so I set out to make it nice and straight. I actually was able to use the same piece of styrofoam sheet that I used on the last plane. |
 |
| |
|
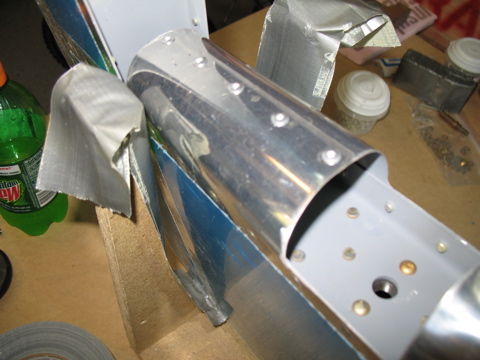
The leading edge of the rudder is closed by bending it gently around a broomstick. I had to run to the store to buy some more duct tape. The duct tape attaches the skin to the broomstick and then the broomstick is twisted to bend the skin.
After it is bent, the two sides are attached using pop rivets. |
 |
| |
|
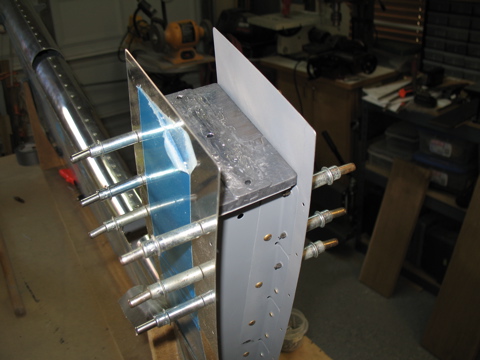
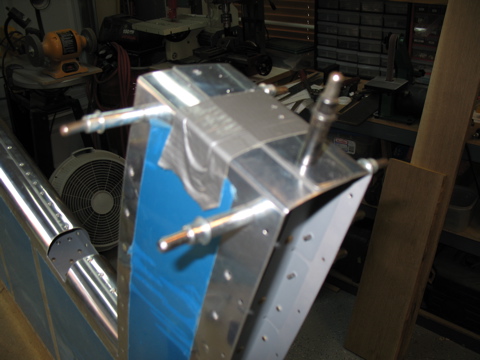
The final part of the process involves bending the front of the skins around counterbalance weight.
|
 |
| |
|
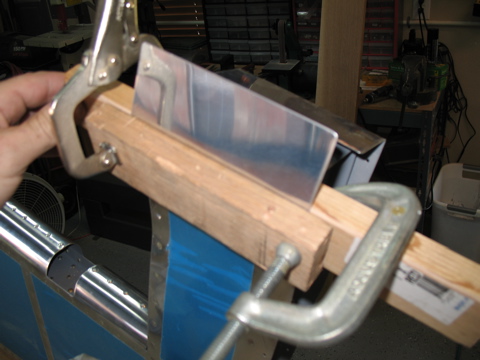
The process isn't that complicated. The skin is first bent by hand and then it is sandwiched between two pieces of wood and then forced into a tight radius bend using a soft mallet.
|
 |
| |
|
| |
 |
| |
|
So that's it. I got the rudder done by dinner. Tomorrow is father's day so I'll be traveling, but hopefully I can get started on the horizontal stabilizer next week.
Next: Horizontal Stabilizer |
 |
| |
|

