Previous: Empennage Tips |
| |
|
4/14/2013 - 3 hours
I had to put the project on a bit of a hold while we completed a house we built. Today was the first day that I was able to get to the airport since the move.
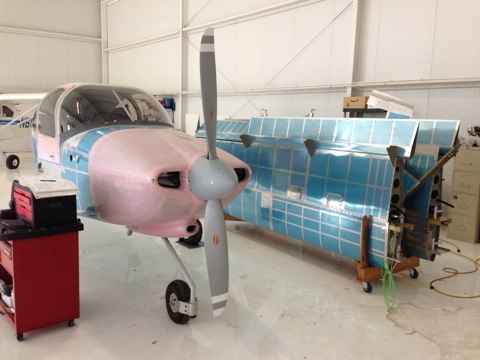
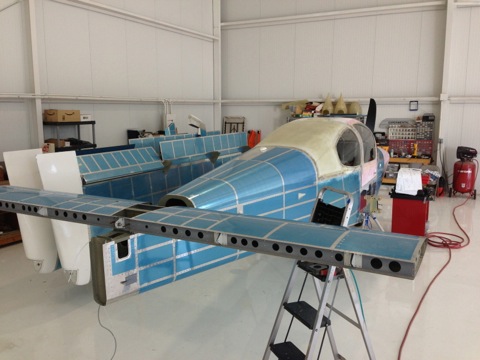
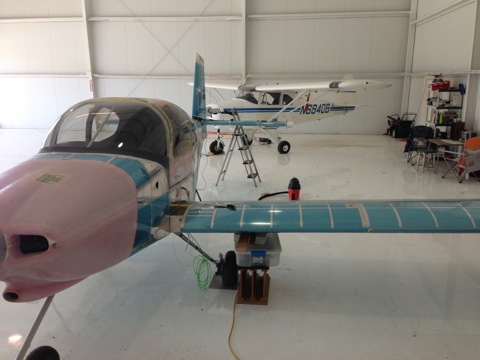
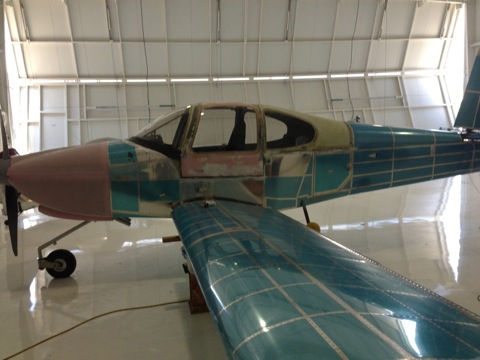
So here is a picture of the plane. As you can see, the wings are still on their cradle.
The first thing I did was to finally remove the exterior plastic from the windows. I had left this as a precaution for when we had the plane moved to the airport, but the time has come to be able to finally see out of the plane. |
 |
| |
|
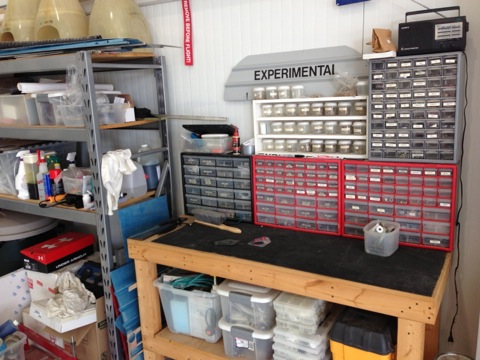
I also worked on getting organized. It's hard to work on a plane when you are constantly searching for random parts, so maybe this will help things go more smoothly. |
 |
| |
|
I added the "Experimental" decal to the baggage bulkhead.
|
 |
| |
|
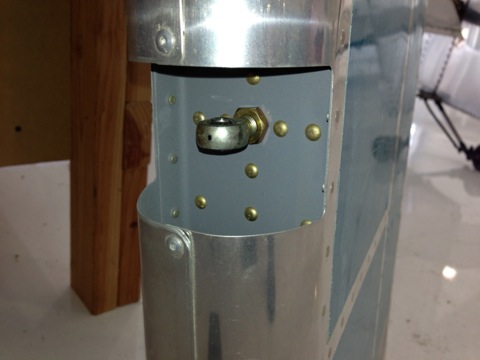
Next thing on the list is to attach the empennage. This means I had to go back to the manual and figure out the attachments of the elevators to the horizontal stabilizer.
Here is one of the rod end bearings as it is installed in the elevator. |
 |
| |
|
A bit more cleanup and that's about all I got finished. I did however make it look a lot nicer in the hangar and I feel much more motivated now that I've gotten things moving once again.
|
 |
| |
|
4/15 - 4/23/2013 - 6 hours
I could not find the drill bushing that I needed to drill the hole for the center hinge attachment, but thankfully another local builder was able to find his, so I borrowed it.
I got the left elevator installed and taped in trail. I then started trying to drill the hole in the control arm. I broke the first drill bit, but after scavenging around I finally located another and it went through the steel successfully.
I repeated the same process for the right elevator. |
 |
| |
|
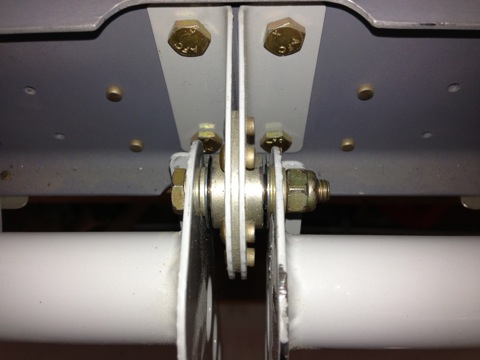
The distance between the control arms and the center hinge assembly was slightly different, but I finally was able to get pretty close with washers.
This picture makes it look like they are at an angle, but they're not. |
 |
| |
|
Also I noticed some rust on the top edge of the right side, which caused some of the powder coating to bubble off. I hit it with a scotchbrite wheel and cleaned off the rust, but now I need to add some primer.
|
 |
| |
|
Not pictured, but I finally bent the steel hinge pins for the trim tabs and safety wired them to the elevators.
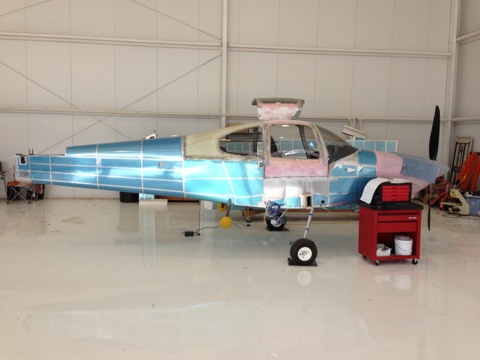
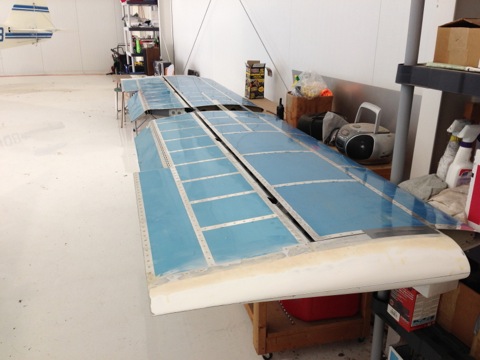
So here's how the surface looks on the workbench. Next step is to mout it to the plane. |
 |
| |
|
4/24 - 4/30/2013 - 6 hours
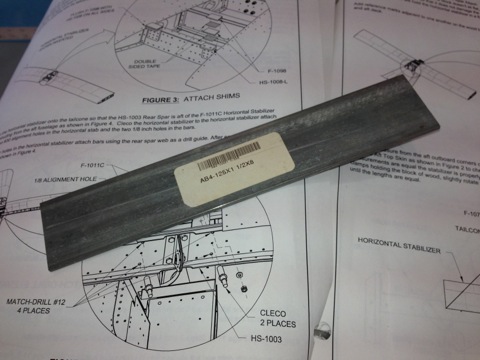
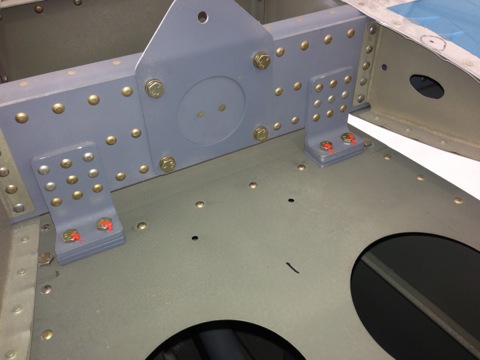
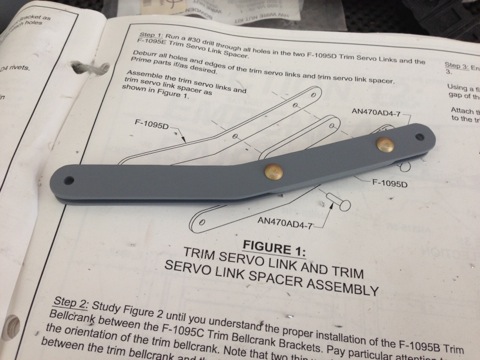
Surprise, I get to do some fabrication! When I was working on the empennage I decided to wait on the actual attachments until I was finished with the fuselage. Well, now it's time to bolt the thing together and I realize that there are a few more pieces that need to be fabbed.
Fortunately I have my bandsaw out at the airport, and I found the aluminum stock that is listed in the instructions. |
 |
| |
|
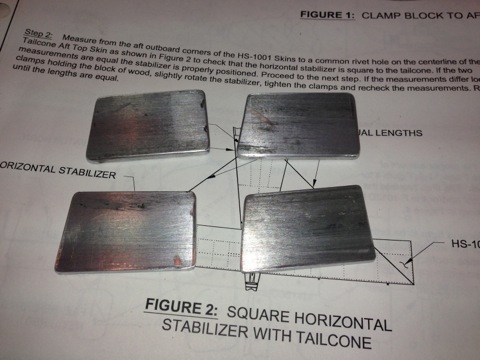
Here are the four spacers that I cut out.
|
 |
| |
|
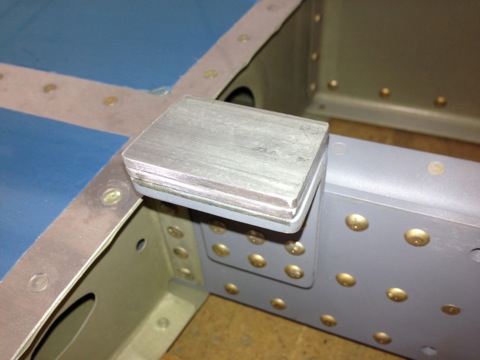
I used double sided carpet tape to temporarily attach the spacers to the brackets.
|
 |
| |
|
| |
 |
| |
|
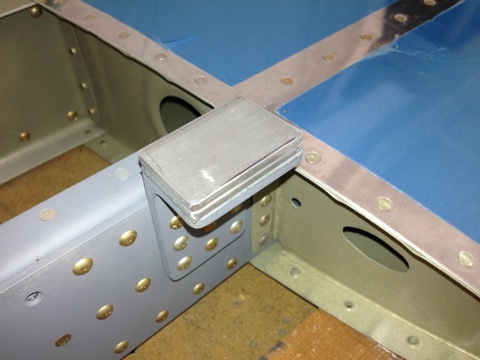
Here is the horizontal stabilizer clecoed to the fuselage.
|
 |
| |
|
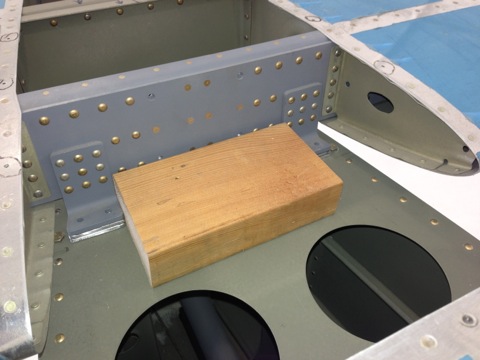
The instructions say to cut a piece of wood to fit between the brackets. Mine fit nice and snug.
|
 |
| |
|
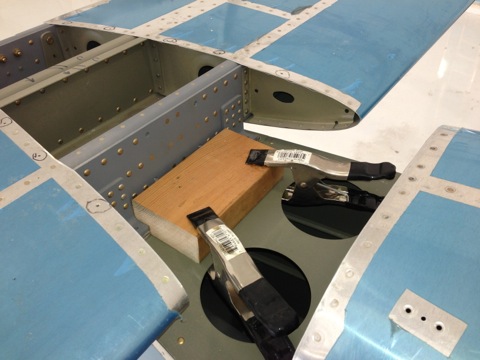
I tried to use spring clamps, but they didn't hold securely enough while I measured from the corners of the horizontal stabilizer to the fuselage, so I had to go back home and find c-clamps.
|
 |
| |
|
| |
 |
| |
|
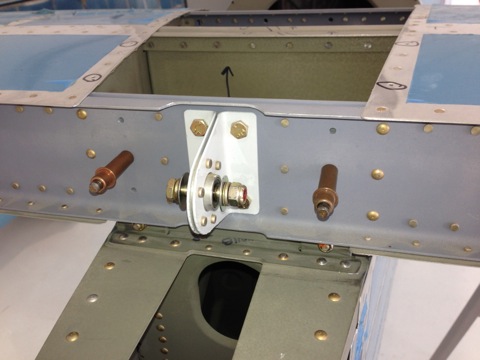
After I got the c-clamps I was able to get the horizontal stabilizer locked into position. I drilled the brackets and the spacers to the fuse and attached with bolts.
|
 |
| |
|
Oh, and I also match-drilled the holes in the aft spar.
|
 |
| |
|
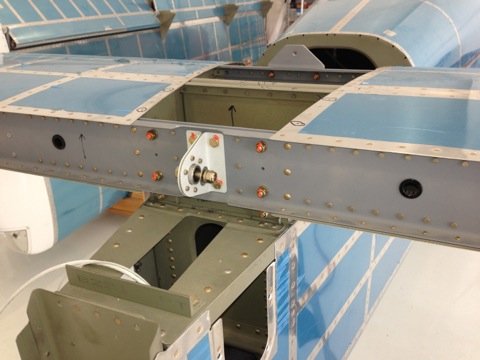
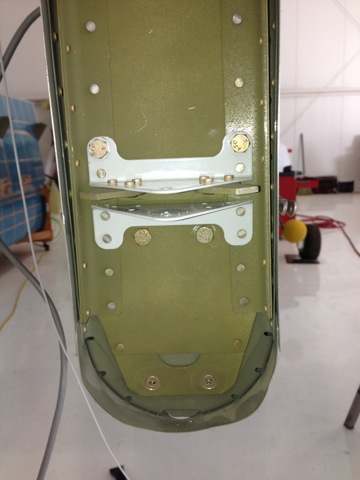
Next I attached the vertical stabilizer and match-drilled the spar to the fuse bulkhead. The bottom screws were countersunk.
|
 |
| |
|
The front attachment is made with a castle nut and cotter pin.
|
 |
| |
|
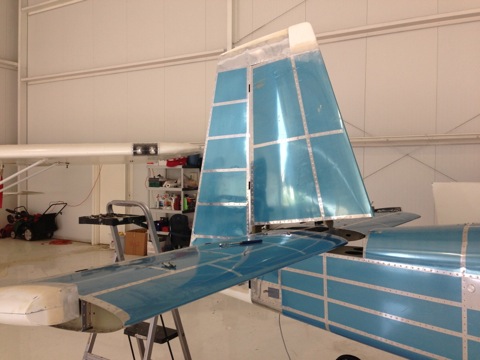
So here is the current state of the empennage. |
 |
| |
|
5/3 - 5/8/2013 - 4 hours
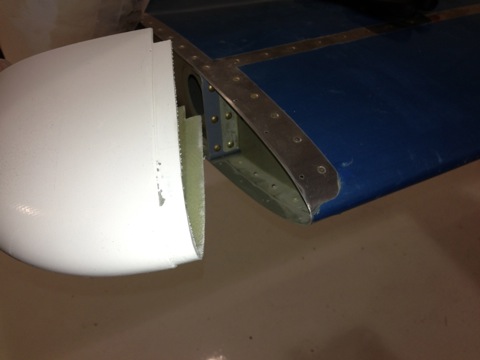
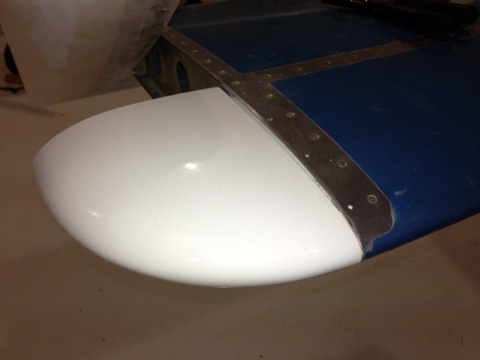
With the horizontal stabilizer installed I couldn't wait to get the elevators attached. When I did I realized that I hadn't yet done the fairing tips. These are made of fiberglass and need to be cut to fit. |
 |
| |
|
| |
 |
| |
|
| |
 |
| |
|
| |
 |
| |
|
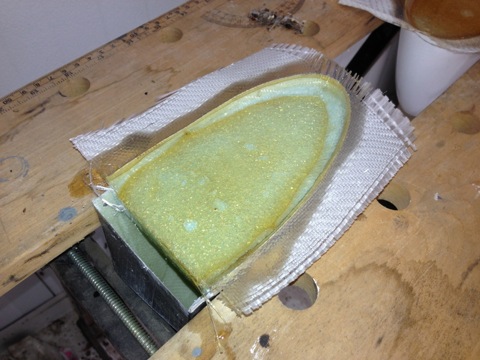
The back side of the tips need to be epoxied closed, so I did a layup of some fiberglass cloth and set it aside to cure.
|
 |
| |
|
7/13 - 7/21/2013 - 12 hours
June wasn't a good month for working on the plane, but I was able to spend some time in anticipation of our annual Airventure trip.
The rudder is not permanently installed, but it is pinned so I can figure out the wiring for the tail strobe. |
 |
| |
|
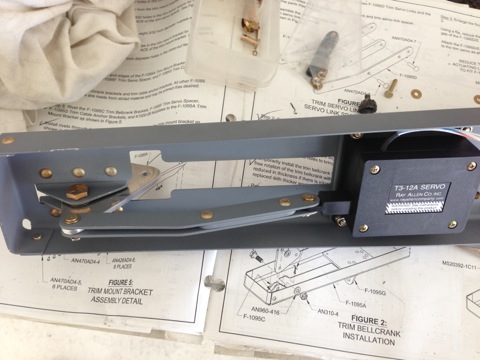
Here's another thing I didn't do way back in the empennage kit: the trim actuator.
|
 |
| |
|
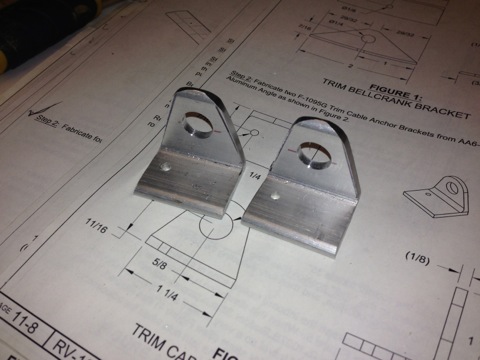
There are several parts that need to be fabricated. Fortunately I was able to locate the material called out in the plans.
|
 |
| |
|
| |
 |
| |
|
| |
 |
| |
|
| |
 |
| |
|
| |
 |
| |
|
| |
 |
| |
|
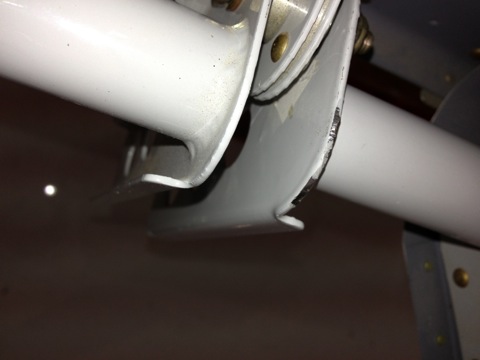
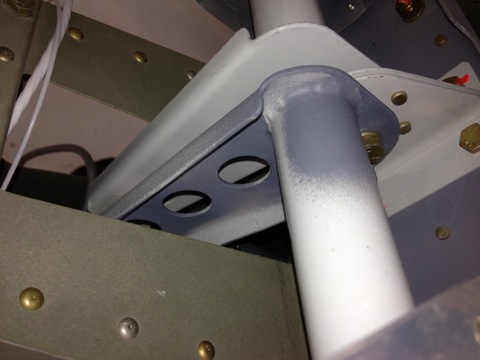
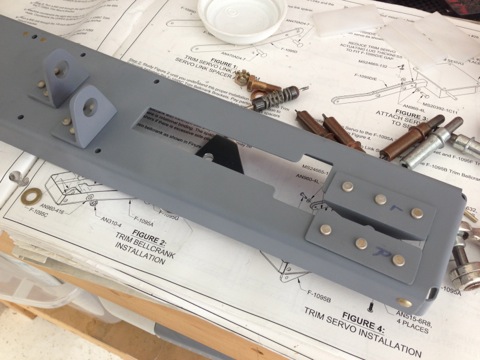
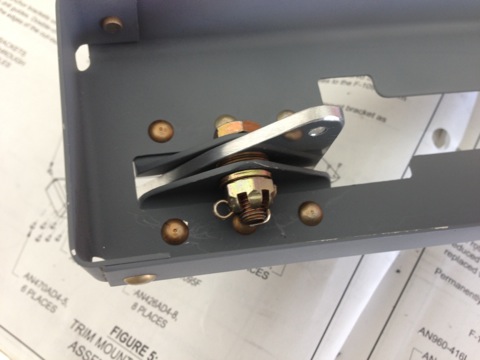
Here is the business end. This little bellcrank turns the motion of a single servo into two motions of differing travel. The cables attach to the two trim tabs.
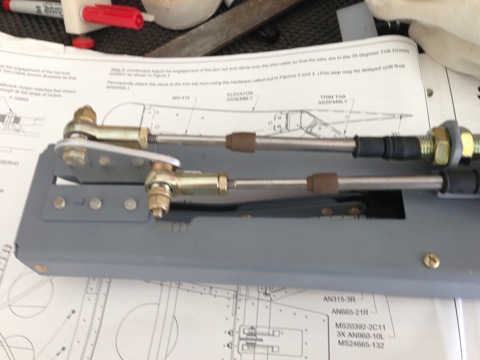
With everything ready to go I moved it to the plane and wired the trim servo. Since the elevators aren't permanently attached, I have delayed running the cables, but it is ready to go. |
 |
| |
|
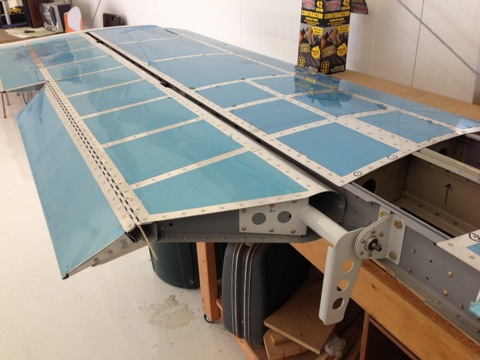
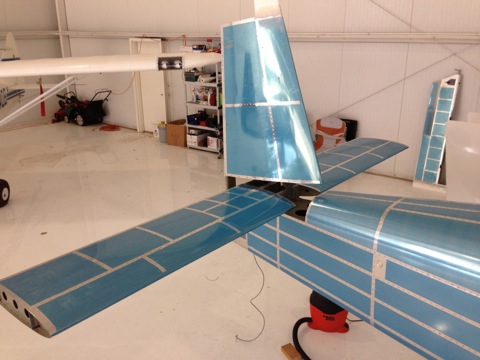
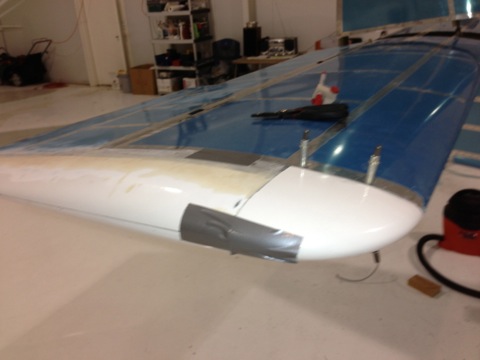
Hey look, the wings fit! Well, at least one of them fits.
|
 |
| |
|
Can you believe I got this wing attached all by myself? I was able to strategically place supports under the wing and raise it up a bit at a time until it was at the right incidence relative to the main spar. Then it was a simple task of sliding it into place.
|
 |
| |
|
| |
 |
| |
|
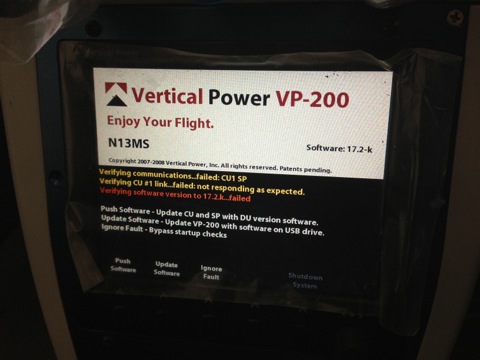
Another strange thing that occurred happened when I turned on the power for the first time in several months. I had recharged the battery and just wanted to see if I could receive a GPS signal inside the hangar. Well, the VP200 complained that the control unit wasn't responding. Everything else powered up fine, so I couldn't figure out why it was having trouble. So I fiddled with it a while and couldn't make any headway. Finally I decided to just pull the display unit. When I did I realized that the last time I had assembled the console I had inadvertently attached the control unit to the connector labeled "Control Unit 2". So as soon as I switched it to the correct connector, everything worked fine. Crisis averted.
Next: Attaching the wings |
 |
| |
|

