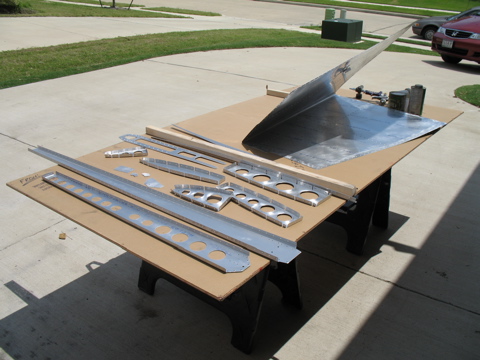
Previous: Inventory
5/5/06 - Vertical Stabilizer - 4 hours
Okay, I'll admit that I did a little bit of this work last night. After unpacking all those parts I just had to start building something. So I cut the spar caps.
These are made from bent aluminum angle (not extruded) and therefore they had a bow in them. They are installed on the back side of the rear spar and serve to reinforce the spar.
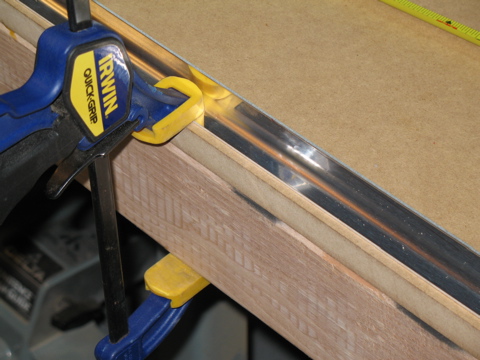
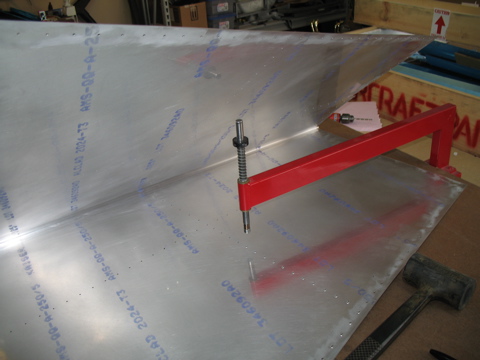
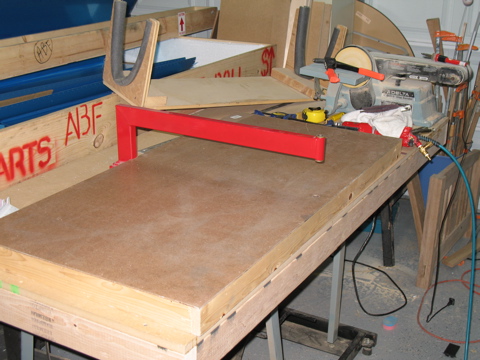
The instructions say to clamp them to the table to remove the bow before marking. I laid out the cut lines and then made the cuts on the bandsaw. |
 |
| |
|
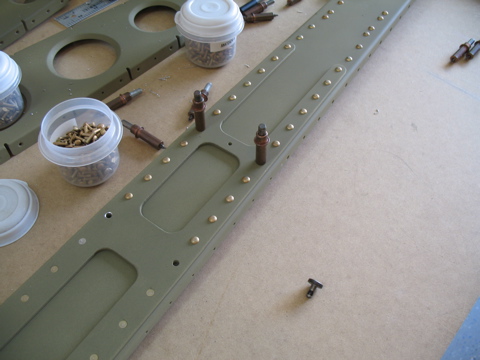
After deburring the spar caps I clamped them in place with some cleco edge clamps.
|
 |
| |
|
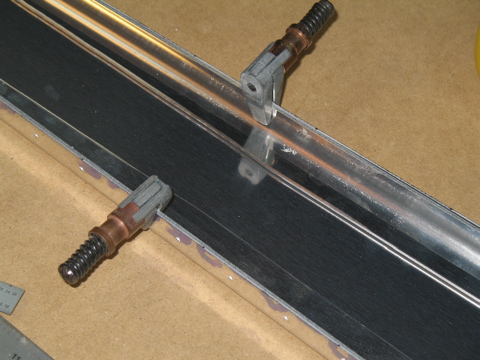
Hey, better light...must be the next day. I started by match-drilling the spar caps through the spar web and then match-drilling the flanges. So far, so good.
|
 |
| |
|
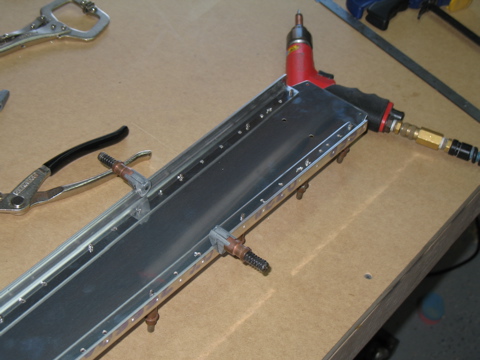
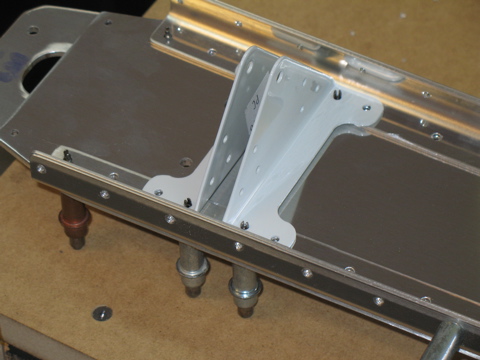
Next, I deburred and installed the doubler plate.
|
 |
| |
|
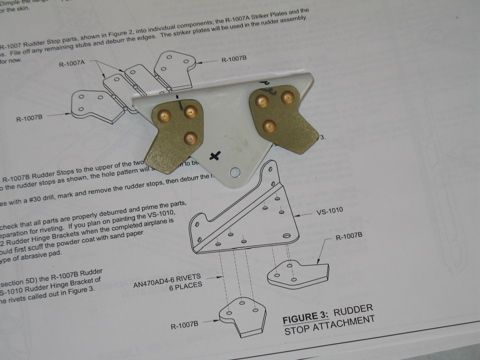
| Here are some hinge brackets for the eventual attachment of a rudder. |
 |
| |
|
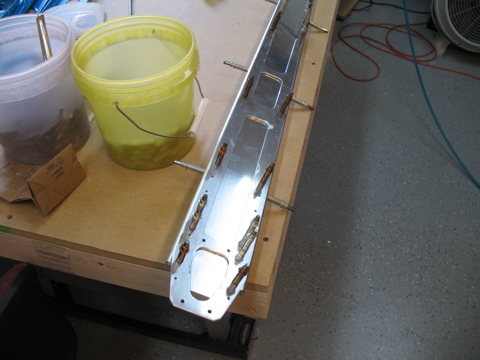
Countersunk holes on the front side allow flush rivets to be installed so the plate can sit flush with the rear bulkhead of the fuselage.
|
 |
| |
|
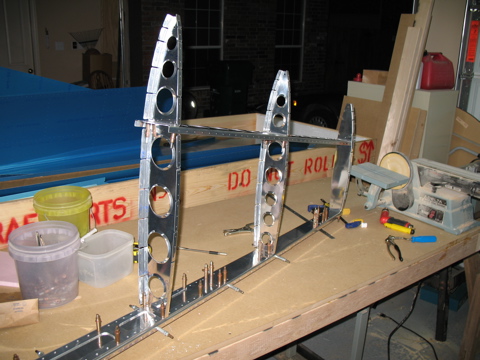
Here's the skeleton. Scary.
|
 |
| |
|
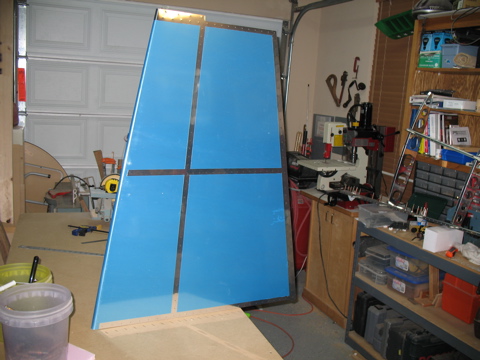
After the last plane I said I wasn't going to bother cutting the plastic away, but here I go again. This is how I remove plastic from a row of rivets. I lay down a straightedge and then I use a woodburning iron to melt a line into the plastic. After that, the plastic just peels along the line and we're good.
|
 |
| |
|
Here's what it looks like with the plastic removed from the rivet lines. Pretty.
|
 |
| |
|
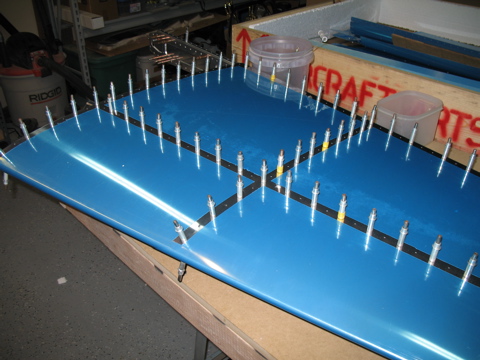
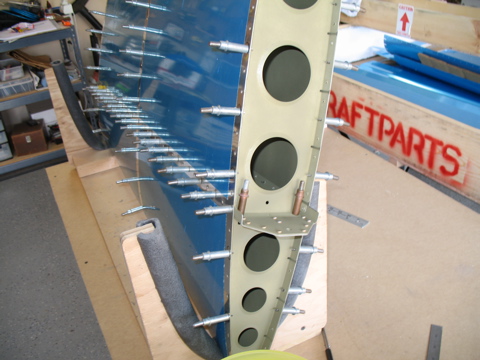
And here's my first pincushion shot of the project. I drilled the holes and then removed the whole mess for deburring.
|
 |
| |
|
5/6/06 - Dimpling, deburring, etc. - 4 hours
I had hoped to get some flying in this weekend, but unfortunately it was raining and overcast nearly all weekend, so instead I worked in the garage.
I started today by dimpling the skin of the VS. This is the first time I've used the c-frame in probably a year, and I don't like it any more than I did last year. Oh, it's a nice tool and it does what it's supposed to do, but it is just noisy and repetitive work. |
 |
| |
|
This is the special table that I built when I was working on the -9A. It does an excellent job.
I spent the rest of my time dimpling, countersinking, deburring, and scuffing all of the parts of the vertical stabilizer. Sorry, but ther'es no pictures of these steps. |
 |
| |
|
5/7/06 - Primer, Assembly - 4 hours
This afternoon was a bit better weather and we got some sunshine here and there, but instead of running out to the airport, I decided to finish the vertical stabilizer.
I set up my priming table on the driveway and moved the vehicles a safe distance away from the spray area. These parts are almost ready. The last step before priming is to wipe them down with a rag covered in acetone. I wear gloves during this process so I don't contaminate the surface with germs...just checking to see if you're paying attention. Actually the gloves are to keep the oil off of the clean metal. |
 |
| |
|
One comment that I had gotten from my DAR, Mel Asberry, after he inspected my RV-9A was that I used too much primer. So this time I am trying to go a little lighter on the primer coats.
This stuff dries really fast, especially in the sunshine. So, after about 15 minutes I was able to handle the parts. |
 |
| |
|
The first thing to get assembled was the rudder stops.
|
 |
| |
|
Next I riveted the rear spar and all of it's components.
|
 |
| |
|
After riveting the rest of the skeleton together it's time to do the skin. The plans have definitely improved on the -10. I was able to follow them and complete the riveting in pretty much sequential order.
|
 |
| |
|
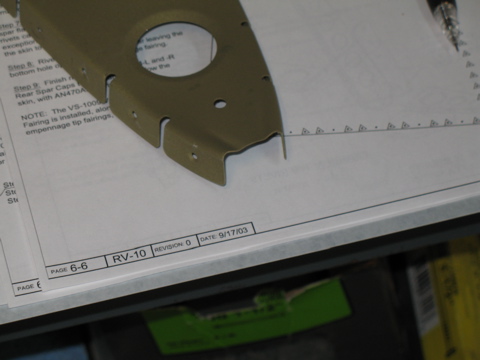
Here's a shot of the nose rib that gives some folks some trouble.
|
 |
| |
|
Here's how I got mine to fit. I used the fluting pliers on the nose to make the front edge just a bit smaller.
|
 |
| |
|
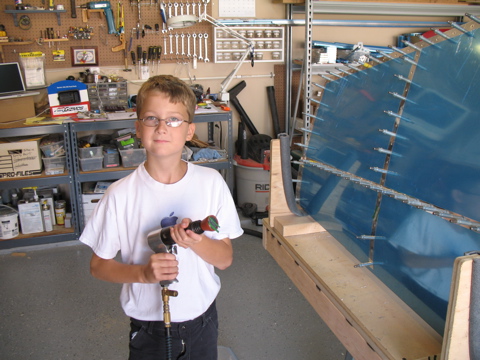
Here's today's helper.
|
 |
| |
|
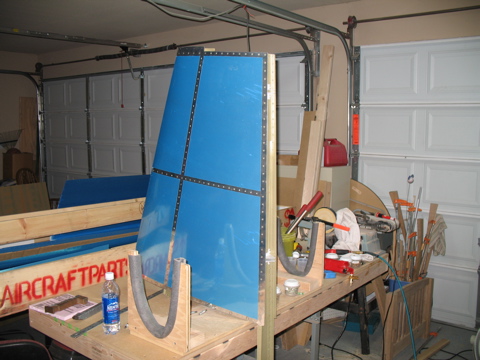
Okay, the VS is done. I was able to do most of the rivets by myself, after my help disappeared.
Notice the cradle on my workbench. It's the wing leading edge cradle from the -9A.
Total time on the vertical stabilizer: 12 hours.
Next: Rudder |
 |

