Previous: Ailerons |
| |
|
6/29/07 - Flaps - 4 Hours
Well, it's been a while but I'm finally back at it. Some time has passed since I assembled the skeletons for the flaps. So, now that I finally I have a bit of time to devote to the project, I got busy removing blue plastic from the skins. |
 |
| |
|
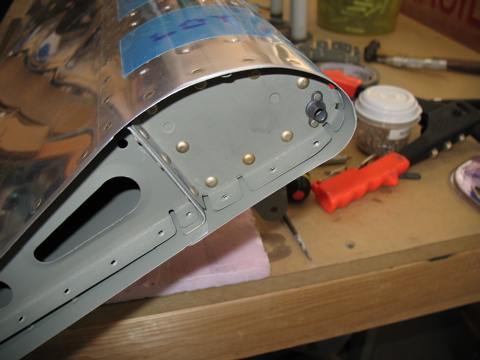
I assembled the left flap and match-drilled all of the holes. Hopefully tomorrow I will be able to do the right side to match. |
 |
| |
|
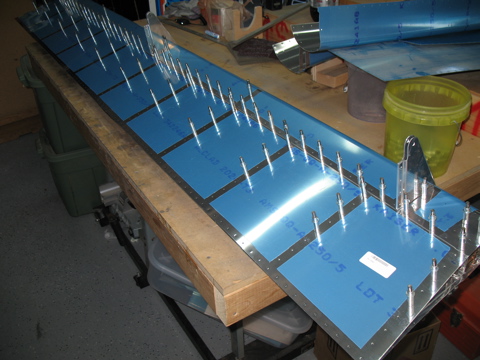
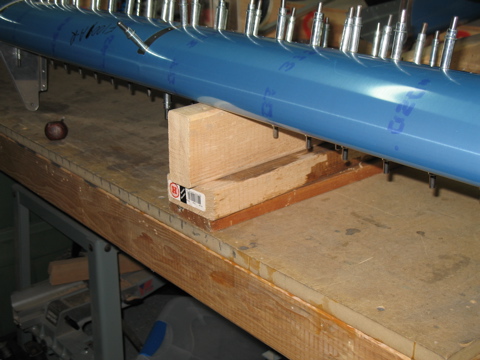
Because the hinge brackets extend so far below the flaps, I raised the flap assembly up off of the workbench using some 2x4s.
|
 |
|
|
7/1/07 - 7/15/07 - Lots of Work - 20 hours
Okay, I did a lot of work that I haven't documented yet, so here's the update.
I did the marathon session of scuffing all the parts for both flaps. As you can see in this picture, I mistakenly scuffed the wrong side of one of the top skins, so it's going to look "used".
I dragged all the parts out onto the driveway and did a big priming job. Fortunately, I think I got the primer on the correct sides of the skins. |
 |
| |
|
As is my custom, I forgot (again) to mask the trailing edge, so I had to clean the primer from the rivet line along the trailing edge in anticipation of bonding them with tank sealant.
Next, I started riveting, following the instructions for sequence. |
 |
| |
|
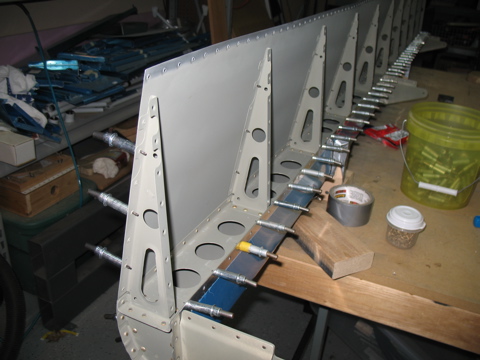
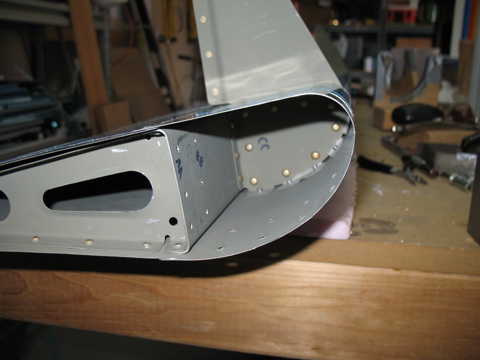
The leading edge ribs are pop-riveted in place.
|
 |
| |
|
Here's the big goof I made on the flaps. Notice that the platenut is on the outside of the rib. It should be on the inside. Arg.
So, I had to drill out the outboard rib on both flaps and swap them. |
 |
| |
|
Here's what the flap looks like with the outboard ribs removed.
|
 |
| |
|
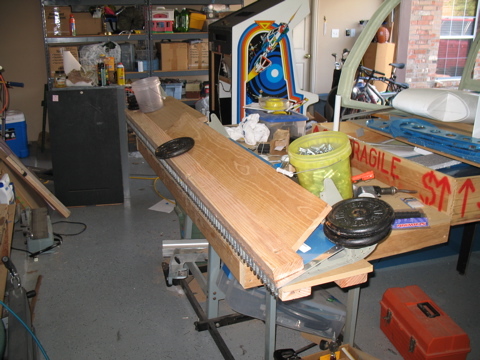
Finally I reached the point where the trailing edges get bonded with tank sealant. I went to Home Depot and bought an 8' piece of MDF shelving material and a few 2x4s to make a flat table surface for the flaps. I then weighed it down while the sealant cured.
Next: Tailcone |
 |

