Previous: Rudder
7/5/06 - Rear Spar - 5 hours
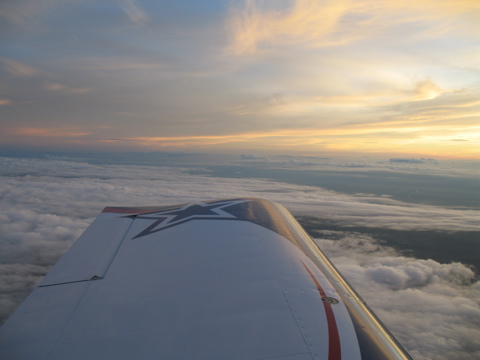
Before I begin I want to extoll the greatness of these aircraft for just a moment. On July 3 I had the chance to show off my RV-9A to my brother-in-law by flying him back home to Beaumont. We made the 260 mile flight in about 1.5 hours, and it saved him from the inevitable six hour drive from Dallas to Beaumont. Also, thanks to the Garmin 396 with XM weather, I was able to do this trip even though there were storm cells scattered around the state.
The return flight was even cooler because I was able to fly above the clouds and take advantage of a serious tailwind. I also got to enjoy some fireworks from the air. |
 |
| |
|
Okay, so next up is the horizontal stabilizer. I really need to get back to the project and make some progress.
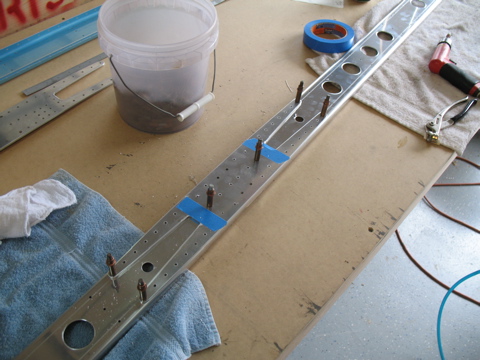
I started by deburring the parts and match-drilling the holes in the doubler plate to the rear spar. |
 |
| |
|
Next, I match-drilled the brackets. These things are powder coated and the holes need to be cleared of the powder coat material.
|
 |
| |
|
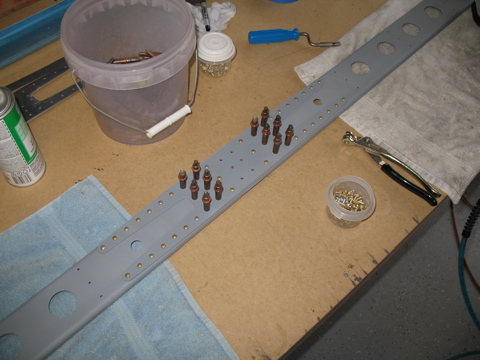
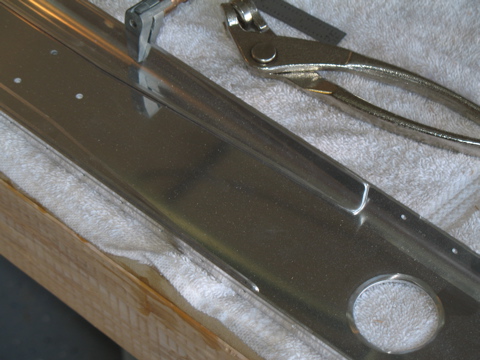
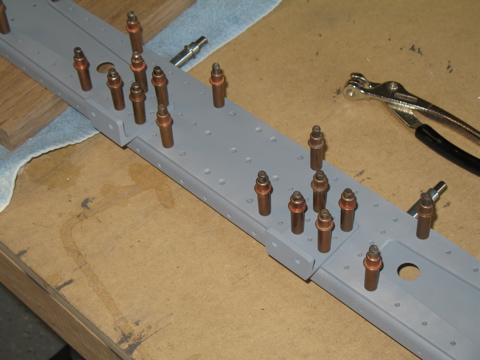
I scuffed the parts and then used the rattle cans to prime the rear spar and doubler plate.
For assembly, I used my pneumatic squeezer with the longeron yoke attached. This is a wonderful tool that produces perfect shop heads. I love it. There are two countersunk rivets that I set first, followed by the round-head rivets. I put the shop heads on the back side, for no other reason than to be able to inspect the rivets once the construction has been completed. |
 |
| |
|
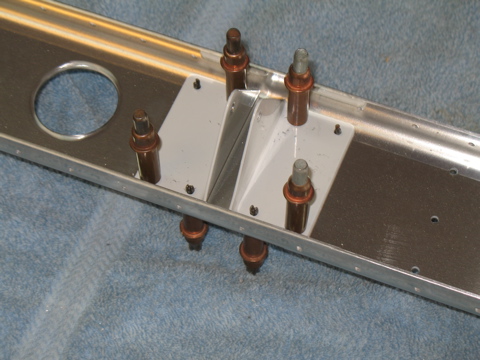
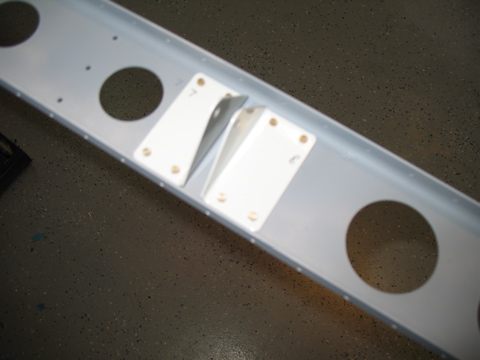
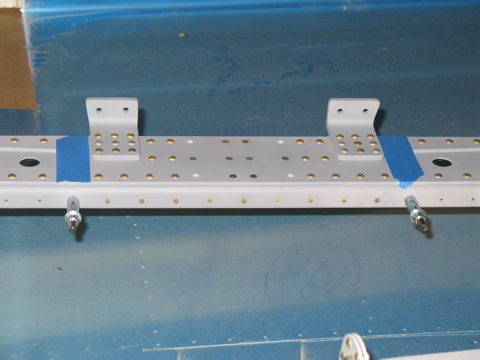
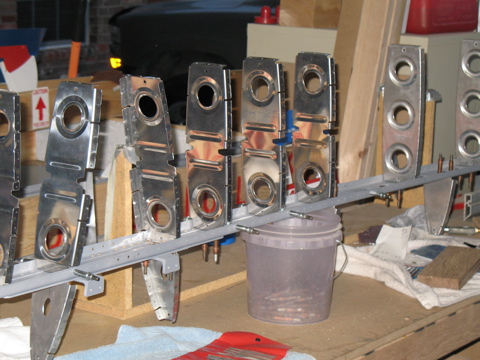
Next, the brackets are attached. Up to now this is really straightforward work that is difficult to mess up. Nonetheless, I am taking proper care to make sure I don't make a goof. You can't see it in this picture, but I numbered each of the brackets to be able to return them to their proper place.
|
 |
| |
|
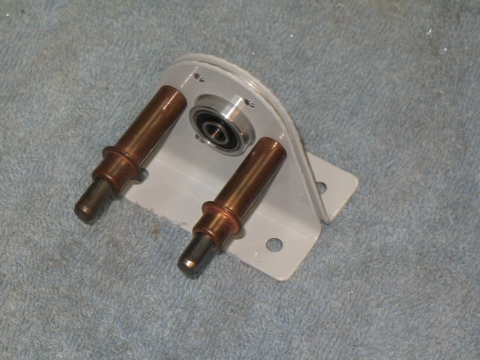
The center bracket has a precision bearing sandwiched inside. These holes are match-drilled before being deburred and riveted.
|
 |
| |
|
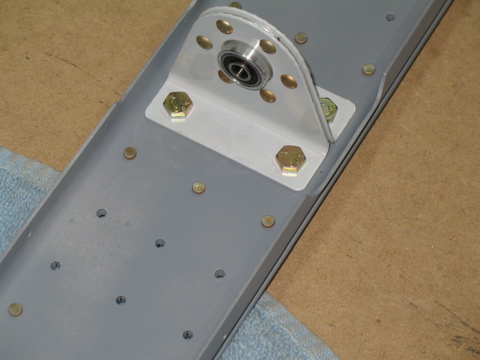
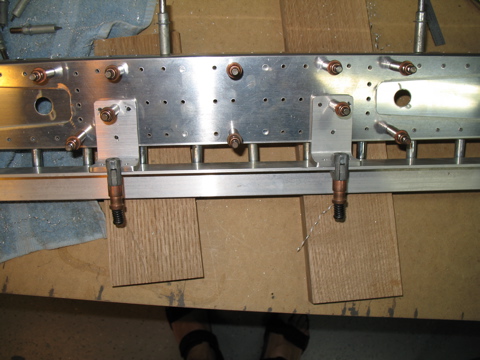
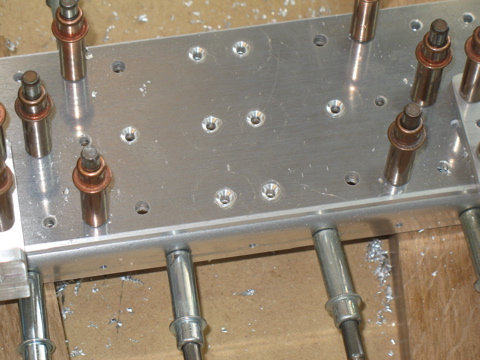
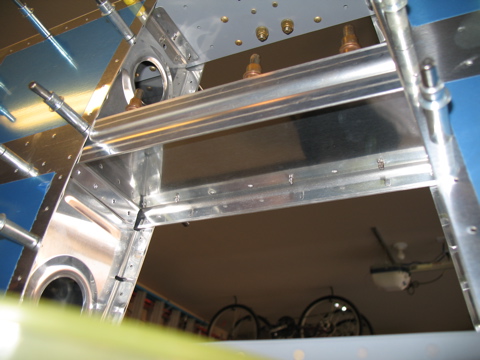
The assembled bearing and brackets are then attached to the rear spar with bolts.
I need to go to the hangar and retrieve some more tools. It seems I need my torque wrench a bit sooner than I expected. |
 |
| |
|
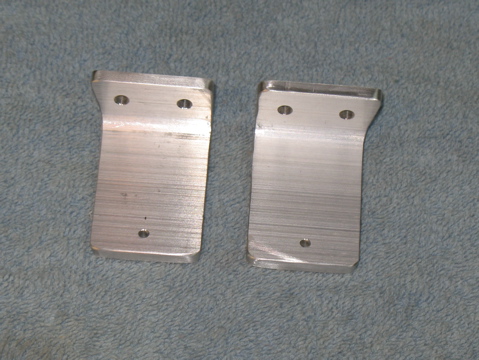
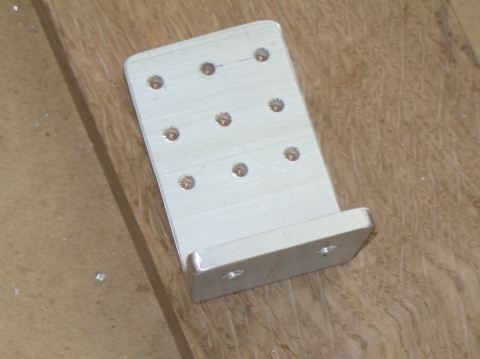
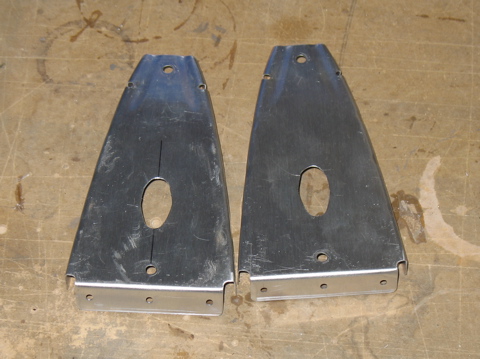
The last thing I did this evening was to fabricate these two brackets. Oddly, this is the first step you get to do on the RV-9A empennage kit. I guess it is a bit tedious of a task to put just at the beginning.
|
 |
| |
|
7/6/06 - Spar Caps - 2 hours
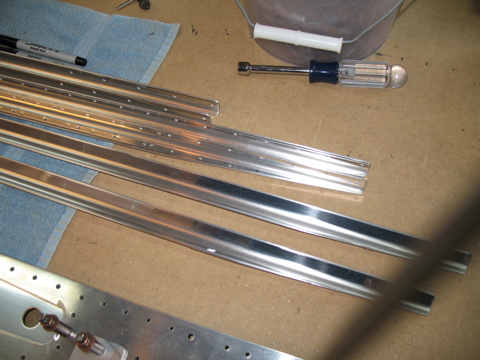
The skeleton of this control surface is quite a bit more beefy than the one on the -9A. One of the differences is these spar caps. I cut the edges as required and then I deburred the edges. |
 |
| |
|
I held them in place with edge clamps and then match-drilled the holes. |
 |
| |
|
7/7/06 - Spar Assembly - 4 hours
Today I did a lot of match-drilling. When I match-drilled the angles I wasn't happy with the one on the right of the picture ended up with the rightmost holes too close to the edge. So I re-fabricated one and drilled it again. |
 |
| |
|
Here's the new one with the holes properly drilled. |
 |
| |
|
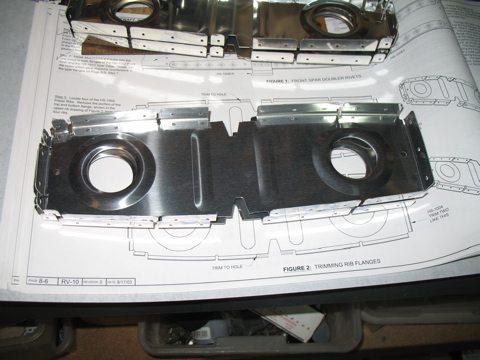
I countersunk the necessary holes in the front side of the spar doubler plate. |
 |
| |
|
| |
 |
| |
|
After dinner I primed all the parts and then commenced to riveting.
|
 |
| |
|
| |
 |
| |
|
7/8/06 - Ribs - 3 hours
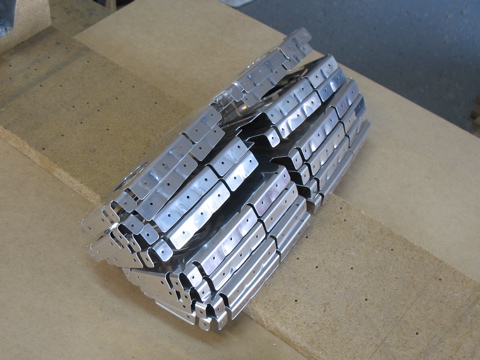
This morning I took the -9A for a morning flight. I flew up to Sherman for some gas and then I did a bit of slow flight on my return flight. Fun stuff. Anyways, in the afternoon I got back to prepping the ribs for the horizontal stabilizer. Not as exciting as flying, but necessary. |
 |
| |
|
| |
 |
| |
|
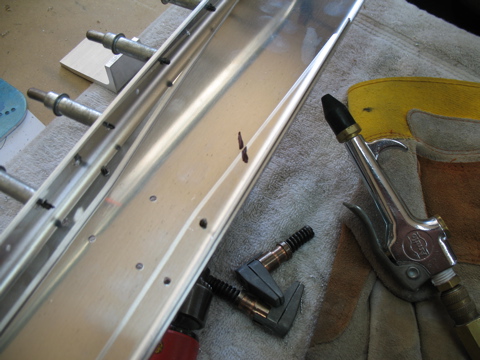
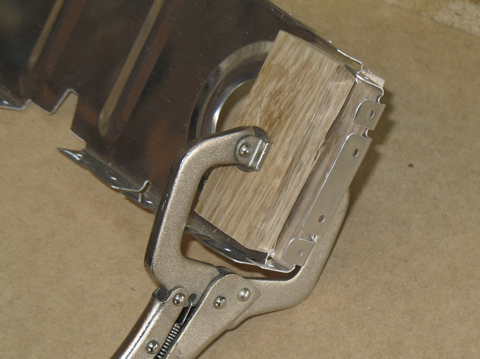
The instructions say to bend two of these ribs at the very front. I used two blocks of wood and a clamp, and then pushed the tip of the rib against the workbench to create the correct bend.
|
 |
| |
|
Two of the nose ribs receive these oblong holes to facilitate the installation of the trim tab cables, I think.
|
 |
| |
|
| |
 |
| |
|
7/9/06 - Skins - 4 hours
I'm really partial to the blue checkerboard design on my RV parts. So, I used the woodburning tool once again to clear the blue plastic from the rivet lines. This takes a while but after one airplane and part of another I'm starting to get good at it.
Next, I installed all of the ribs and spars and stiffeners, and then I match-drilled everything. |
 |
| |
|
| |
 |
| |
|
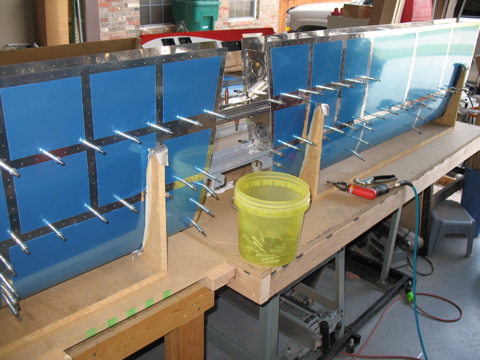
Here it is all clecoed together. Unfortunately it all has to come apart for deburring, priming, dimpling, etc.
|
 |
| |
|
7/13/06 - Deburring, Dimpling - 5 hours
I skipped the monthly EAA meeting so that I could spend some quality time with aluminum parts. I disassembled the horizontal stabilizer and began to debur all of the holes.
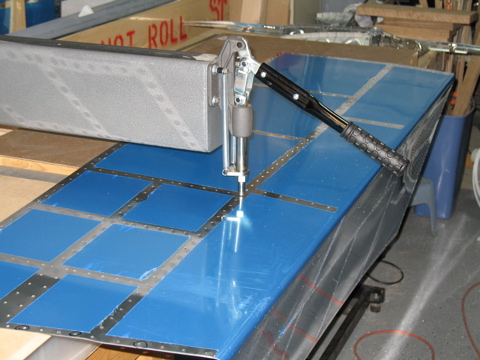
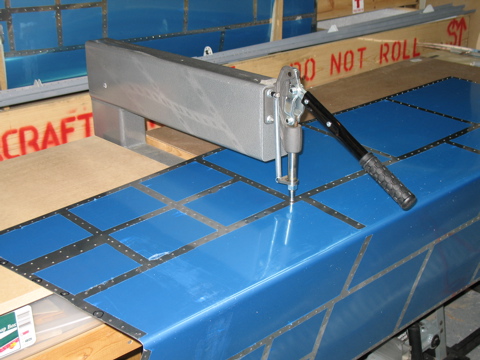
Next I got to use my coolest new tool, the DRDT-2. This device replaces my c-frame dimpler. Instead of whacking the dimple die with a mallet, all you do is push the handle down and this sucker quietly dimples any part you can fit under it. Given the quantity of rivet holes in the RV-10, this tool is definitely a welcome addition to the shop. I will continue using it and commenting on the performance, but for now I love it.
|
 |
| |
|
I got the DRDT-2 from Paul Merems. His company is called Experimental Aero. Do yourself a favor and order one of these things early on in your project. I wish I would have had it for the -9A.
Next: Oshkosh 2006 |
 |

