Previous: Wing Spars |
| |
|
11/19/06 - Fluting - 3 hours
The big stack of ribs is staring me in the face making me wish I had gone with the Quickbuild. I better get started working on these if I ever want to fly this plane.
The first thing I need to do is straighten and flute the flanges of each and every rib. So, with the football game on the tube I sat down for a marathon session of flange bending and fluting. |
 |
| |
|
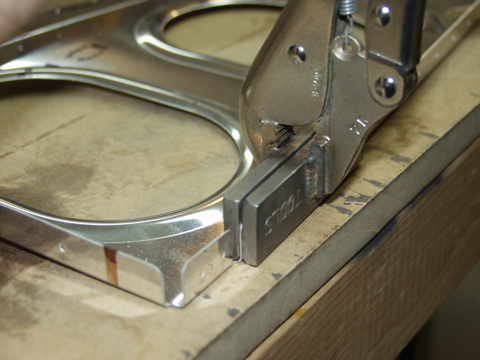
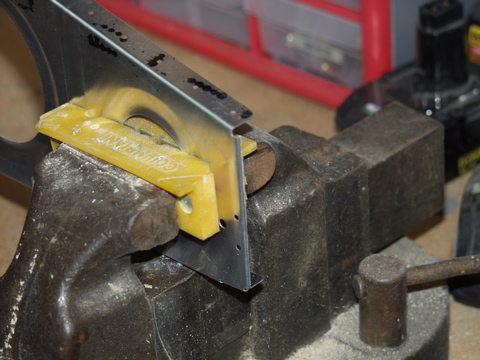
Just in case you don't know what I mean by straightening, here's a picture. When the flanges aren't perpendicular to the ribs I have to use my seaming pliers to bend the flanges to a 90 degree angle.
It's not hard work, but it is a bit tedius.
|
 |
| |
|
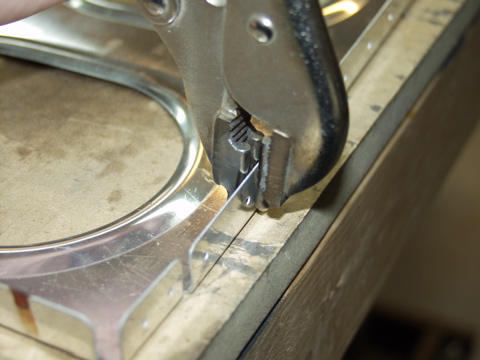
Now here is what I mean by fluting. I have these pliers that I use. I set the rib flat on the workbench and then I put flutes in the flanges between the rivet holes until the rib sits flat on the workbench.
|
 |
| |
|
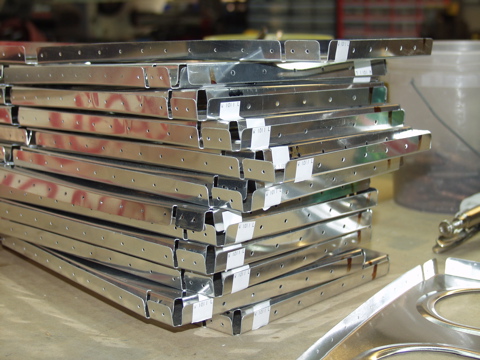
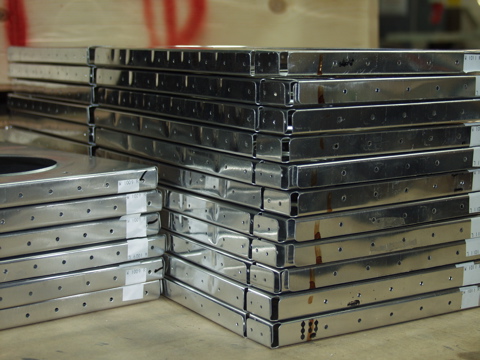
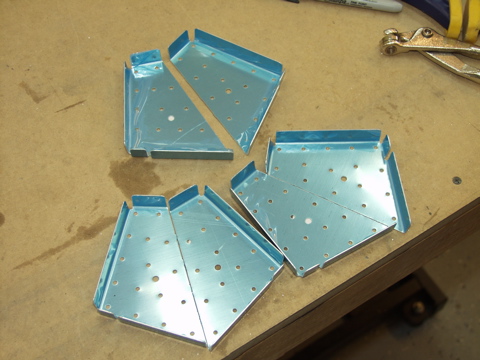
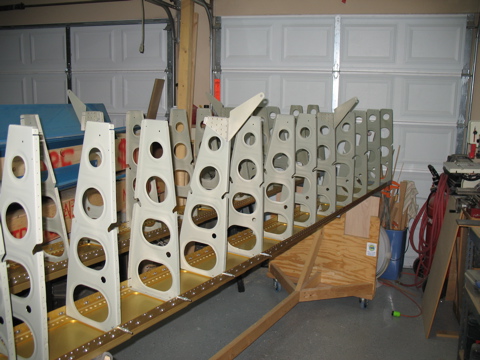
After a bit more than one football game I had a much nicer looking stack of ribs. You can tell that the ribs are straight because they sit flat on top of each-other.
|
 |
| |
|
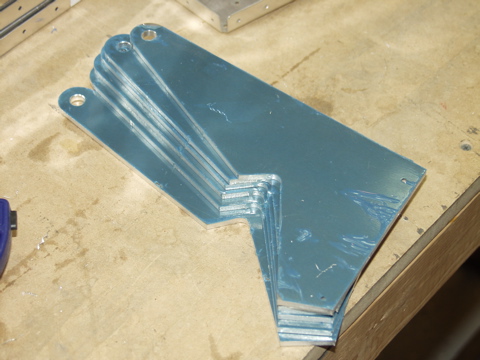
Here's what's coming up next.
|
 |
| |
|
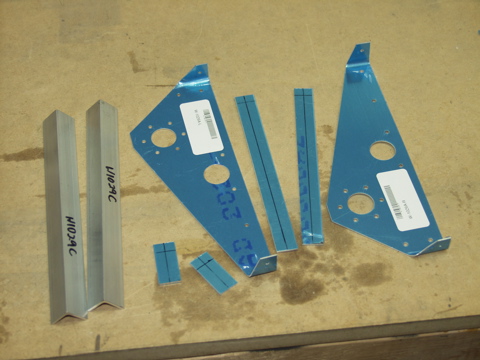
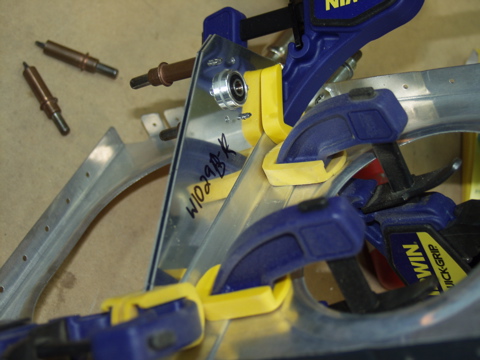
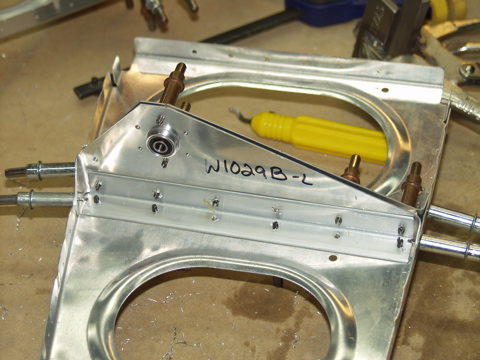
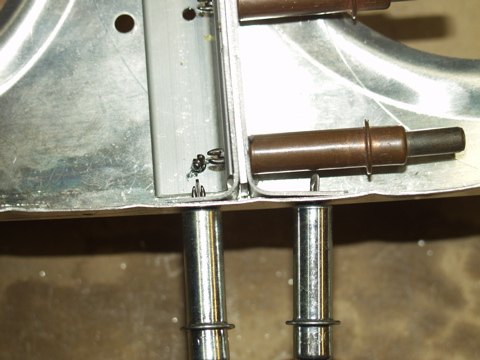
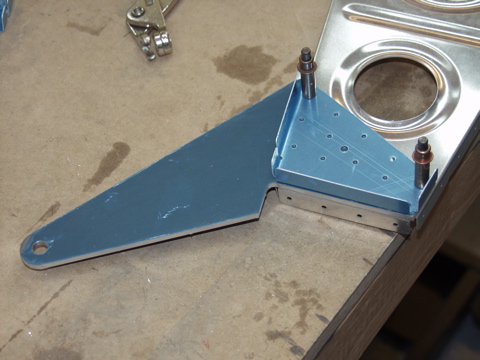
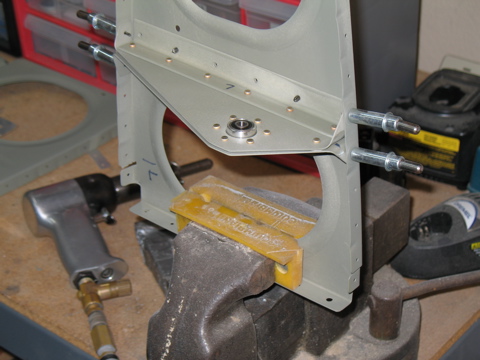
11/21/2006 - Torque Tube Bracket - 1 hour
Man, this thing was a pain to get these parts to fit properly. I think it's because of the tabs on the brackets being bent a little bit weird. The other thing that was a problem was the interference betwen the bracket and the bulge around the hole in the rib. After calling Van's customer support, it became clear that I needed to flatten the bulge somewhat.
So, I took a day off and then I went back to it systematically and made small adjustments to the tabs. Once I did that, I got everything to fit together more accurately. |
 |
| |
|
11/22/2006 - Torque Tube Bracket - 1 hour
This time everything went together as advertised. |
 |
| |
|
|
 |
| |
|
11/23/06 - More Rib Stuff - 4 hours
Happy Thanksgiving! We had some family activities today, but I also got a chance to work on the plane a little bit. Mostly I worked while I watched the Cowboys play football.
I started by dividing these riblets. They come in sets of two. I used the bandsaw to cut the little aluminum tabs. |
 |
| |
|
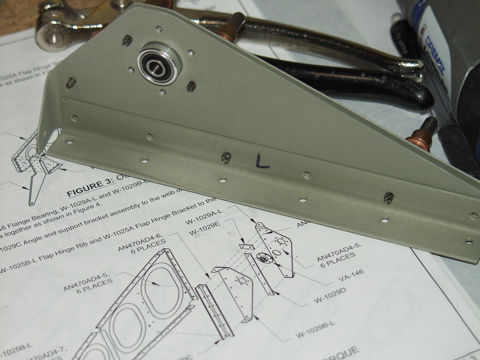
Next come the flap brackets. There are six of these: three per side.
|
 |
| |
|
I noticed that the instructions say that these are predrilled, but in reality there were only two holes predrilled. I had to match-drill the rest of them myself. This is thick material, so it was a bit more than trivial.
|
 |
| |
|
Two of the ribs need to be modified to account for the outboard tank attach platenut. I made the cut with the bandsaw and then cleaned it up on the bench grinder. |
 |
| |
|
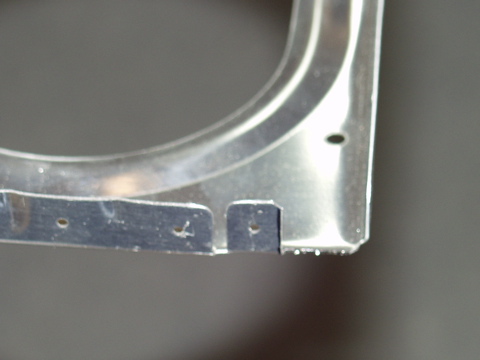
Two other ribs need to be modified by removing the entire flange from the aft end of the rib. The instructions say to leave the radius, so I used a rotary cutter in the die grinder to cut away the flange.
|
 |
| |
|
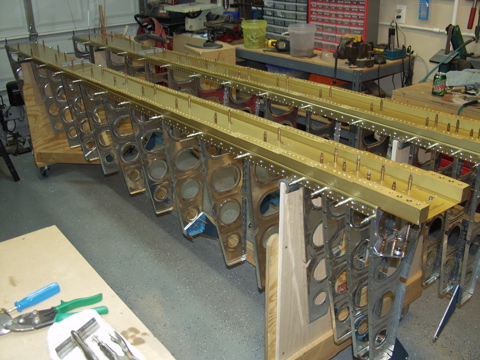
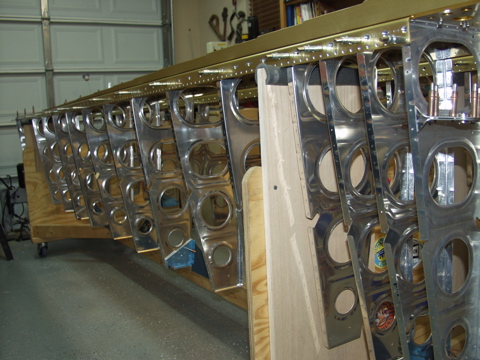
Now for a little fun. I installed all of the ribs on the spars and match-drilled the holes in the spars. This worked fine, but I don't like not having easy access to both sides of the wings, so I think I'm going to build a better wing stand before assembling the wings.
The structure is going to consist of two posts at the root ends of the spars, and then I am going to put a workbench out at the tip end of the spars. I am going to raise them up to about 5 feet, which should be a good working height for me. |
 |
| |
|
11/24 - 11/26/2006 - Deburring - 10 hours
Well, I'm sorry to say that I don't have any pictures to show you of my three days of deburring and scuffing. It was just so exciting that I forgot to take pictures. :-)
Suffice to say that I am pretty tired of deburring and scuffing. I had hoped to get this all done by the weekend so I could start assembly this week, but we did Christmas lights on our house, which cut into the deburring sessions. |
 |
| |
|
11/27 - 12/3/06 - Misc - 20 hours
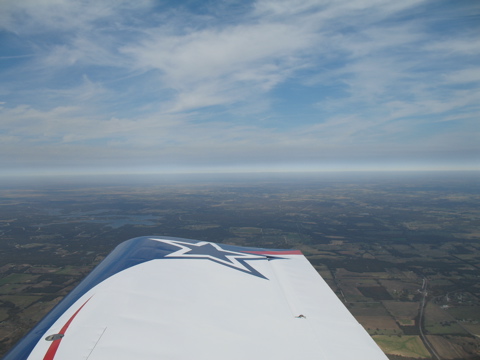
I did do a bit of flying in November. Here's a nice picture of the right wing as I stay under the broken, wispy cloud deck at about 8500 feet. The RV-9A is a superb airplane. I hope the RV-10 is similar. |
 |
| |
|
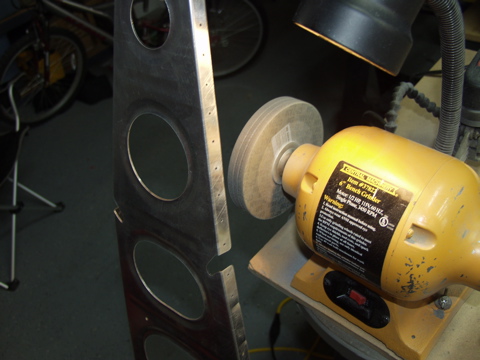
For those of you who are following along and asking yourself "what's the big deal about deburring?", here's the lowdown. Each of the ribs needs attention. The edges can have sharp "burrs" because of the machining and forming processes at the factory. These burrs need to be removed for working safety, but also for structural stability. Cracks can form when there are burrs.
My deburring tools include this bench grinder and a pair of Scotchbrite wheels. This is useful for long exposed edges but not so good for tight spots, so I use some other tools to deal with the "tricky" parts. |
 |
| |
|
Next, I have a pneumatic die grinder in which I have chucked a smaller Scotchbrite wheel. These wheels don't last too long, but they do a good job on interior edges. The only problem with this tool is that it uses a lot of air from the compressor, so the compressor pretty much runs nonstop while I use it.
|
 |
| |
|
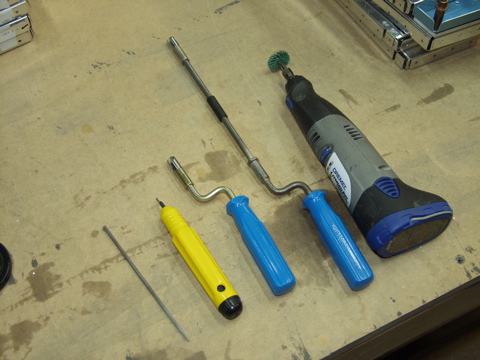
Deburring doesn't only involve the long, straight edges. I also have to debur all of the hard-to-reach edges around the flanges and in the corners. To do this, I use a variety of hand tools, including (from the left) a file, an edge deburring tool, two hole deburring tools, and a Dremel motorized tool.
That's about the extent of my deburring arsenal. I have used these tools way too much this past week, and I'm happy to be able to give them a rest for a little while. |
 |
| |
|
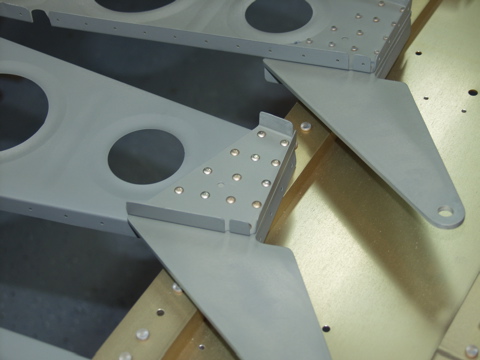
So fast forward a few days to after I've finished all the deburring. I also have finished scuffing all of the shiny stuff off of the ribs and I primed all of the ribs and brackets and stuff.
With all of that done, I finally get to start assembly. |
 |
| |
|
| |
 |
| |
|
| |
 |
| |
|
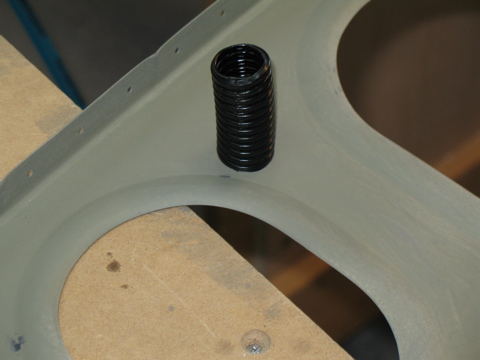
I am going to use this ribbed conduit stuff again. I used it on the -9A and it worked good. The plans call for snap bushings for the wire runs, but they also have a tech note on their website about using this stuff. Its cheap and makes for a neat installation. The holes need to be enlarged to 3/4" to fit around the smaller outer diameter of the ribbed material.
|
 |
| |
|
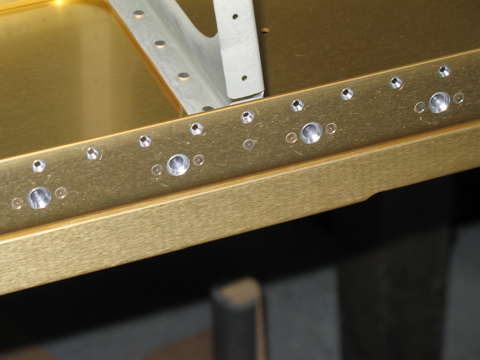
Next, the ribs get riveted to the main spar.
|
 |
| |
|
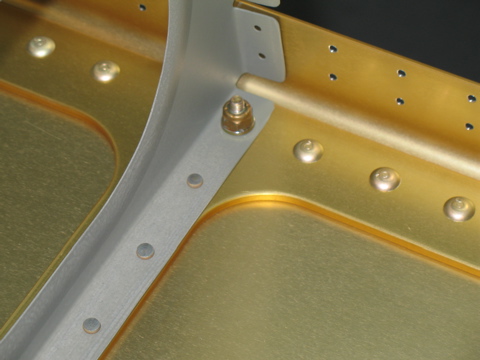
Finally, hardware gets installed and torqued.
|
 |
| |
|
Here we have a nice picture of both wings with the main ribs installed on the main spars.
Next comes the aft spars. |
 |

