Previous: Overhead Console |
| |
|
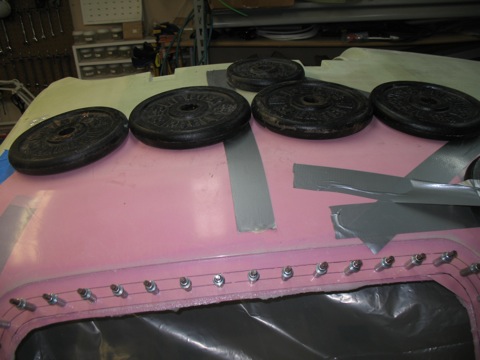
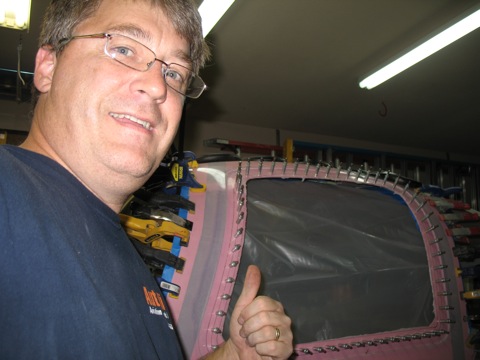
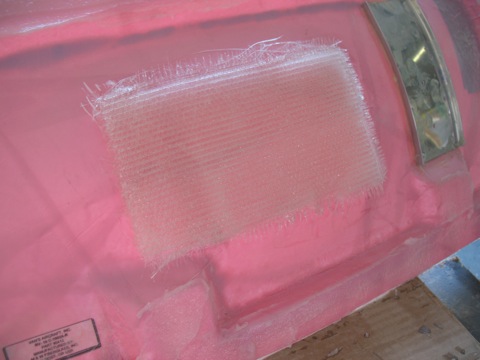
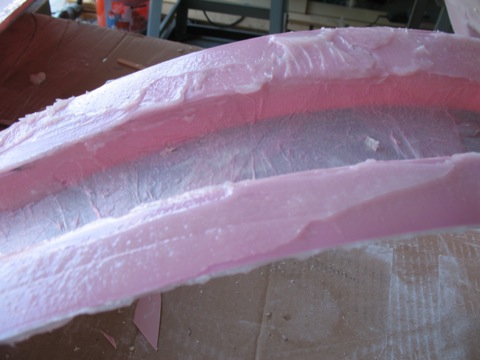
9/5-9/12/10 - Doors, etc. - 20 hrs
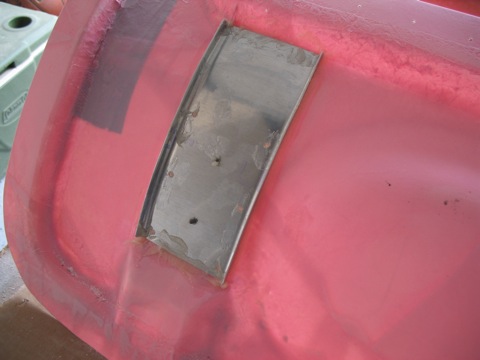
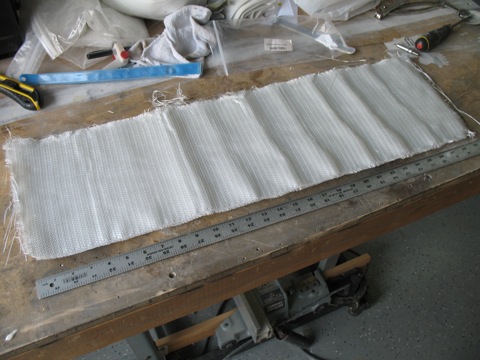
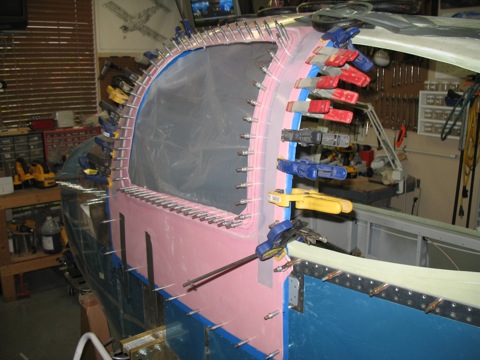
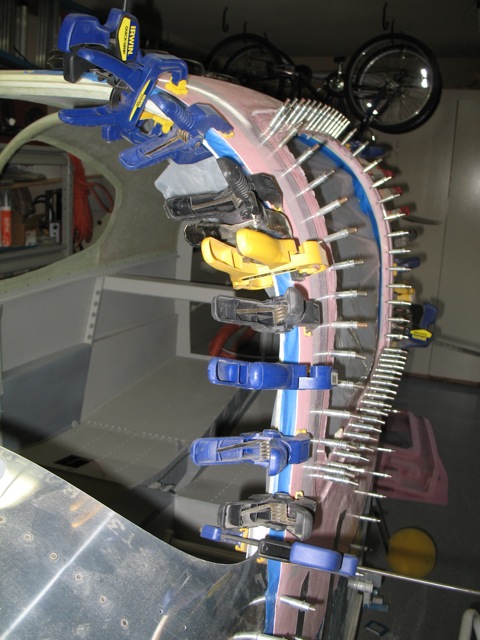
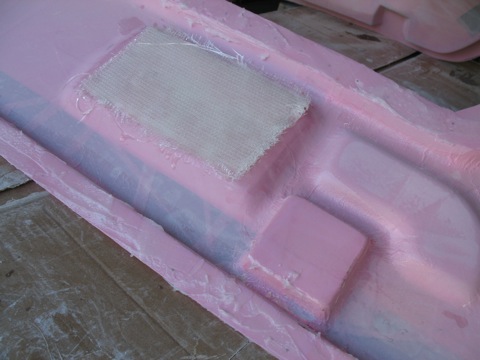
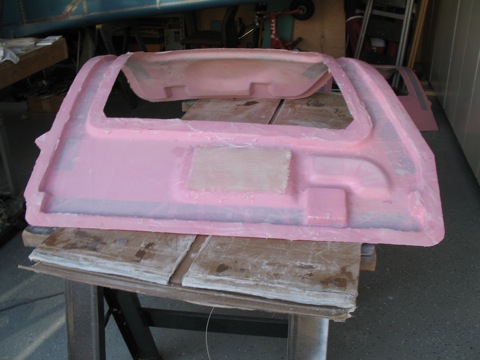
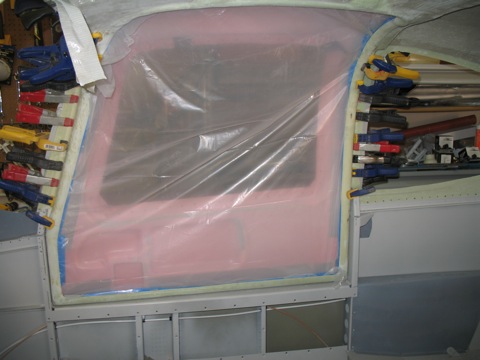
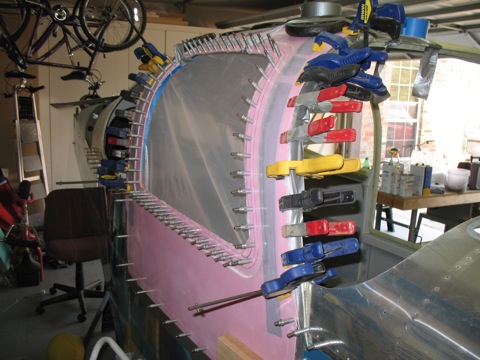
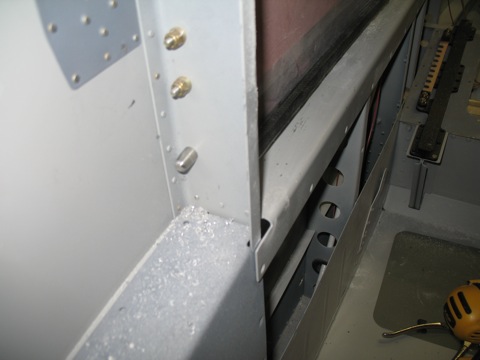
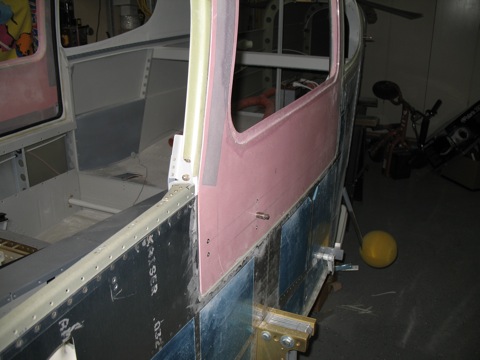
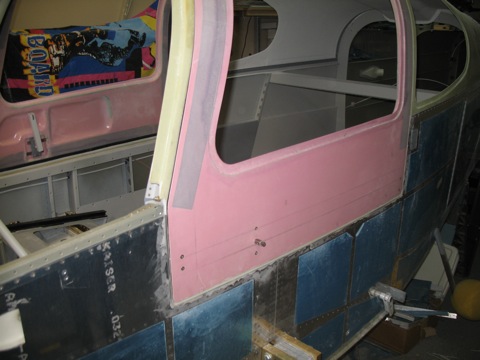
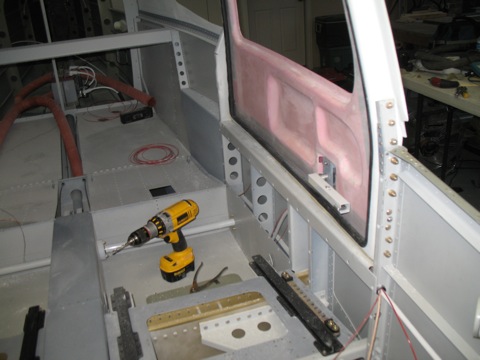
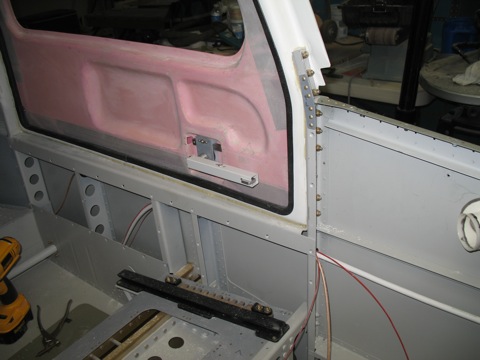
This is going back in time for me. I just found these pictures of the work I did on the doors, so I figure I'd better just go ahead and post them and get it over with. Honestly since it's been this long, there are bound to be some details that I forget. I am working on the doors again presently and this might be helpful as I try to remember what still needs to be done. |
 |
| |
|
| |
 |
| |
|
| |
 |
| |
|
| |
 |
| |
|
| |
 |
| |
|
| |
 |
| |
|
| |
 |
| |
|
| |
 |
| |
|
| |
 |
| |
|
| |
 |
| |
|
| |
 |
| |
|
| |
 |
| |
|
| |
 |
| |
|
| |
 |
| |
|
| |
 |
| |
|
| |
 |
| |
|
5/8/2010 - Door seals, etc. - 8 hours
So here we are back in the present tense. With the cabin top finally permanently attached, I reattached the doors. I don't want to do too much work on the edges and the gaps until I have the pins installed and the door seals in place because I understand that these items can change the way the door sits on the plane. So I worked on getting the door at least to be flush with the fuselage sides. |
 |
| |
|
The hinge hardware is just steel, so I cleaned them up with a scotchbrite pad and then shot a coat of primer.
|
 |
| |
|
The hinges still fit! I do notice that the door has some high and low spots relative to the cabin top, so I will need to level the two using superfil or something.
|
 |
| |
|
Starting to fit better.... |
 |
| |
|
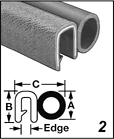
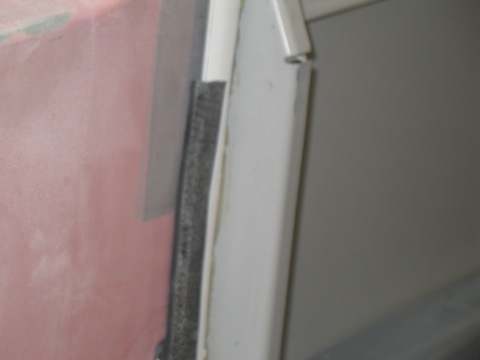
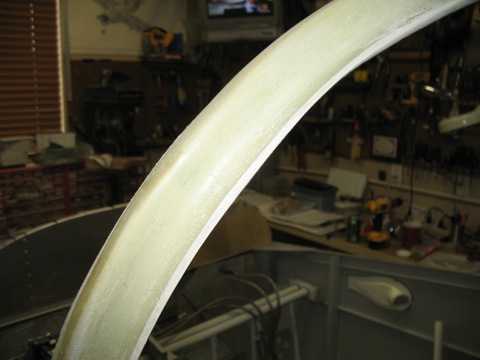
I am not using the door seals supplied with the kit. Instead I am using a door seal from Mcmaster-Carr (part number 1120A311) that a lot of other builders have had success with. These seals go on the cabin top rather than on the doors. These seals also dress up the edge of the door frame and make it look much more professional and finished.
|
 |
| |
|
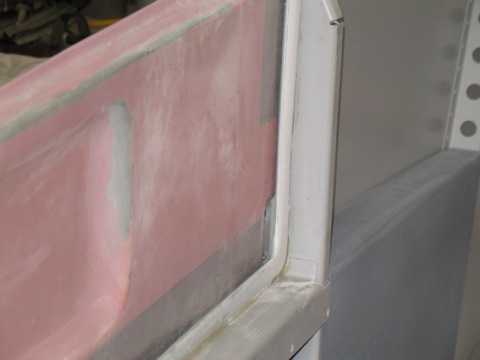
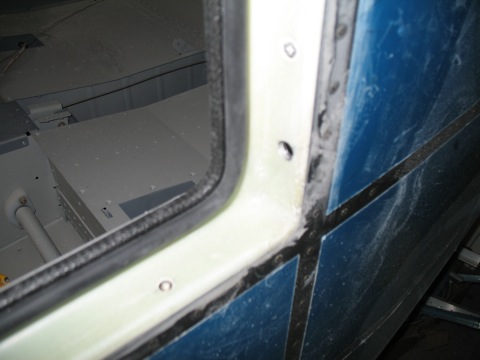
The only drawback to these door seals is that the flange around the door opening needs to be trimmed back in order to provide adequate space for the seal.
I have read that the door flange needs to be trimmed all the way down to the base of the gutter, which doesn't leave much material out on the edge.
Here is a picture of a small piece of the door seal in place with the door closed. I still have some trimming to do. |
 |
| |
|
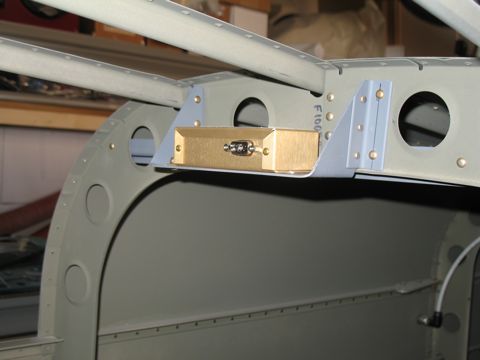
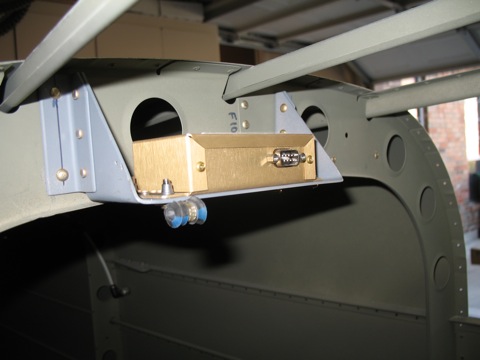
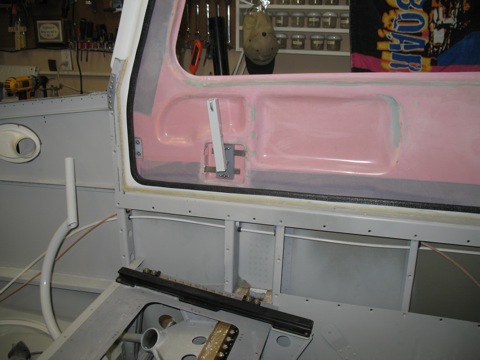
| Okay, here is an update to my magnetometer shelf. I realized that it would be difficult to remove the magnetometer once the top skin is in place. So I decided to install nutplates. |
 |
| |
|
Here is the result. All ready to be wired. |
 |
| |
|
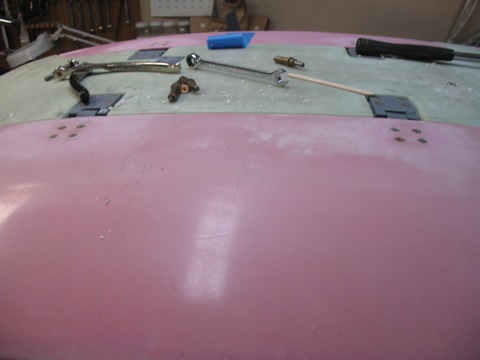
I also ordered the amazing door latch designed by Sean Strasburg (www.planearound.com). There is a nice writeup about the installation on VAF by Scott Schmidt. Basically it adds a center latch to the mechanism that pulls the door in from the center and assures that the pins go in to the sides properly. The best part is that the center latch is actuated by the regular door handle, so there are no additional buttons to push or things to stick out of the airplane.
So I need to wait until I get the new latch kit before I install my door pins. |
 |
| |
|
5/9/2010 - Door seals - 4 hours
After exchanging a couple of emails with the guys on the RV-10 list, I decided that the door frames needed to be trimmed some more. |
 |
| |
|
I trimmed the flange all the way down to the base of the gutter.
|
 |
| |
|
With the flange trimmed, the door seal fit much better.
|
 |
| |
|
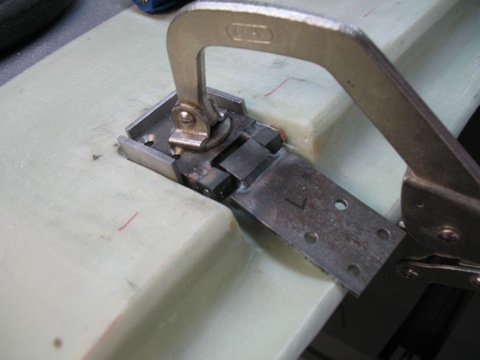
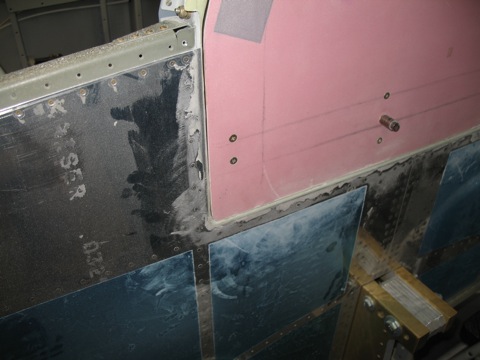
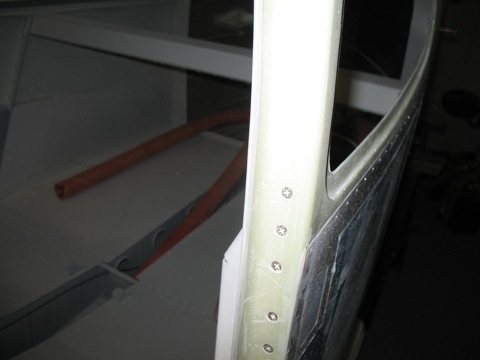
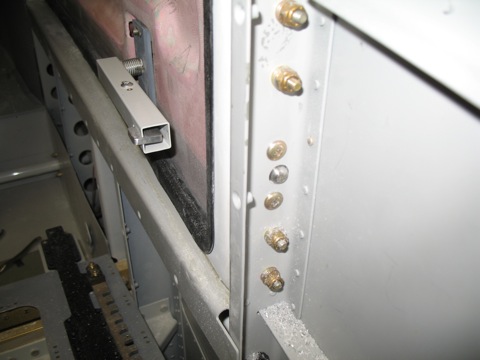
Next, I drilled holes for the door latch pins. I only did the left door.
|
 |
| |
|
I got these guides and pins from the now defunct rivethead.aero website. I got these several years ago and am just now getting around to installing them. These days they can be purchased from www.iflyrv10.com but I have never purchased from them so don't consider this a recommendation.
|
 |
| |
|
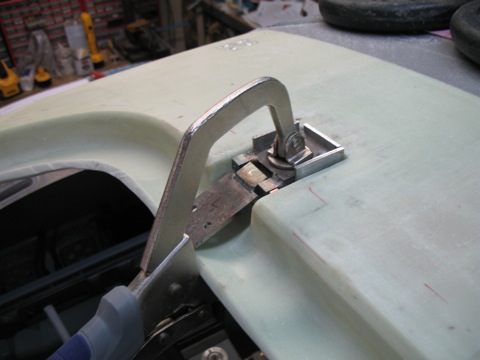
I need to adjust the racks so that the forward pin extends further into the front bulkhead. As you can see in the picture the pin only extends about 1/8" into the bulkhead. In order for the pins to hold securely, they need to extend further.
|
 |
| |
|
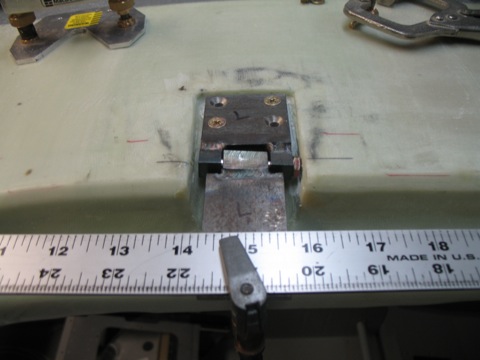
This is the aft pin. It extends too far into the aft bulkhead.
|
 |
| |
|
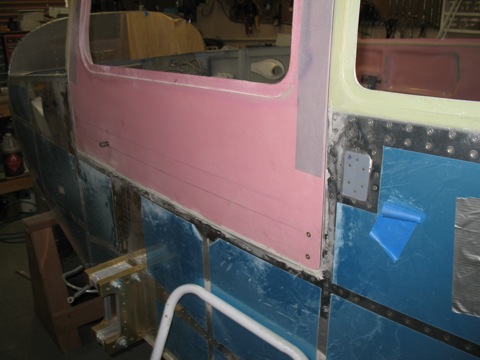
When the door is closed and latched it fits the fuselage fairly nicely.
|
 |
| |
|
| |
 |
| |
|
| |
 |
| |
|
Here is the door closed with the McMaster-Carr door seal in place.
Next: Door Latch |
 |
| |
|

