Previous: Misc. Work |
| |
|
1/24 - 1/30/11 - Panel Work - 20 hrs
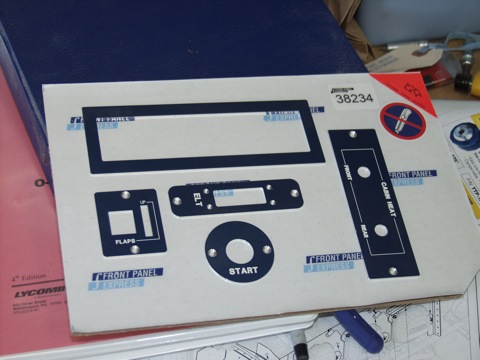
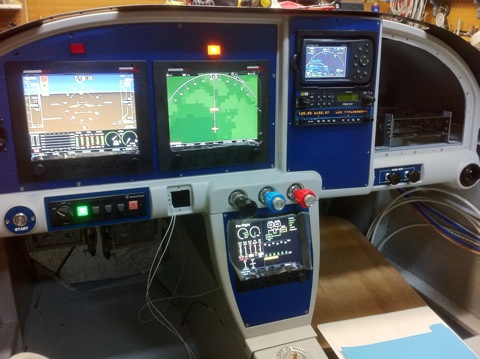
This week I've been working on the instrument panel. Previously I had designed several panel inserts using the free design tool from Front Panel Express (http://www.frontpanelexpress.com/). I have a few additional panel inserts on order, but these will get me started.
The nice thing about these panels is that the labels are engraved and then filled, not just silkscreened. So they will never rub off. |
 |
| |
|
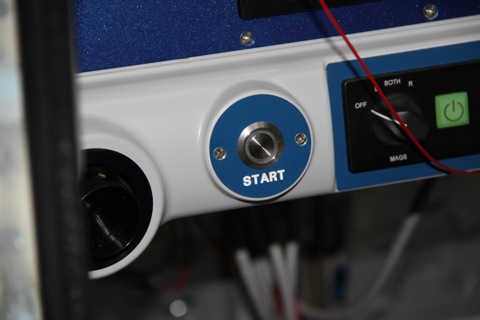
I have shown this picture previously, but let me expand on it a bit. This is obviously the start switch. But it is unique because it is wired to the VP200 and therefore has some interesting features. It is not active unless the VP200 is in a mode that activates it. When it is active, the LED ring around the button lights up. I can't wait to see it in action. |
 |
| |
|
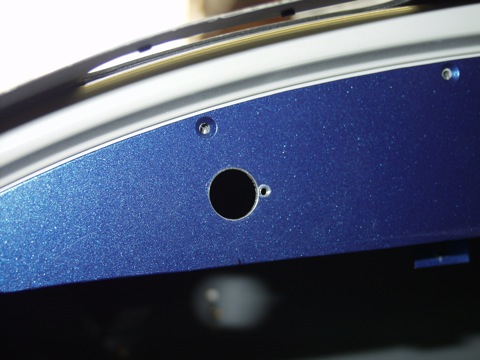
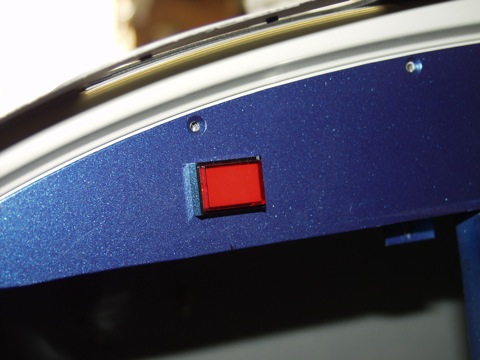
I have finally installed the master warning lights. The idea is that the master warning light blinks to alert me to something I need to look at on the screen.
There are two warning lights. The left one is attached to the EFIS/EIS. The second one is attached to the VP200. |
 |
| |
|
These are the same lights I used on the -9A. They are nice because the clear cover is removable so I can add a label right on the lighted area.
|
 |
| |
|
I installed the cabin heat cables. Here is the panel insert for the cabin heat. The cables exit through the firewall and then wrap around to the appropriate vent.
|
 |
| |
|
While I don't have everything hooked up yet, I went ahead with a smoke test to make sure I had some of the recent wiring tasks done correctly. It's a lot of fun to see everything lit up and it gives me a lot of incentive to finish the plane so I can go flying.
I have a lot of configuration yet to do, but the VP200 is now communicating with the EFIS, and I am getting engine information displaying on the VP200. I realized that I don't yet have the GPS connected to the VP200 since GPS data isn't being shared on the connection from the AF4500. So I am going to add a wire from the 496.
Pretty neat, huh? |
 |
| |
|
Okay, back to work. I am finally ready to install the sensors for the door latches. I am using the magnetic switches that came with the kit supplied by Van's, but since I have the VP200, I don't have to use the relays. I simply wire the two switches for each door in series, and then I wire one end to ground and the other end to one of the switch inputs on the VP200 display unit. I can then configure the VP200 to display an annunciator warning until the door is closed. So the master warning light will stay lit as long as the door pins are not secured in the closed position. There can also be an audible warning. |
 |
| |
|
The sensors are positioned so that the magnetic switch is closed whenever the latch pin gets close to the sensor.
|
 |
| |
|
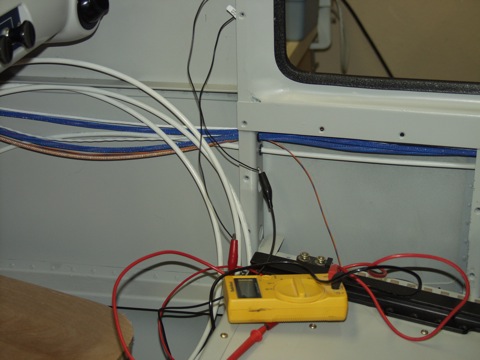
I'm also trying to manage the wires and keep everything organized. Each time I run another wire I have to redo the zip ties. But zip ties are cheap so I don't mind.
|
 |
| |
|
I've still got a lot of small wiring tasks to do. I also need to install the transparencies in the doors.
Tomorrow the prop is supposed to be delivered, so I am running out of excuses.
|
 |
| |
|
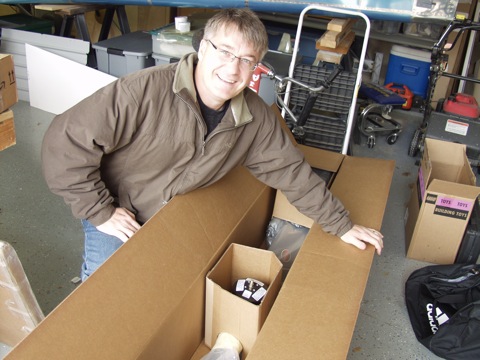
1/31/2011 - Prop arrived
I ordered the prop on January 16 anticipating a 12-16 week wait time. Imagine my surprise when Vans sent me a letter telling me that Hartzell was ready to ship after only one week! So here it is two weeks later and I am looking at a brand new Hartzell blended airfoil prop.
I guess I didn't realize how large this thing would be. It's 80" long. The prop on my previous plane was a three-blade Catto prop, and it was only 66" in diameter. Also, it is quite heavy. |
 |
| |
|
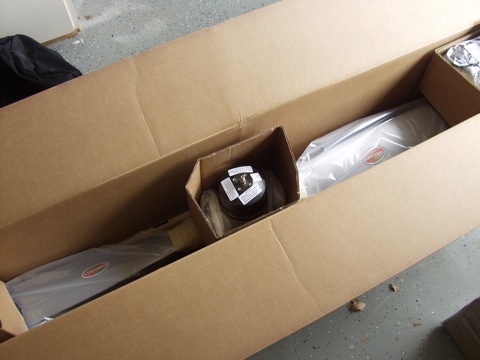
I think I'll leave it in the box until I am ready to bolt it to the engine. |
 |
| |
|
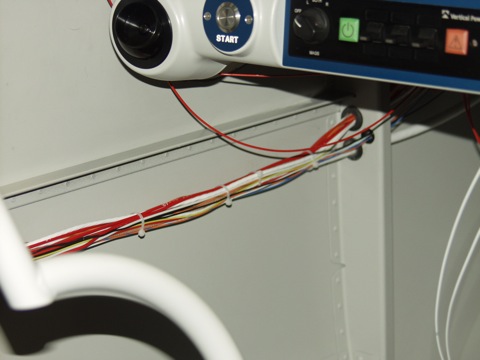
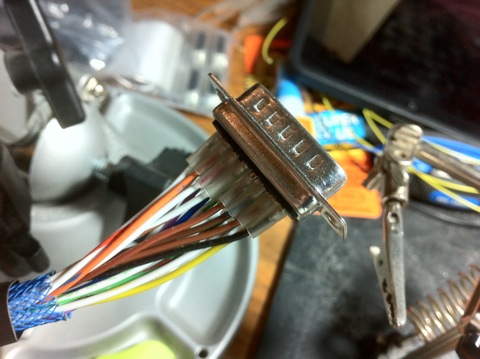
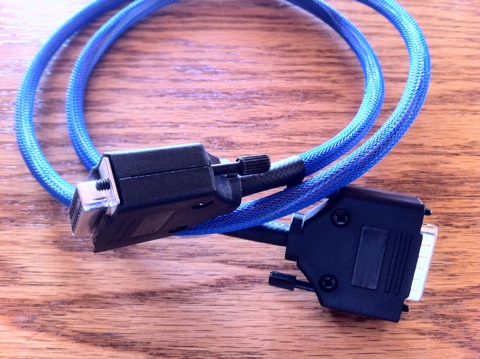
One more item that neglected to mention in my previous post was that I made custom cables for the VP200 to go from the control unit to the switch unit and to the display unit. The cables that come with the system are 6' long each, so I was constantly battling a big coil of extra wire underneath the cowl.
So I ordered some 15 pin d-sub connectors and set out to build my own, shorter, cables.
The instructions say that all 15 pins must be connected on both ends, so I found 15 unique colored tefzel wires. |
 |
| |
|
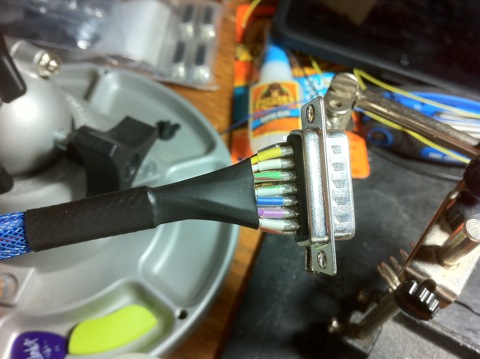
I also used TechFlex to provide some chafe resistance. The ends of the TechFlex have shrink tubing holding it to the end of the wire.
|
 |
| |
|
So here are the results of my custom cable making enterprise. This picture only shows one of the cables, but I actually made two.
|
 |
| |
|
Next: Wingtip Lights |
|

