Previous: Gear Fairings |
| |
|
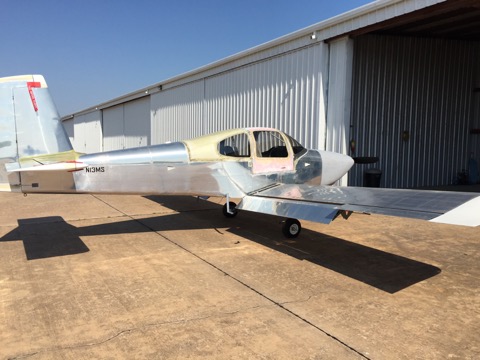
9/19/2014 - She's Airworthy!
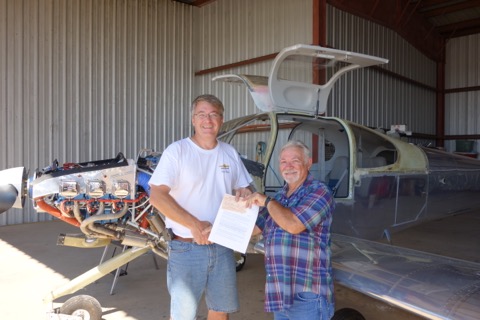
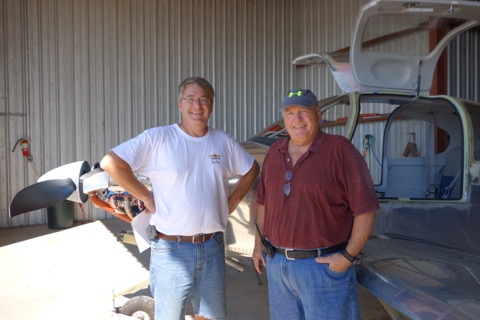
Finally, after putting it off for as long as possible it was finally time to invite Mel Asberry to come out and look at the project. My to-do list is pretty short at this point.
Drumroll please...
|
 |
| |
|
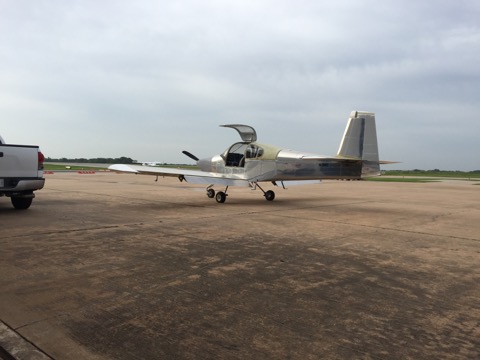
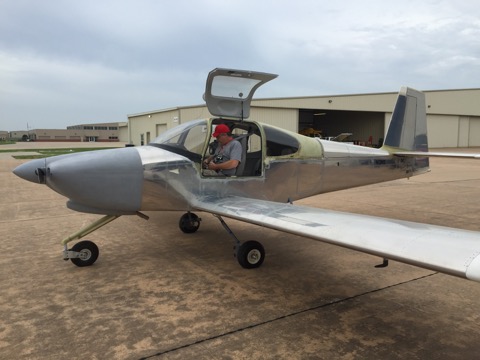
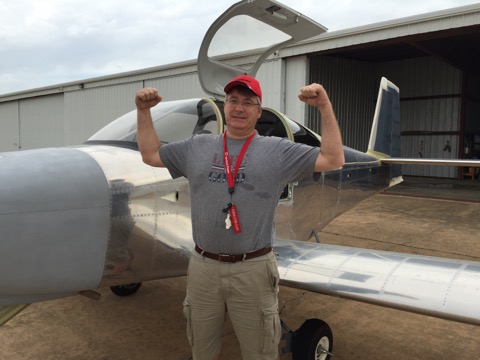
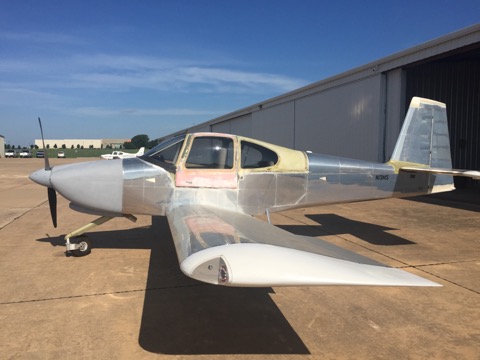
Suspense over...it passed. It is now a real-live airplane. Yahoo! Don't I look happy? |
 |
| |
|
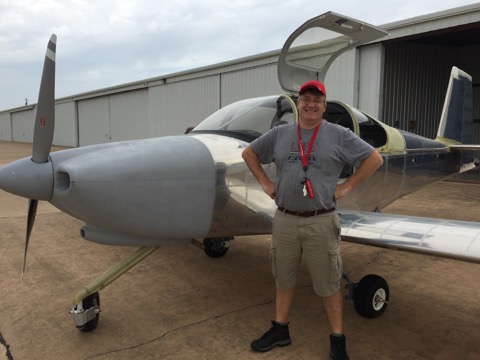
My dad came out for the inspection as well. So I have a witness that it passed with flying colors!
|
 |
| |
|
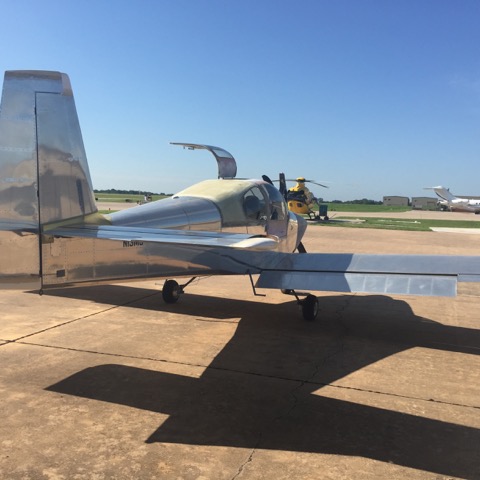
Another thing that I don't have a picture of is the certification of the pitot/static system and the transponder. This was done by a local guy who met me at my hangar and we hooked up a bunch of fancy test equipment to the plane. He checked everything up to 20,000 feet and then signed my logbook. |
|
| |
|
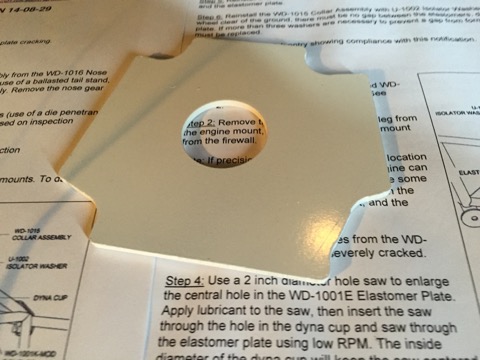
Ok, so believe it or not there was an AD for the nosewheel strut that I decided to go ahead and comply with. It involves adding a thick steel plate between the shock bushings and the engine mount.
I didn't get any pictures of me installing it, but I did manage to snap a photo of the plate all painted and pretty. I'll hopefully never see this thing again. |
 |
| |
|
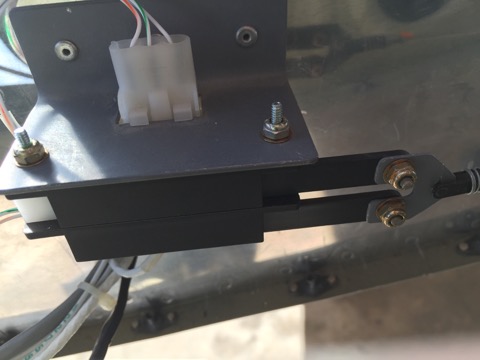
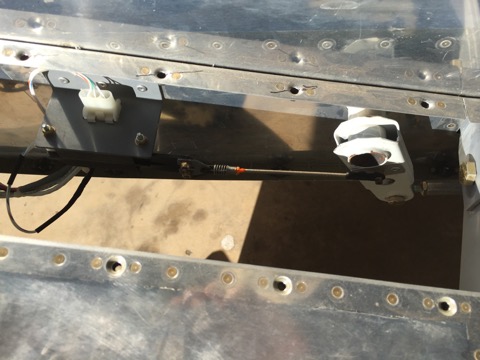
Oh, and I added another flap position sensor so I could drive the Ray Allen LED position indicator on the instrument panel.
|
 |
| |
|
| |
 |
| |
|
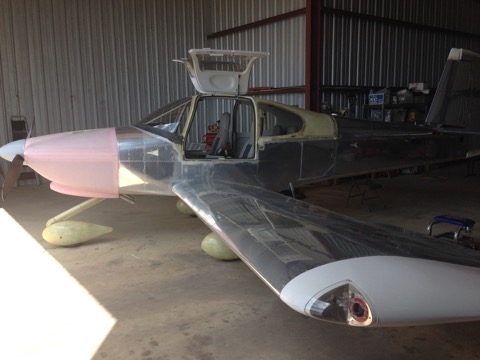
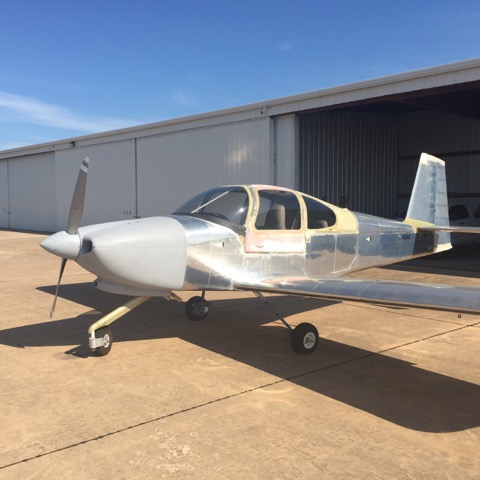
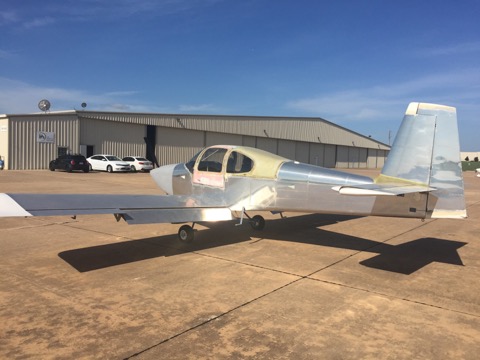
Also, I didn't like the pink cowl, so I filled the pinholes as much as I could and then sprayed grey primer.
|
 |
| |
|
Here's how she looks in December.
|
 |
| |
|
2/5/2015 - I went flying with Alex. He does transition training in his RV-10 and conveniently he lives here in the metroplex. So on a cold but clear day in early February, we went flying and he taught me how to land an RV-10 safely.
|
|
| |
|
So if you've been following the weather here in Texas this year you might know that we have had record rainfall. It seems like ever since I did my flight training it has either been freezing or else it's been raining. I mean just about every day for three months. Needless to say it definitely cut in to my flight testing plans. |
|
| |
|
| |
 |
| |
|
| |
 |
| |
|
6/20/2015 - First Flight
Finally, after many delays, I flew the plane. My friend Todd was there to be an extra set of eyes and the ground crew. I had him look over everything and make sure I didn't miss anything. And then it was just me and the plane.
|
 |
| |
|
| |
 |
| |
|
| |
 |
| |
|
| |
 |
| |
|
On the second flight I took the plane out to the practice area east of the field. I will compose my flight test thoughts in more detail and add them to another section of the site.
For know I can tell you that the engine runs great, all the systems are behaving themselves, and my biggest concern is a heavy left wing. Maybe I need to go on a diet. |
 |
| |
|
| |
 |
| |
|
| |
 |
| |
|
| |
 |
| |
|
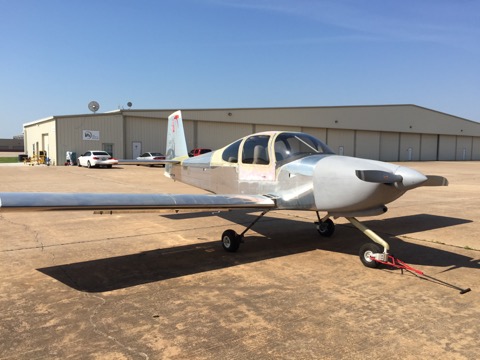
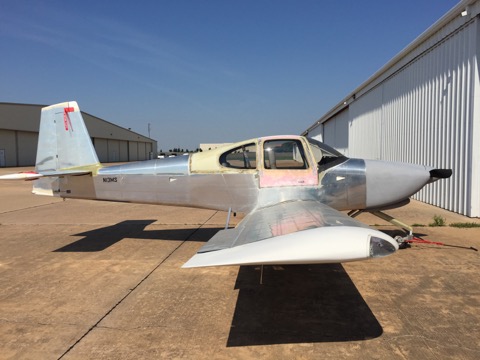
She's off to the paint shop on Monday.
Next: Painted! |
 |

