Previous: Wingtip Lights |
| |
|
2/8/11 - 7/2/11 - Misc. & Cowl - 100 hrs
I just got back from AirVenture 2011 and had to endure the comments about the sad state of my web updates. Worse than that, I realize that the last time I updated the site there was snow on the ground, and this week we have had 110 degrees on multiple days here in the Metroplex. So I guess it's time to update the world on the progress of the RV-10.
Most of my time has been spent on fiberglass, windows, doors, cowl, and baffling. Lots of time spent on the project, but not much documenting of the process, for which I apologize.
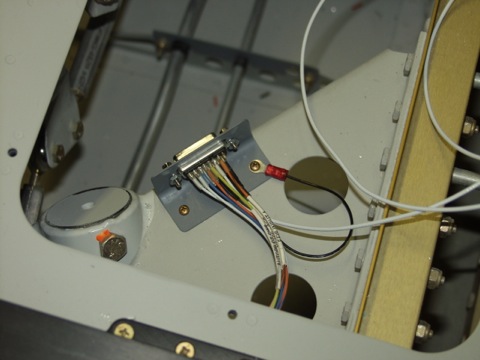
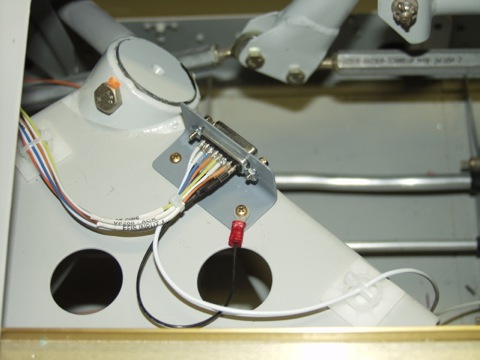
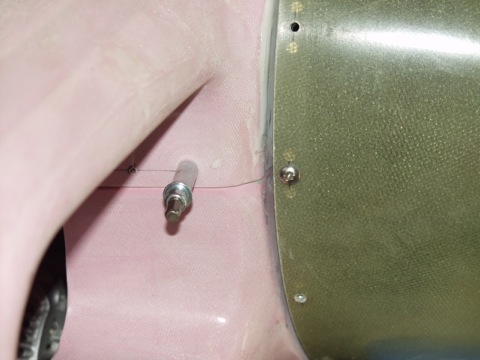
So here is a db15 that I mounted so that I can have a single connector for attaching the pilot stick grip. |
 |
| |
|
This is where all the interface wires to things like the autopilot, the trim control, and the radio ptt all come together to eventually run up to the stick grip.
|
 |
| |
|
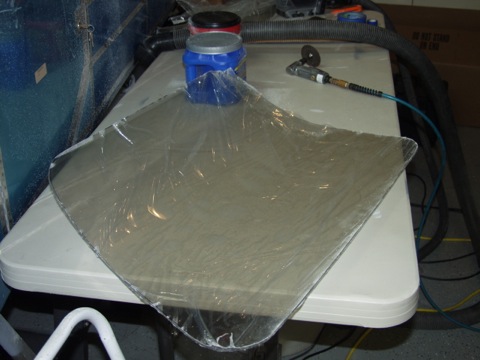
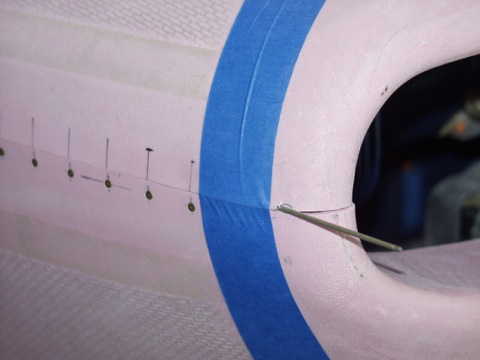
Another crucial step that I totally neglected to document was the installation of the transparencies. I had to wait until it was a little bit warmer before attempting the transparencies, but eventually I did and I learned that the best way to hold these in place is by using "fingers" that are clecoed directly to the door. This solution insures consistent clamping pressure around the edges of the windows and is really a lot easier than the method in the instructions.
|
 |
| |
|
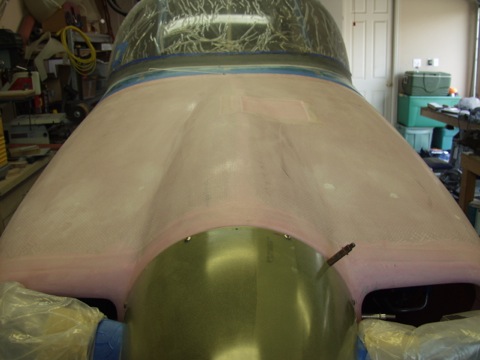
So I've installed the windscreen and have glassed the transition on the forward deck.
This picture also shows that I have installed the prop and the spinner. |
 |
| |
|
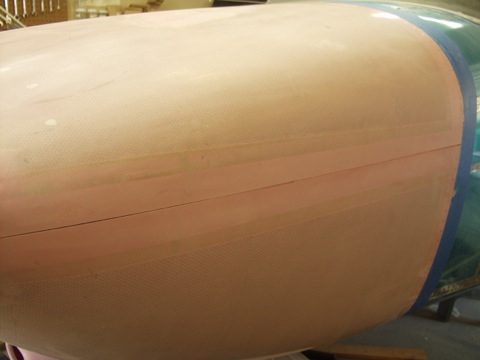
The cowl is a beast to work with and I have spent many hours getting the gaps to be as straight as possible. I used masking tape to mark the relative location of the firewall on the cowl. I actually found using masking tape as a marking tool to be quite effective, since it can be repositioned easily and doesn't leave marks that later need to be sanded out. |
 |
| |
|
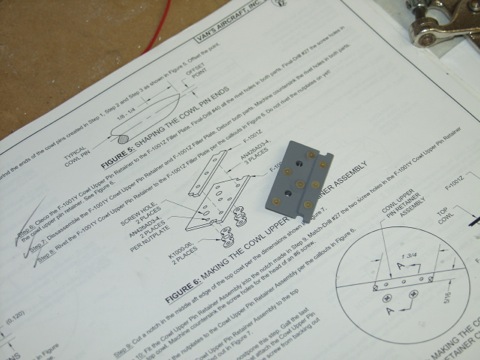
I installed the upper cowl clip thingy.
|
 |
| |
|
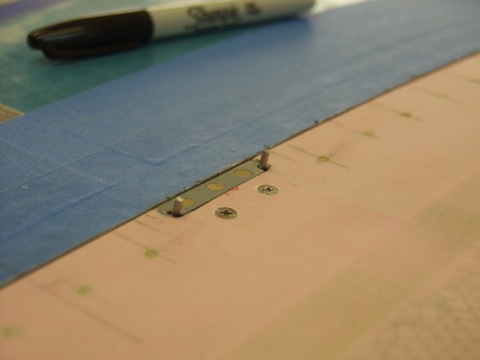
This keeps the hinge pins secure while allowing them to be removable when necessary.
|
 |
| |
|
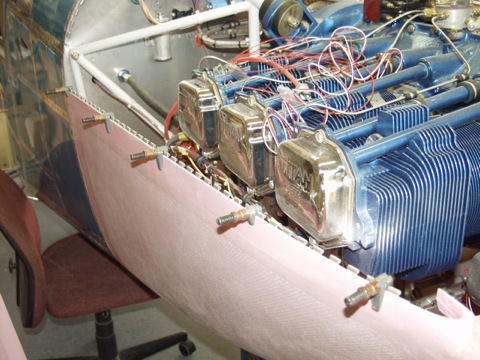
I drilled the hinges and mounted them to the cowl.
|
 |
| |
|
I drilled the screw holes that attach the cowl halves at the very front.
|
 |
| |
|
I have elected to use the standard cowl pins as per the plans. They worked on the -9a and I'm sure they will work fine on the -10.
|
 |
| |
|
I used filler (microballoons) to clean up the unsightly gaps in the cowl halves.
|
 |
| |
|
I also had to build up the upper cowl so it matched the lower half.
|
 |
| |
|
I worked on the oil door. I used an invisible, spring loaded hinge that I got from Avery. |
 |
| |
|
There's going to be a lot of filling and sanding to do on the cowl.
|
 |
| |
|
I marked and drilled the louvers inside the bottom cowl.
|
 |
| |
|
Then I cut the holes.
|
 |
| |
|
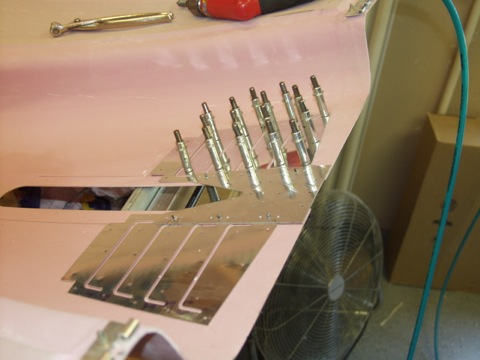
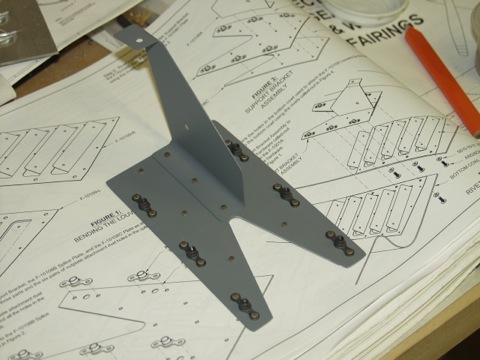
I made the lower attach bracket.
|
 |
| |
|
Here is the oil door all finished.
|
 |
| |
|
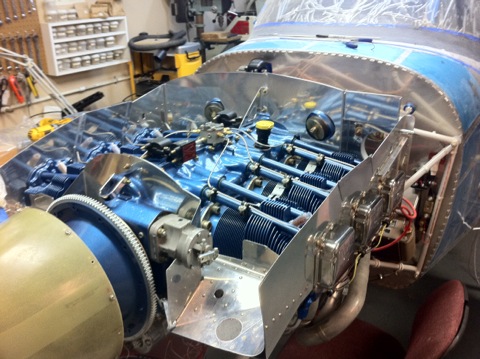
Before I can truly finish the cowl I need to do the engine baffling. That's what I'm working on now.
|
 |
| |
|
So this is the current status of the plane as of August 5. Hopefully I will do a better job of updating this site in the future.
Next: Baffling |
 |

