Previous: Outboard Leading Edges |
| |
|
2/4/07 - 2/7/07 - Parts prep - 5 Hours
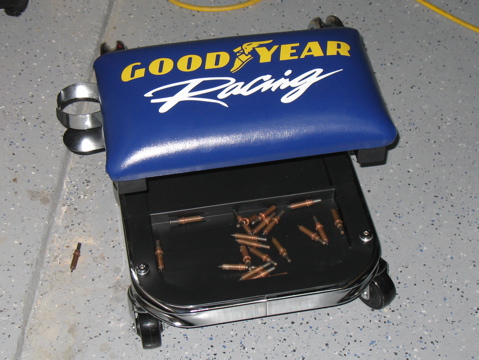
I went to Sam's with my wife the other day and while she was shopping for groceries I found a cool RV building tool that I couldn't live without. It's a rolling stool with trays for holding clecoes. This will work great for all the work on the fuselage.
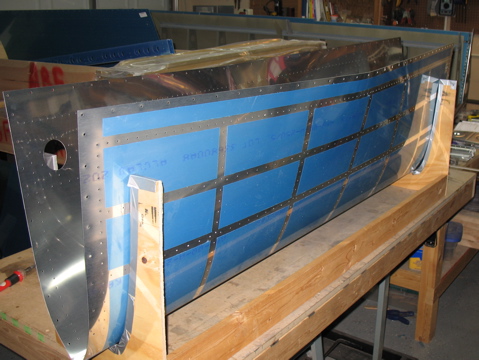
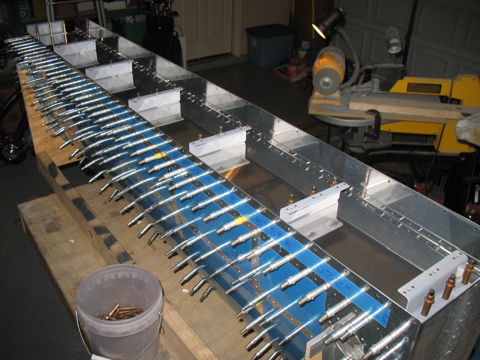
Speaking of the fusealge, it's going to be here soon, so I need to get busy finishing the wings. Up next are the fuel tanks. These things are about twice as big as the tanks on the -9A. They hold 30 gallons each. Also, I will be using the float-type fuel sensors in this plane instead of the capacitive ones I used on the other plane.
So it's time to get out the ProSeal and have some fun. |
 |
| |
|
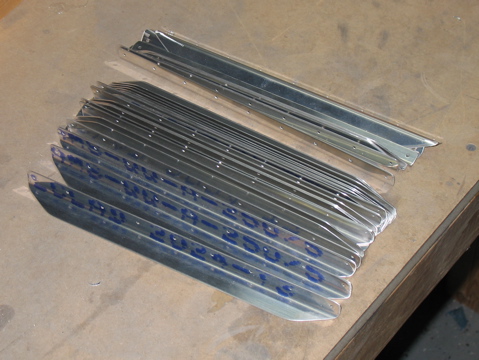
First things first: I had to separate the stiffeners. These go on the bottom of the tanks. I did these over the course of several evenings of short sessions because I hurt my back when I was doing the annual condition inspection on the -9A. It was frustrating to not be able to do more. |
 |
| |
|
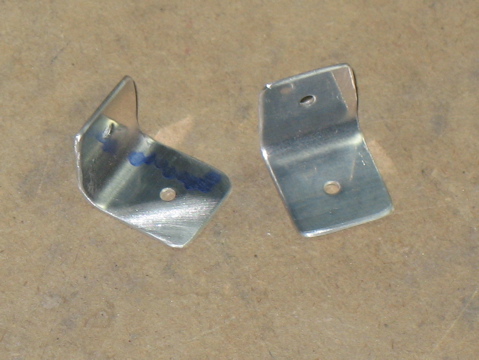
I almost missed these. I cut out all the stiffeners and discarded the scraps. Then I went back to the instructions and realized I needed these little doohickies. They are at the ends of the stiffener material. So I dug through the trash and found a couple of them. There are lots of them and I only need two.
|
 |
| |
|
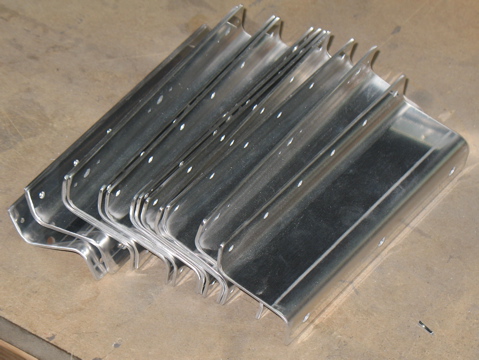
I also cut out the z-brackets and deburred all the edges. These things hold the tanks to the spars. |
 |
| |
|
It's Carolina vs. Duke on ESPN, so I spent the time removing plastic from the tank skins.
|
 |
| |
|
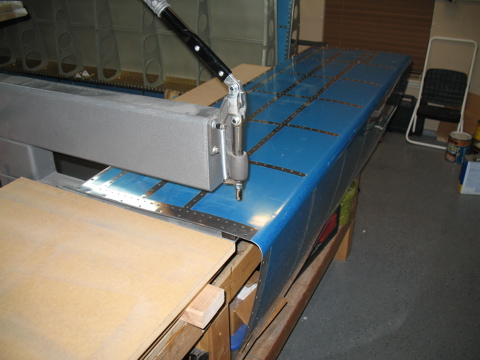
2/8/07 - Drilling, etc. - 4 hours
I started by deburring the right tank skin. Then I clecoed the stiffeners in place. The inboard stiffeners have to be trimmed after the most inboard hole is drilled. |
 |
| |
|
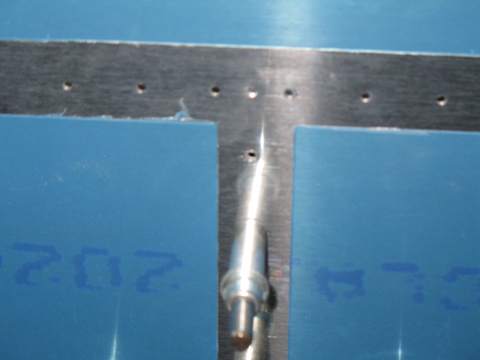
Here's the stiffener marked at the trim location. I also cut the web back an equal amount, just for consistency.
Next I spent a long time getting the ribs clecoed in place. |
 |
| |
|
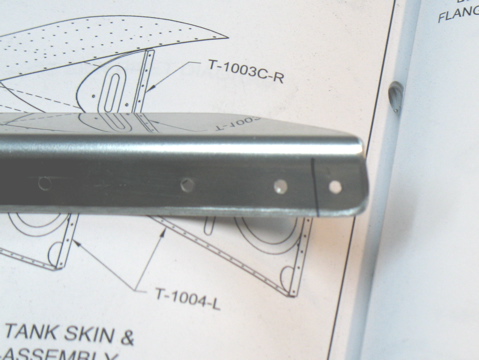
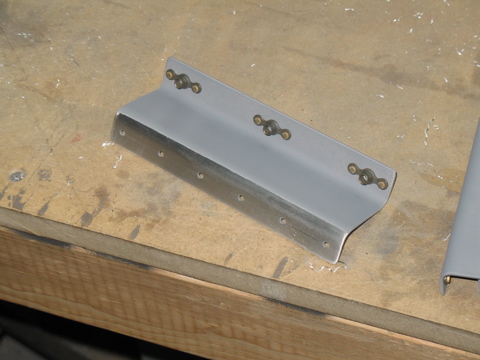
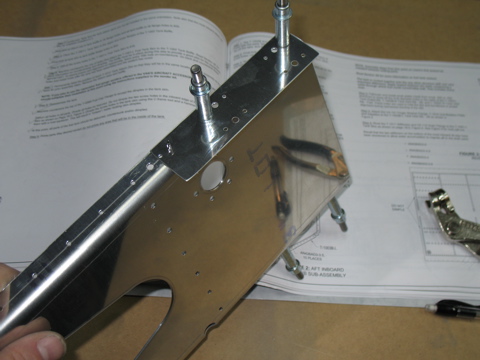
Here's the tank attach bracket. It's much larger than the one on the RV-9A.
The J-stiffener had to be drilled, so I installed and drilled that. No problems. |
 |
| |
|
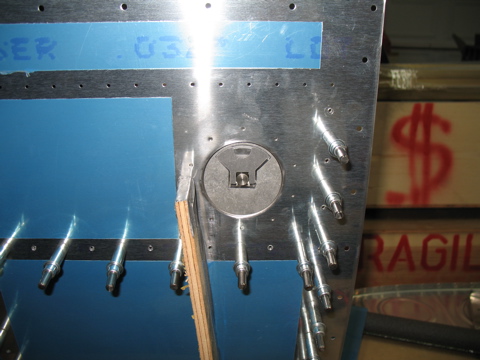
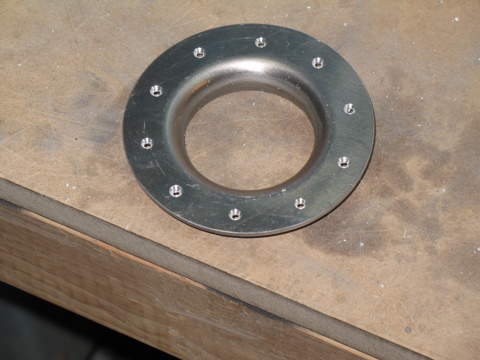
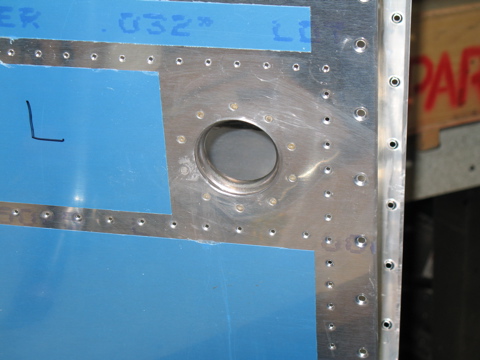
Now we are looking at the fuel cap. I left it in the flange so that I could make sure it was centered before I drilled the holes.
|
 |
| |
|
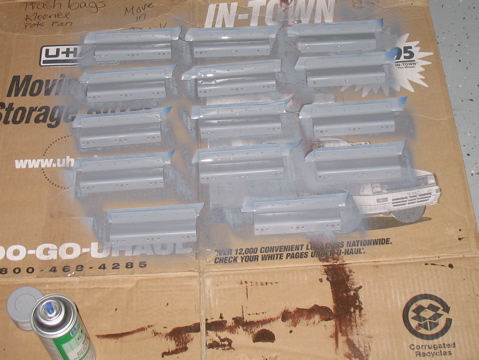
The inside components of the fuel tank don't get any primer. Hooray for that. However, the outside pieces do get primed, starting with the Z brackets. So, after drilling and countersinking these, I sprayed them and left them to dry. |
 |
| |
|
So now the right tank is drilled and ready to be deburred and dimpled.
|
 |
| |
|
2/10/07 - More Tank Stuff - 5 hrs
I spent the morning finishing the condition inspection on my RV-9A. It was the third weekend in a row I have spent taking things apart and putting things back together. After all the work I am happy to report that there were only a few very minor things to be corrected, and the plane is now back in service. Although it was a cloudy day I flew up north to Sherman to get some cheap 100LL. Everything worked great and I'm happy to have the repairman's certificate so I can sign the logbook each year.
One thing I learned from doing the condition inspection is the importance of making things easy to take apart and inspect. In some cases I might have done some things to make it easier to inspect. |
 |
| |
|
Anyways, back to the -10. I worked on the Z-brackets and got them ready for installation. One thing I did was to leave the bottom flange of each Z un-primed. This is so I can make sure I have good ProSeal adhesion. It probably doesn't make any difference, since ProSeal tends to stick to everything.
Now here is a picture that takes some explaining. The baffle on the tanks have one more hole on one side than they do on the other. I don't know why. Anyways, I had installed a bunch of clecoes before I realized it was on backwards. No problem. I just removed the clecoes and turned it around. But it's weird. |
 |
| |
|
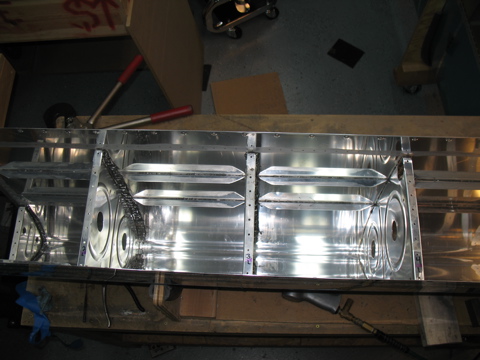
Here is the left tank all clecoed and drilled.
|
 |
| |
|
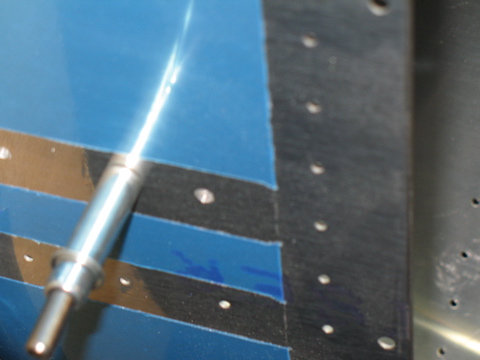
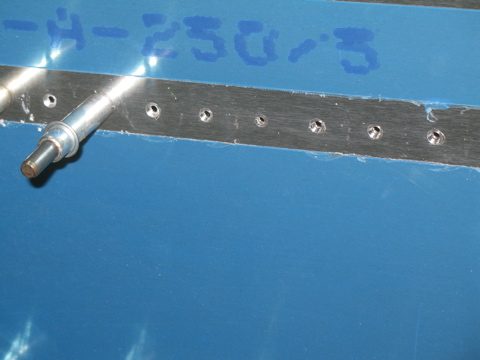
Next, I countersunk all of the holes that are common to the rear baffle. The instructions say to leave every 10th hole alone. That's so I can make sure everything gets properly aligned when this thing goes back together for the final time...with ProSeal all over it. |
 |
| |
|
Here's one of the non-countersunk holes. |
 |
| |
|
I disassembled the tank and then countersunk the fuel cap flange.
Now for some time-lapse...
I deburred every hole on both skins, on each rib, on each stiffener, and each tiny piece that makes up the tank. This took several hours, but I didn't take any pictures of the process. Believe me, it wasn't interesting at all. |
 |
| |
|
2/11/07 - Getting ready to seal - 5 hours
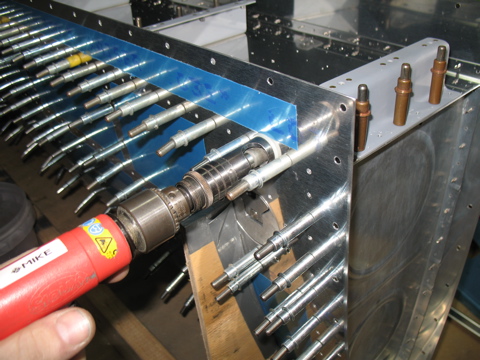
I need to dimple all the holes, but before I did, I decided to scuff the rivet lines on the skins so the ProSeal would stick better. Again, that's sort of weird to say because ProSeal sticks to everything, but I'm doing it just the same.
I did the scuffing using a nylon rotary brush that I got at Home Depot. I chucked it in a die grinder and just followed the rivet holes. |
 |
| |
|
With that done, I can now dimple. Once again I'm using this cool tool called the DRDT-2. I'm also using a set of tank dimple die. (By the way, what is the plural of dimple die? dimple dies? Are they like dice? Who decides these things?)
What just happened...oh yeah, dimpling. The tank dimple die set (ugh) makes a slightly deeper dimple than normal. This allows the ProSeal under the rivet head to not push the rivet above the skin. I used them on the -9A. The painter used a grinder on the rivet lines so I'm not sure it makes much difference in the overall scheme of things, but whatever.
|
 |
| |
|
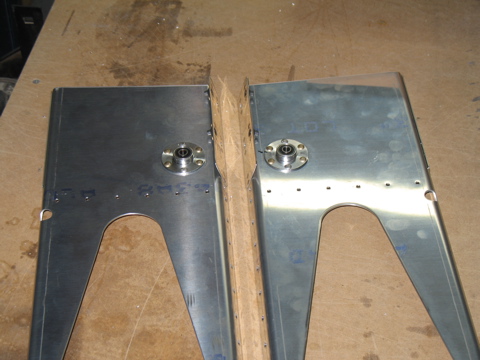
This is the tank attach bracket. There are some goofy plates that get installed on the inboard end. I am showing a picture just because the instructions say to make sure you've got them oriented correctly.
|
 |
| |
|
| |
 |
| |
|
2/12/07 - Sealant - 7 hours
The day has finally arrived for me to dig out the tank sealant and make another really big mess. If you've never used this stuff, just imaginge a substance thicker than peanut butter that smells awful and sticks to everything it touches. I have a box full of latex gloves, a roll of blue "shop" paper towels, and a can of MEK. The MEK is terrible all by itself, but it is one thing that can sort of clean the sealant.
It is a two-part compound that has to be mixed in a 10 to 1 ratio. Some people mix by weight using a scale. I have found success mixing by volume using a cheap set of kitchen measuring spoons. |
 |
| |
|
You don't need to mix a big batch at any one time because it will cure before you can use it. So for these first tasks I mixed approximately one tablespoon of the white stuff with approximately 1/4 teaspoon of the black stuff for each batch.
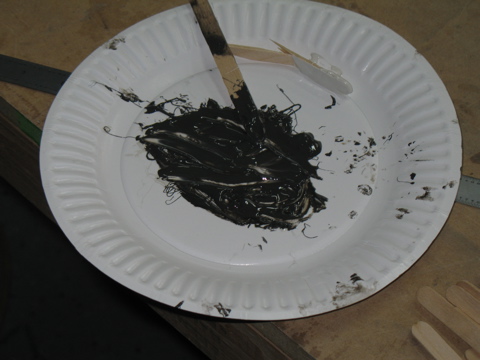
Popsicle sticks work good and are disposable, as are paper plates. |
 |
| |
|
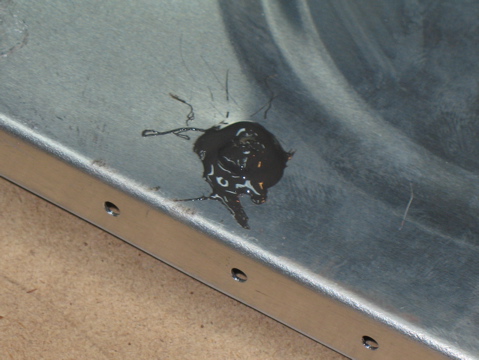
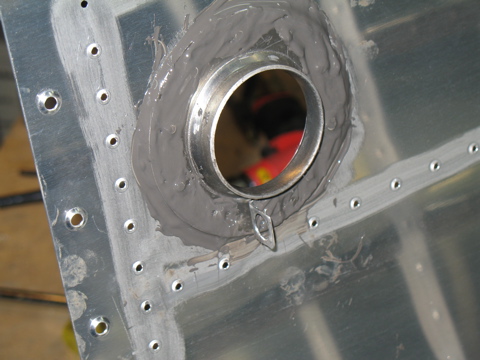
The instructions call for making patches out of .025 aluminum scrap to cover the tooling holes on the inboard and outboard ribs. I had a better idea. I used some AN470-AD6 rivets to fill these holes. These are difficult to set, but I used the pneumatic squeezer without too much trouble. Before setting the rivets I covered the hole with sealant, and after setting the rivet I covered both the shop and factory heads with sealant. |
 |
| |
|
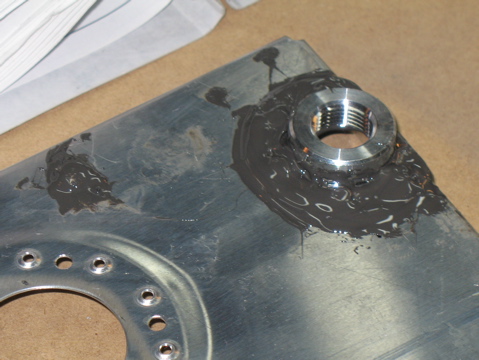
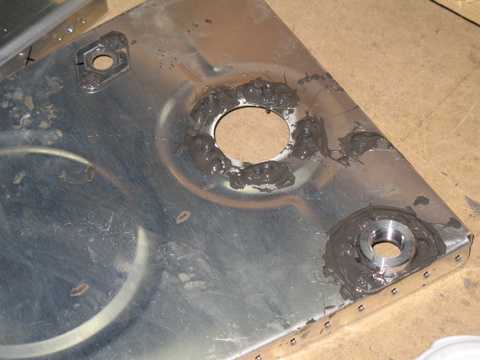
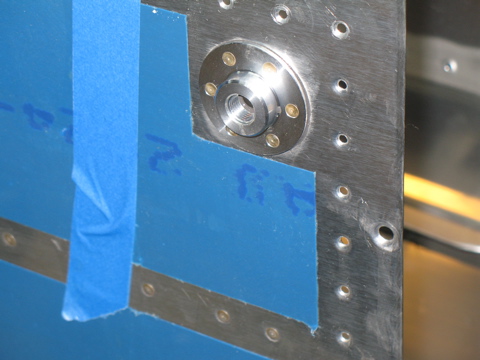
There are a couple of things which are not documented clearly in the instructions. One of those is what to do with the platenuts that attach the fuel sensor. First, the rivet holes need to be dimpled so the fuel sensor can sit flush.
I really don't think the platenuts need to be sealed because the fuel sensor comes with a rubber gasket, but just to be safe I went ahead and sealed them. |
 |
| |
|
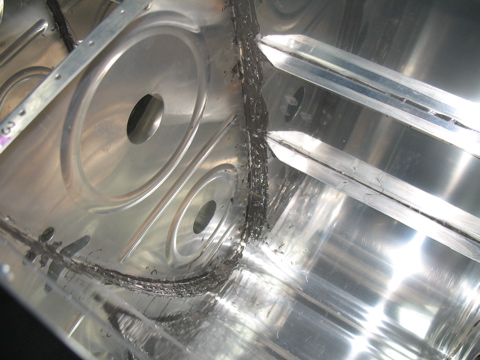
I sealed all of the other openings on the inboard ribs and then moved on to the stiffeners on the right tank skin. These are easy because they can be back riveted. I inserted each rivet having first dipped them in sealant. Then I put the rivet tape on the back and turned the skin over. Don't forget the stiffener! Then I back riveted the stiffener to the skin. Finally I spread a good amount of sealant over each rivet head and made a fillet along the edge of the stiffener.
|
 |
| |
|
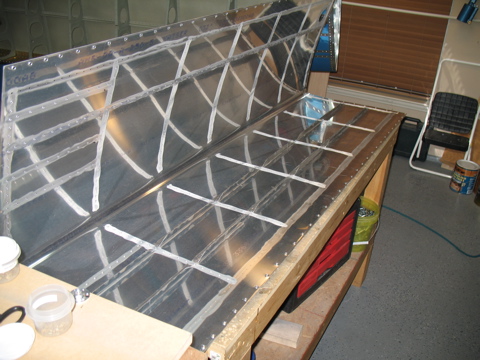
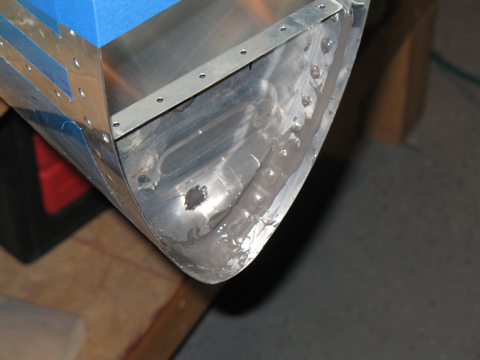
My long day is done and I am sick of sealant, but I am only just beginning the process as you can see.
|
 |
| |
|
2/13/07 - Sealant - 4 hours
Tank sealant is nasty stuff. It is difficult to keep a sense of humor when working with this stuff.
Nonetheless, I pushed forward, riveting the stiffeners to the other tank skin. The good thing is that the inside of the tanks are not ever going to be seen, so I can make a big mess and it doesn't matter. On my first plane I spent all kinds of time masking around each rib so I wouldn't get ProSeal all over the place. This time I'm not worrying so much about it. |
 |
| |
|
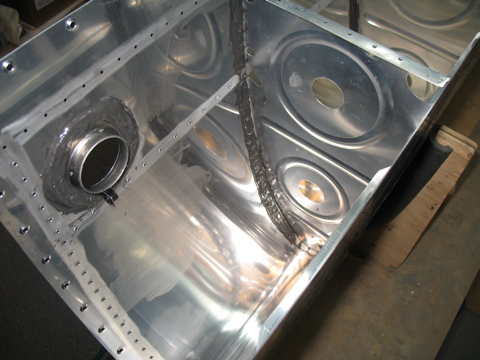
I installed the drains in both tanks. These I squeezed with a hand squeezer, which worked well.
|
 |
| |
|
Here's the first rib. It's the small one, so maybe I should call it a riblet. Since the flange faces outward I was able to squeeze these rivets. |
 |
| |
|
| |
 |
| |
|
So maybe I'm making a little bit of progress, but not much. It's definitely slow going.
Oh, and Dilbert, my engineer friend, emailed me and said that the extra hole on the rear baffle is called a "Poka Yoke" and is there to make sure I didn't install it backwards. It's sort of like those plugs that can only be connected one way. I guess it worked. |
 |
| |
|
2/15/07 - More Sealing - 4 hours
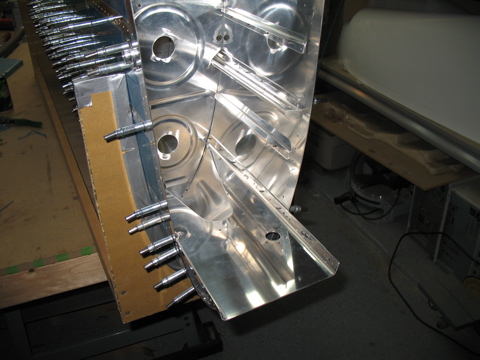
Another evening spent with ProSeal. I started with the next inboard rib and worked my way out. It's slow going. I figured out that it's possible to do all of the riveting myself, so I don't need to wait for any helpers.
Here's what I'm doing. First, I mix a small batch of sealant...enough for about two ribs. I spread a generous amount of sealant on the rib flange and place it into the skin. I have about a dozen clecoes that I have defined as "sealant clecoes" and they are now all gummed up with sealant. I'll throw them away when I finish the tanks. Then starting at the back and working my way forward I rivet every hole. |
 |
| |
|
| |
 |
| |
|
I did all of the interior ribs on the left tank. All that is left is the outboard rib.
I cleaned everything up as best I could using MEK. The smell doesn't go away so quickly though. The smell of the MEK is almost as bad as the ProSeal.
Next: More Fuel Tanks |
 |

