Previous: Wing Spars |
| |
|
12/5/06 - Aileron Brackets - 1 Hour
Okay, so I only had an hour or so to work on the plane today and in my distracted state I made the first mistake of this project.
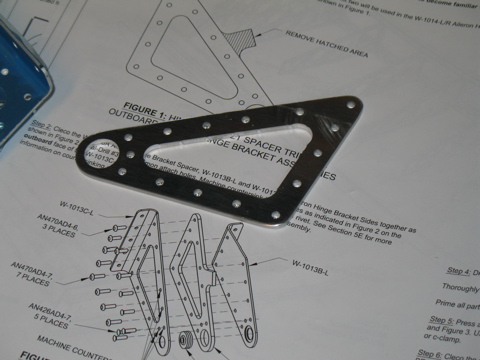
I grabbed the aileron spacers and noted the picture on the instructions that shows how to remove the excess material. So, off to the bandsaw I went, easily zipping the "ears" off of each of the four spacers.
Oops. Almost immediately I realized that I should have only done this to two of the spacers. Now I have four trimmed spacers and no aileron travel stops. I looked around for some material to fabricate new spacers, but quickly realized that this wasn't going to happen, so I called Van's and ordered two new spacers. |
 |
| |
|
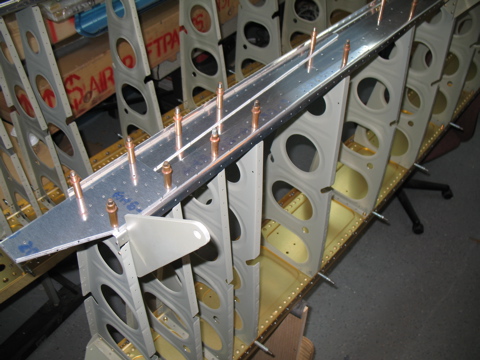
12/9/06 - Drilling, etc. - 4 hours
While I waited for the new parts I ordered, I went ahead and got busy on the rear spars themselves. I started by match-drilling the doubler plates to the spar. Then I clecoed the spar and the fork and the doublers all in place on the ribs. |
 |
| |
|
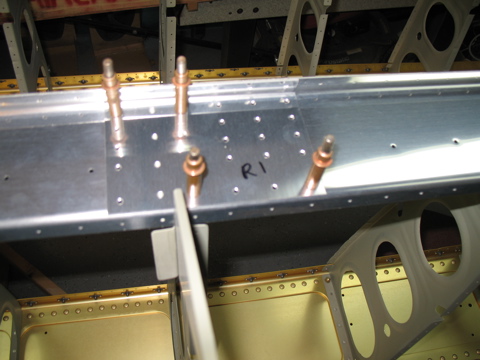
I match-drilled all of the necessary holes.
|
 |
| |
|
| |
 |
| |
|
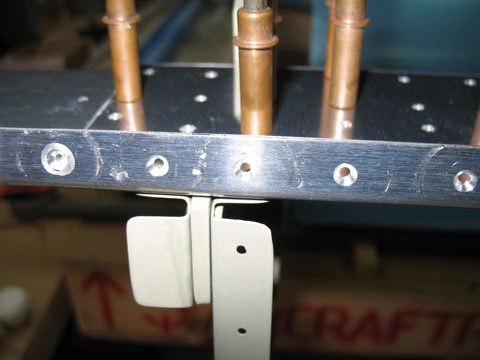
Even though I didn't have the spacers, I went ahead and used the boogered spacers so I could go ahead and match-drill the brackets.
|
 |
| |
|
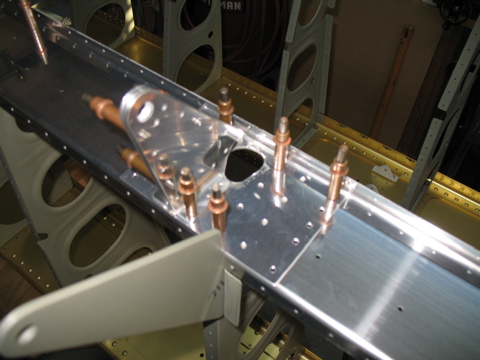
Here you can see the countersinks.
|
 |
| |
|
12/16/06 - Primer, New Parts - 4 hours
I got my order from Van's today, which was great because I had time to work. I scuffed and primed all of the parts, which took quite a while.
The new spacers needed to be match-drilled and cleaned up, so I spent some time doing that as wel. |
 |
| |
|
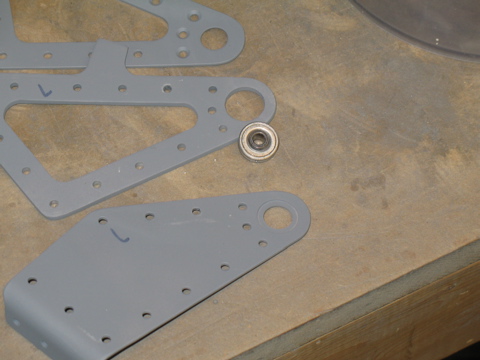
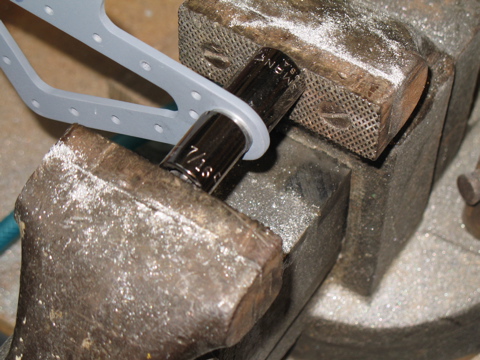
The bearings came next. To properly seat the bearings into the brackets the instructions tell you to use two different sockets along with a vise. Here you can see how this is accomplished. When everything is set up properly, a turn of the vise will cause the bearing to snap into proper position. |
 |
| |
|
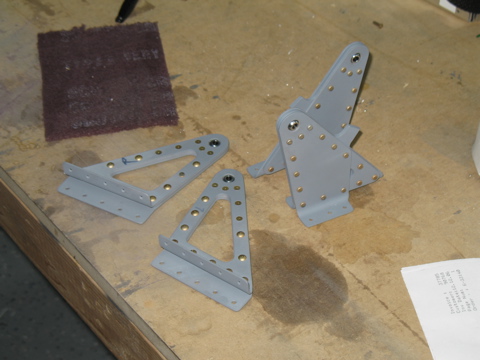
Finally, four completed aileron brackets.
|
 |
| |
|
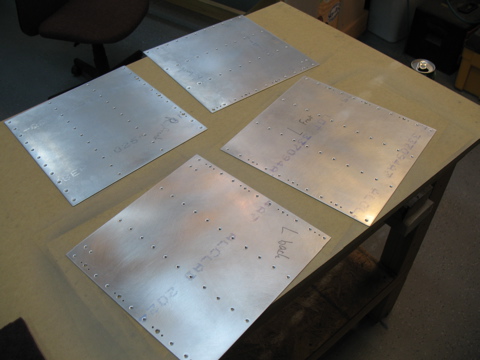
12/26/06 - 1/10/2007 - Top Skins - 24 hrs
Well, it's been a couple of weeks since I've updated the website. Between the holidays and the various honey-do items on my list, I haven't been able to do a whole lot on the plane at one time. I did, however, get lots of short, one- to two-hour building sessions.
I trimmed the plastic, match-drilled, and deburred edges and holes. |
 |
| |
|
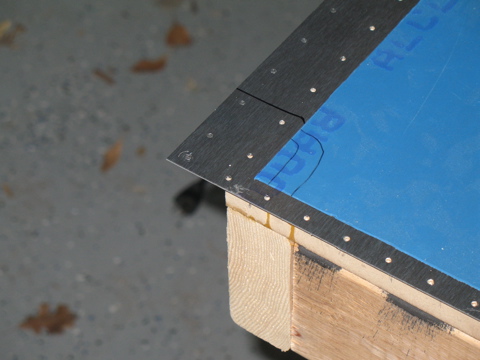
Next, I filed the corners of the skins where they overlap. This is to make them match up better at the leading edge skin.
I don't think I did such a good job of this, because I was concerned about how weak the thinner material would be. So, we'll see how it turns out when I install the leading edge skins. |
 |
| |
|
| |
 |
| |
|
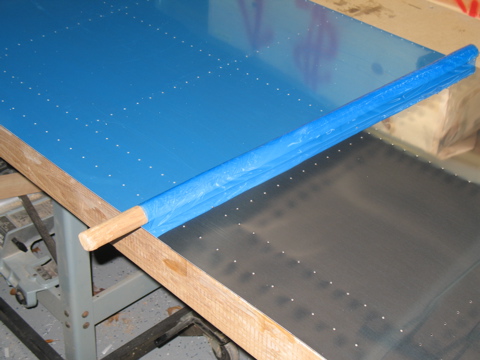
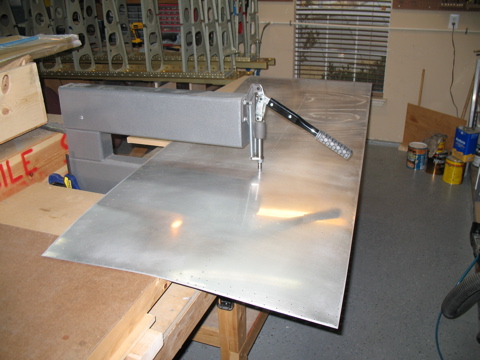
Oh, I figured out a good way to remove the plastic from the skins. I don't know if I read this someplace, or what, but anyways, it works.
Take a 1" dowel rod and duct tape one end of the plastic to the dowel rod. Then just roll the dowel and the plastic rolls around it like toilet paper. Of course, when you're done rolling, you've got to cut the plastic off of the dowel with a knife. This worked well on all four top skins. |
 |
| |
|
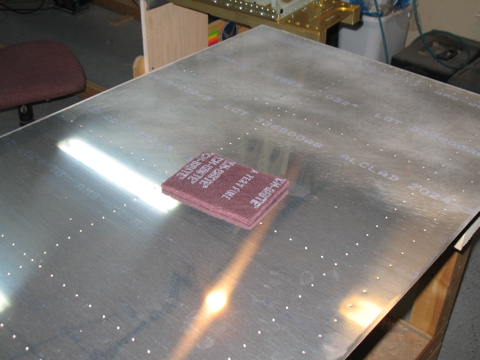
I used a scotchbrite wheel on an air powered die grinder to deburr the edges of the skins. Then I used scotchbrite pads to remove the Alclad in preparation for priming.
Notice that I did this before I dimpled the holes. I find that the dimples are hard to scuff around, and they tear up the scotchbrite pads. So this time I scuffed first. |
 |
| |
|
Doubler plates...
|
 |
| |
|
Dimples...
|
 |
| |
|
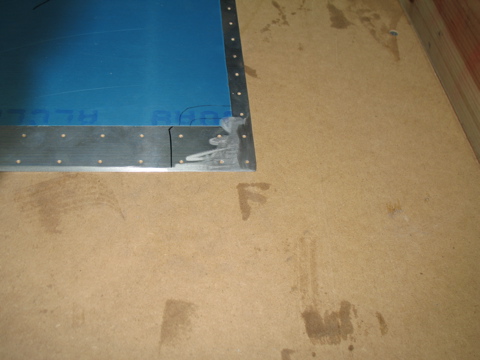
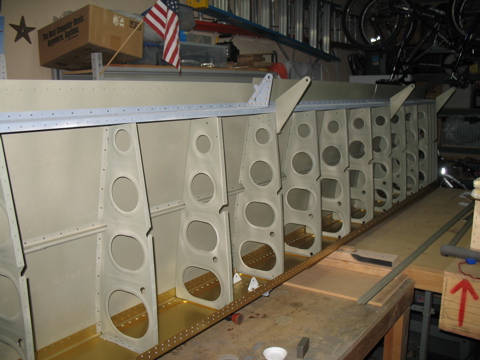
Skins in place....
|
 |
| |
|
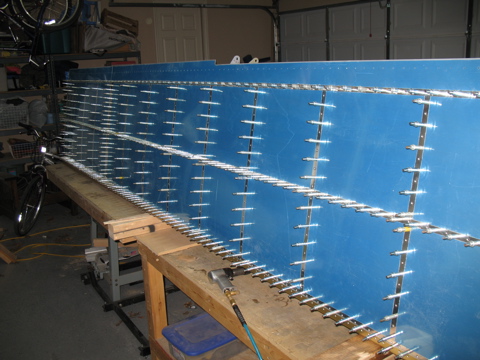
Riveting is fun...
|
 |
| |
|
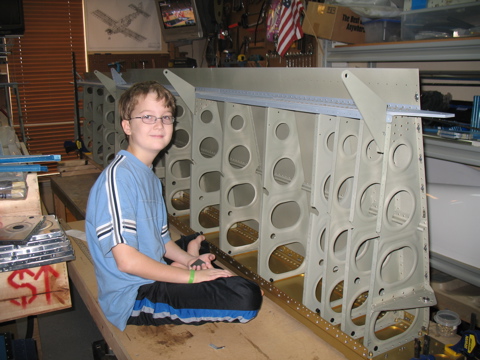
I had some help with this process. My wife helped for a while. So did two of my sons. Riveting is time consuming and monotonous, so I broke up the task into lots of small sessions.
|
 |
| |
|
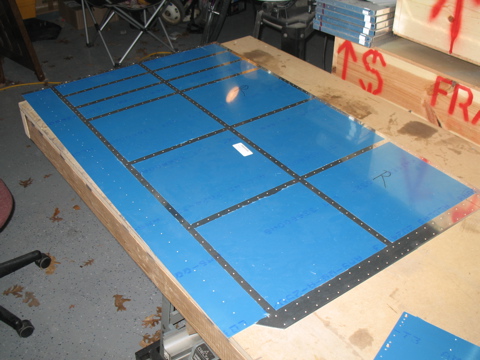
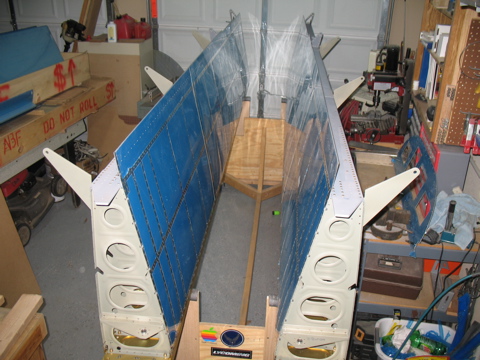
So, here are both wings with the top skins riveted in place.
Next: Outboard Leading Edges |
 |

