Previous: Fuel Tanks |
| |
|
2/26/07 - Inventory - 6 Hours
Well, another big day arrived and with it came a huge crate. This one was eight feet long, four feet wide, and nearly four feet tall. It was heavy, too. It weighed about 500 pounds. When the Roadway truck arrived without a liftgate I knew we were going to have to do something different to get the kit into the garage. After talking to the driver we agreed that it would be best to unpack the crate while it was in the truck and carry the parts off the truck individually. The biggest piece is the fiberglass cover. It doesn't weigh a whole lot but it is big and unwieldy. We carried it into the garage and then carried each of the other smaller boxes and pieces. The last thing we did was remove the sides of the crate and carry the bottom into the garage. The bottom has all of the aluminum sheet parts taped down, and it would take quite a while to remove each one. The parts of the crate were piled up on the yard for the trash guys to pick up, and I was off to inventory the kit.
Sorry I didn't take pictures this time. I don't know what I was thinking. :-)
There are many small parts in the boxes, and it takes a while to sort them out and find them on the inventory list. When I finished I had only one piece that was missing from the kit. A call to Van's and it is promised to be delivered in the next week. No worries, since I have plenty to do finishing up the control surfaces. |
| |
|
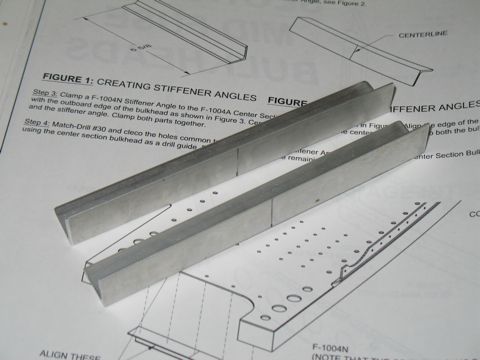
9/18/07 - Section 25 - 2 hours
|
 |
| |
|
| |
 |
| |
|
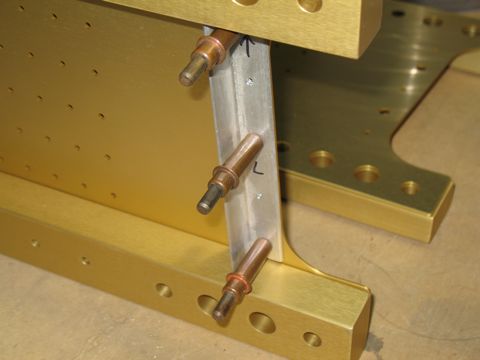
9/19/07 - Bulkheads - 2 hours
|
 |
| |
|
| |
 |
| |
|
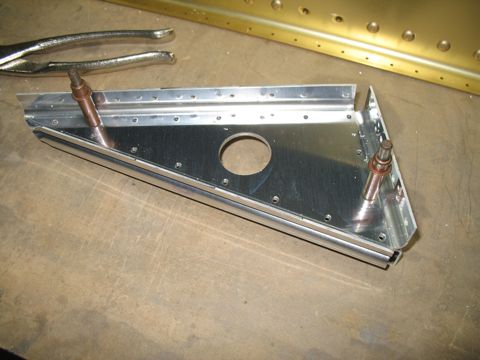
9/22/07 - More Bulkhead Work - 4 hrs
|
 |
| |
|
| |
 |
| |
|
9/23/07 - 10/20/07 - Bulkheads - 8 hrs
|
 |
| |
|
| |
 |
| |
|
| |
 |
| |
|
11/3/07 - 11/7/07 - Bulkheads - 6 hrs
|
 |
| |
|
11/7/07 - 11/9/07 - Section 26 - 5 hours
|
 |
| |
|
| |
 |
| |
|
| |
 |
| |
|
11/10/07 - Seat Ribs - 6 hours
Okay, so this catches me up with the work I've done over the past few months. |
 |
| |
|
| |
 |
| |
|
| |
 |
| |
|
| |
 |
| |
|
| |
 |
| |
|
| |
 |
| |
|
| |
 |
| |
|
11/11/07 - Seat Ribs - 6 hours
I spent the day watching football while working on the airplane. The Cowboys were great and I didn't make any mistakes that I know of, so it was a good day.
|
 |
| |
|
| |
 |
| |
|
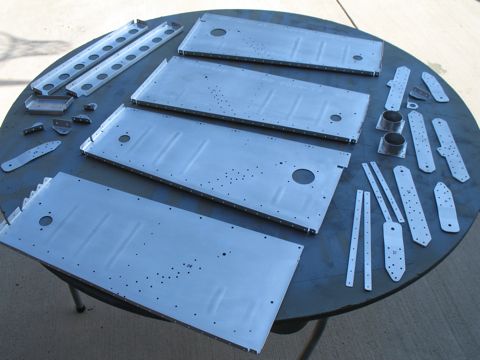
I ended up getting all of the seat ribs deburred and scuffed. Now I just need to prime them and then I can move on.
|
 |
| |
|
11/12/07 - Assembly - 3 hours
I got all the parts primed with the rattle can stuff. It sure is faster to do it that way than dragging out the spray gun and mixing the two-part stuff.
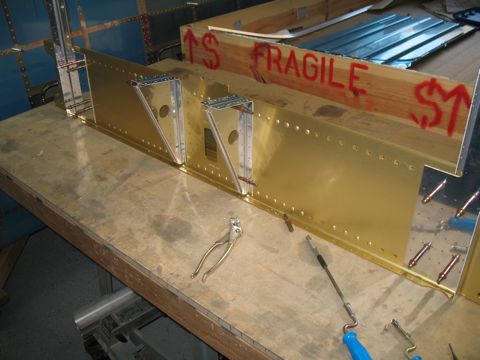
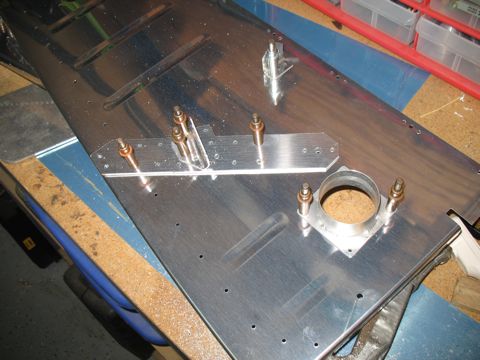
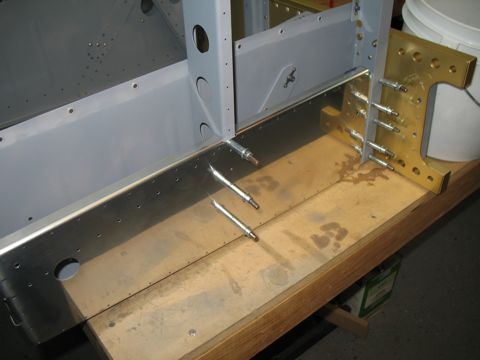
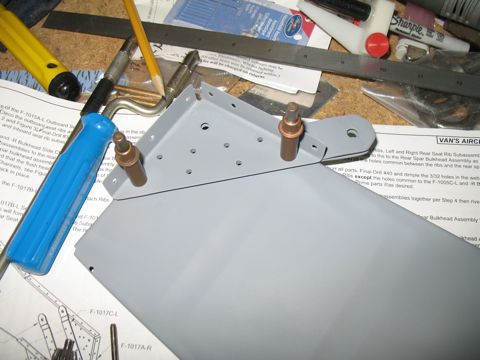
Next I assembled the seatbelt anchors for the rear seats. This is very straightforward. |
 |
| |
|
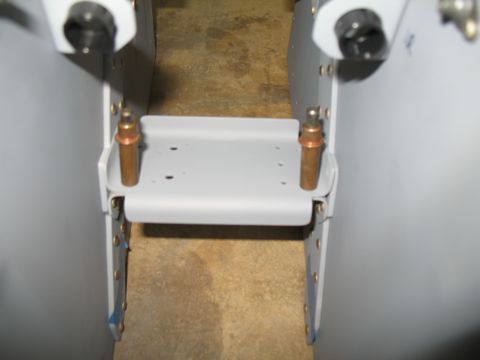
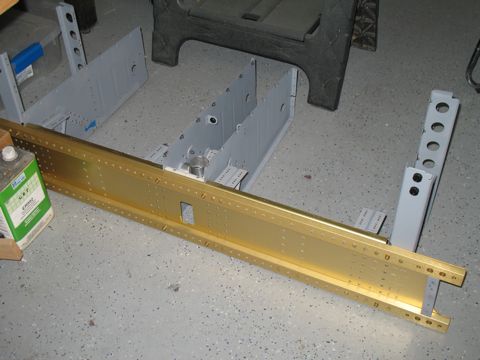
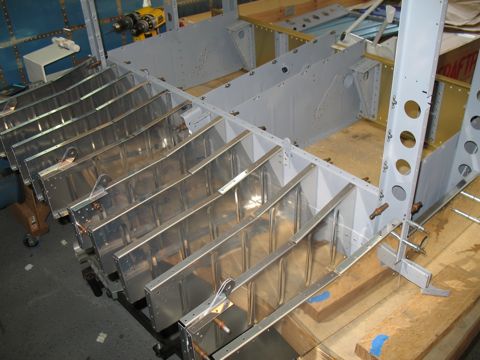
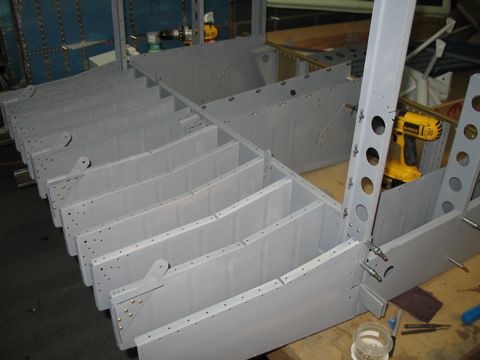
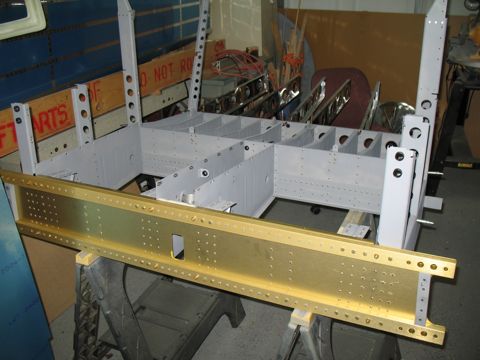
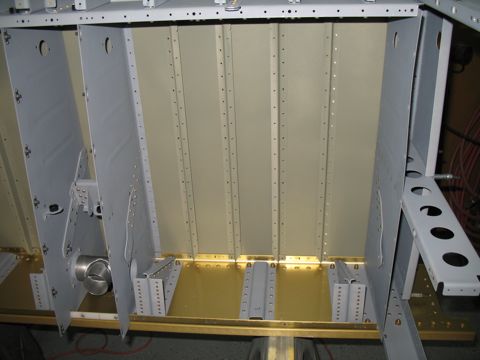
The structure starts to take shape as I begin installing the seat ribs. This thing is going to be big!
|
 |
| |
|
You've got to install things in the right order or else you'll have problems. I just followed the directions carefully and all went well.
|
 |
| |
|
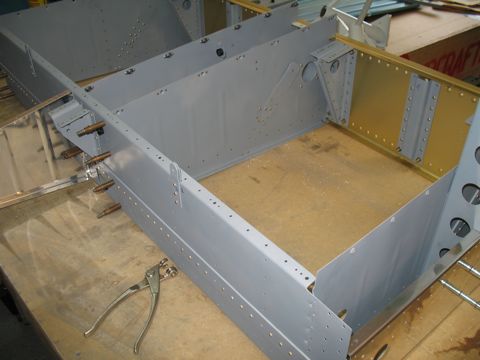
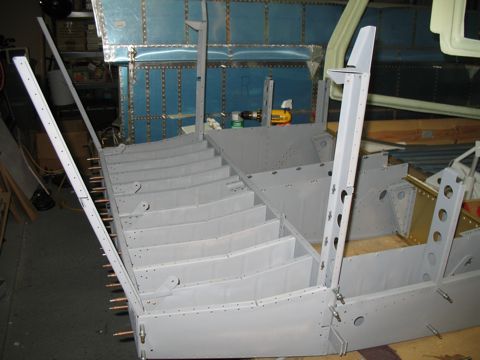
Finally I got all 12 of the rear seat ribs installed.
|
 |
| |
|
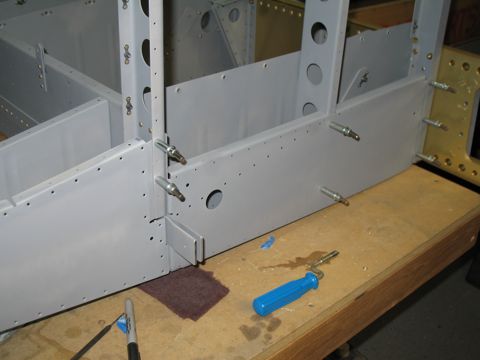
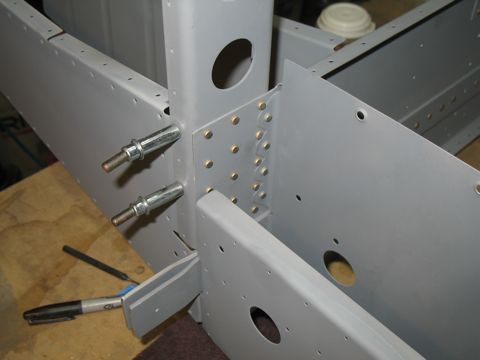
Just getting started with section 27. I clecoed the bulkhead assembly in place, just to make sure it fit.
|
 |
| |
|
11/13/07 - Baggage Ribs - 3 hours
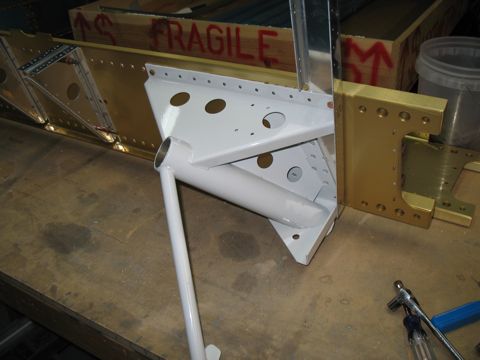
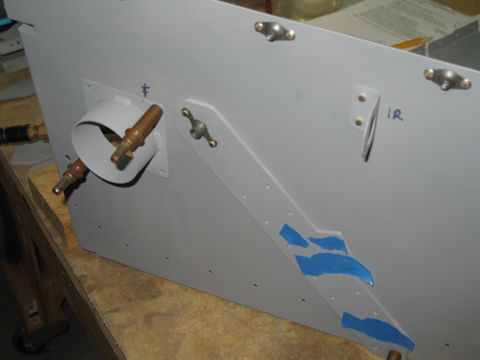
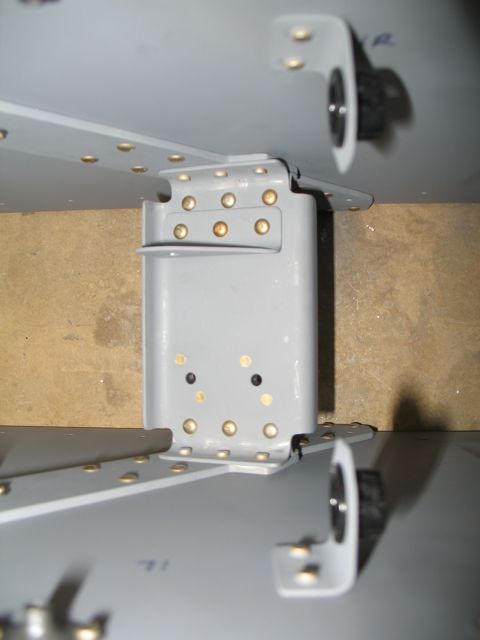
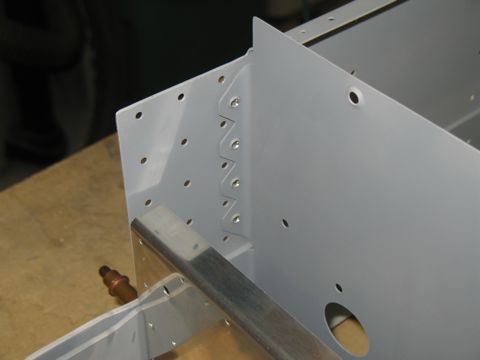
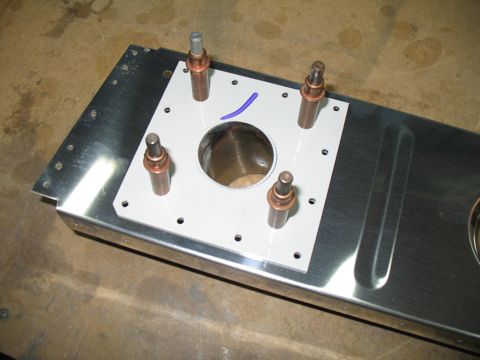
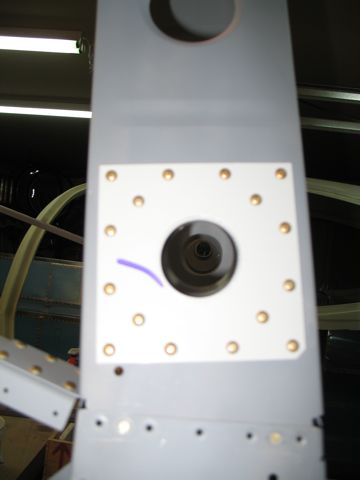
The outer baggage ribs have a bracket installed for the steps. This is different than on the -9A, which has the step riveted to the outside of the fuselage skin. |
 |
| |
|
| |
 |
| |
|
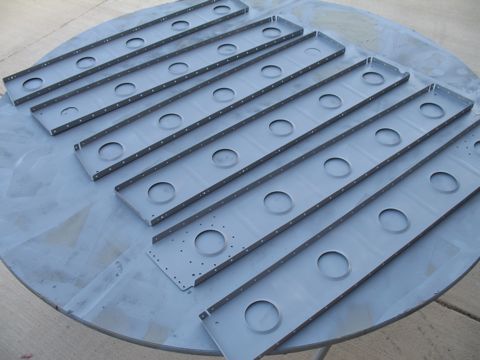
11/14/07 - Baggage Ribs - 2 hours
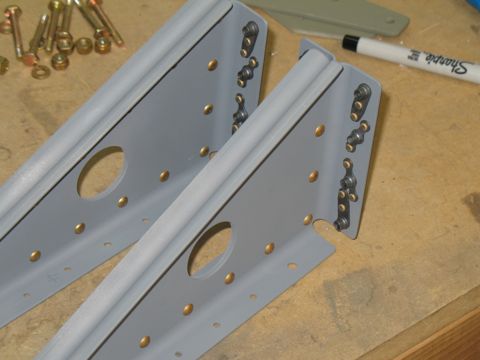
After drilling the baggage ribs, I deburred and primed them.
|
 |
| |
|
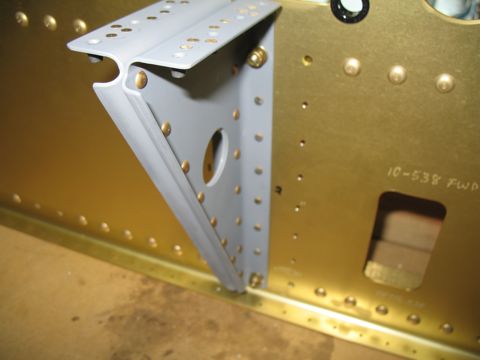
Here's another picture of the step bracket on the left side.
|
 |
| |
|
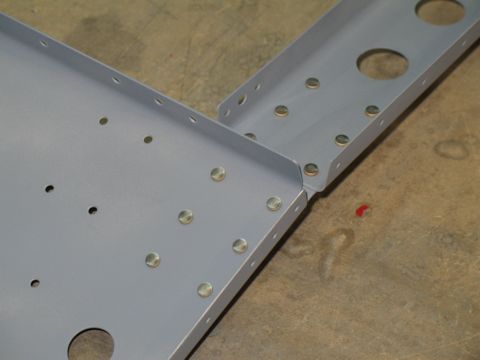
The baggage ribs have been riveted in place.
|
 |
| |
|
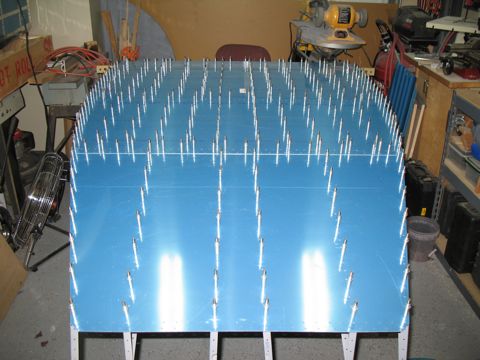
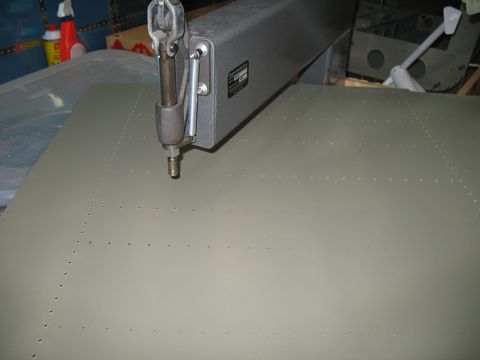
11/15/07 - Bottom Skins - 3 hours
The skins are large. I set the skeleton upside-down on the sawhorses and clecoed the skins in place. Then I match-drilled everything. The last thing I did was to remove the plastic along the rivet lines. |
 |
| |
|
11/16/07 - 12/2/07 - Rivteting - 9 hours
Time to install the bottom skins. I primed them all nicely and then I dimpled them. Unfortunately, there's only so much riveting I could do by myself, so I had to wait for my helpers to become available. |
 |
| |
|
| |
 |
| |
|
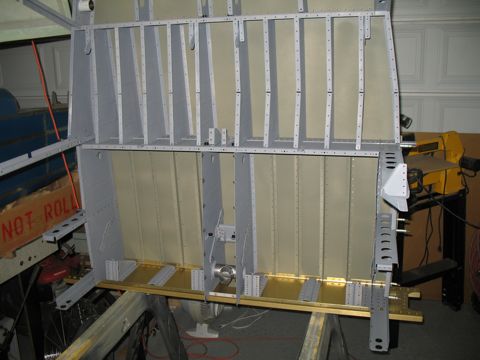
Most of the riveting is done with the subassembly standing up on end.
|
 |
| |
|
| |
 |
| |
|
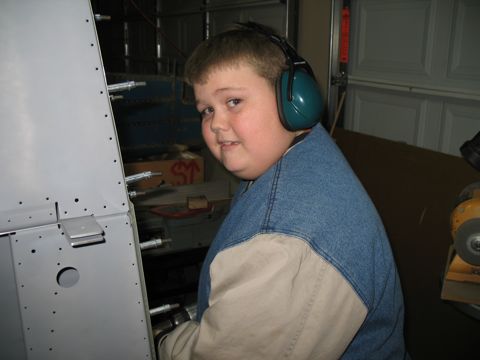
One of my helpers...
Next: Section 27 (Firewall) |
 |

