Previous: Fuselage (Getting Started) |
| |
|
11/27/07 - Section 27 (Firewall) - 4 Hours
Starting a new section is always sort of exciting, especially when it's a short one like the firewall. It's only five pages long and doesn't look like it will take a lot of time to complete.
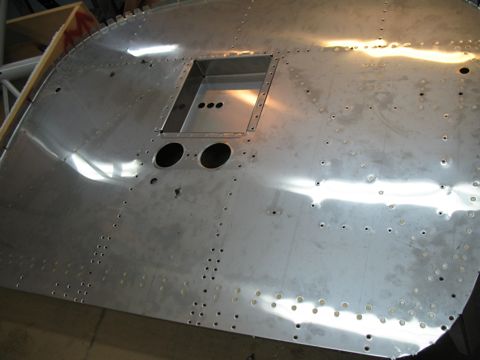
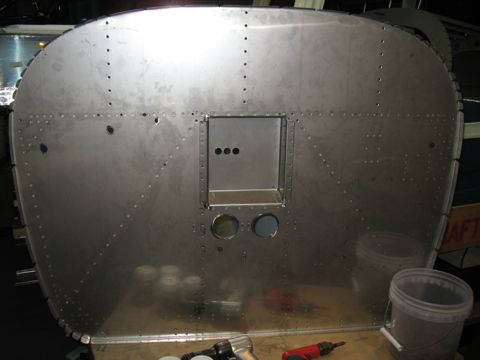
Today I deburred most of the parts. I also made progress on match-drilling the firewall as well as working on the recess |
 |
| |
|
| |
 |
| |
|
| |
 |
| |
|
| |
 |
| |
|
| |
 |
| |
|
12/4-12/8 - Firewall work - 12 hours
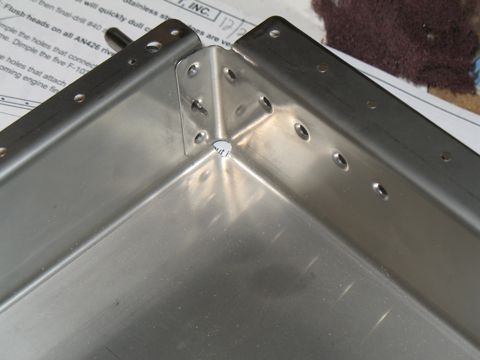
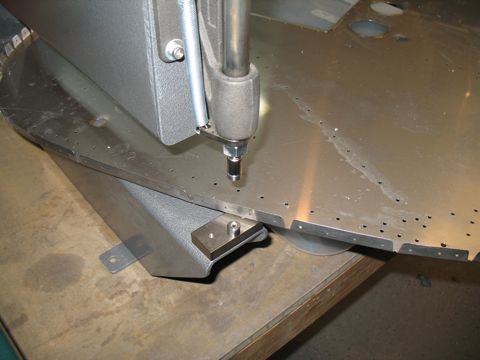
Stainless will bite you if you're not careful, so I spent extra time deburring the edges before I started dimpling. |
 |
| |
|
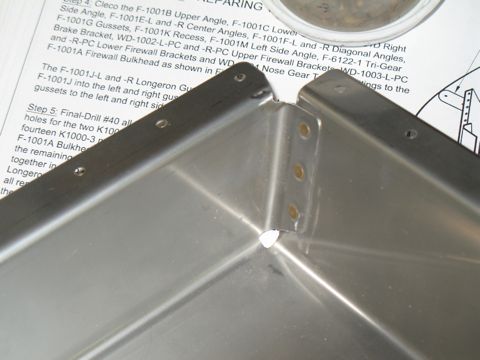
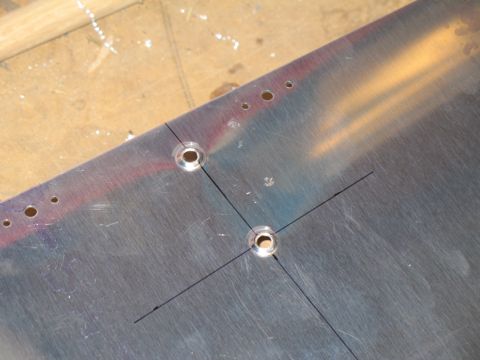
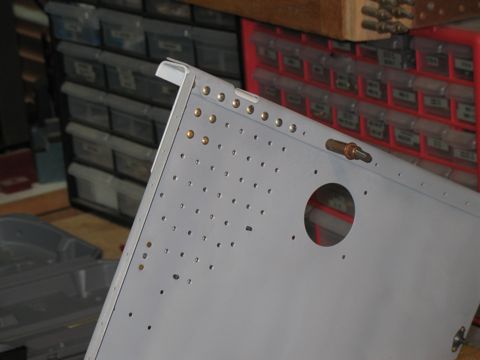
These holes hold a bracket that holds the heat duct tubing in place. The instructions say the exact placement is not important. Good thing, because my drill bit slipped a bit and you can tell the top hole is not centered on my line.
|
 |
| |
|
| |
 |
| |
|
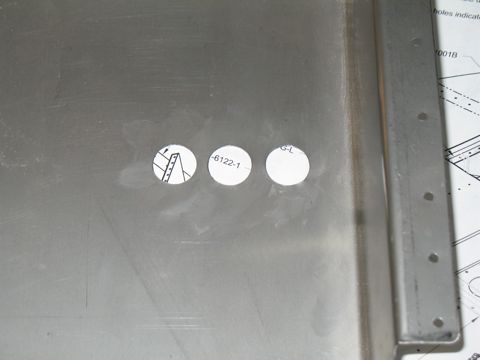
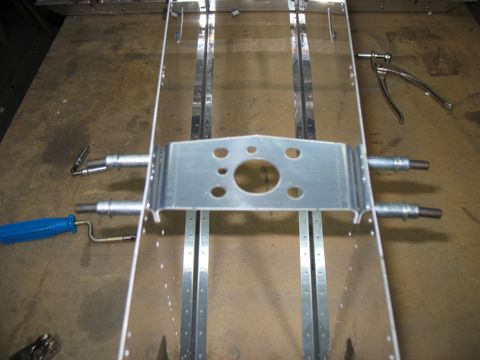
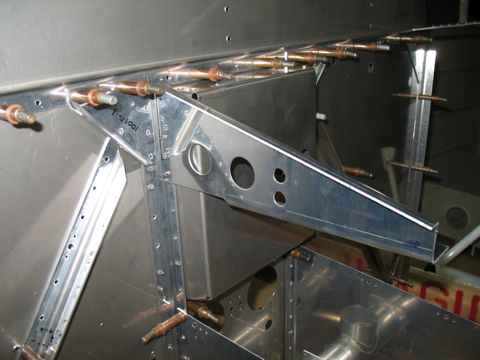
This piece is going to change since I'm planning to use the upgraded Andair fuel valve, instead of the one that is included in the kit.
|
 |
| |
|
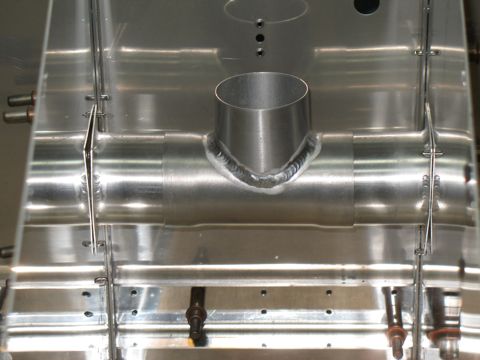
The flanges of the vent tubes are welded at an angle, so care must be taken to get them situated properly or else the assembly won't fit. So, I guess it's sort of idiot proof in that way, but I can see where I might install it backwards or something ridiculous like that.
|
 |
| |
|
| |
 |
| |
|
| |
 |
| |
|
| |
 |
| |
|
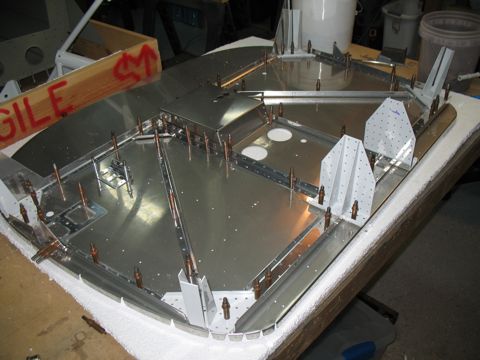
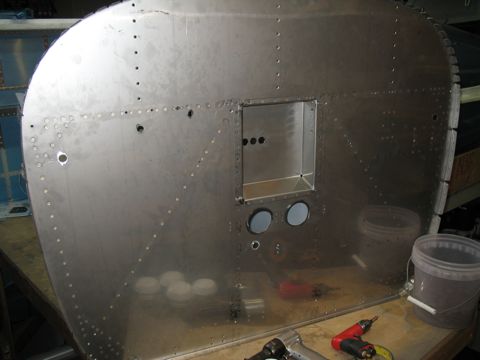
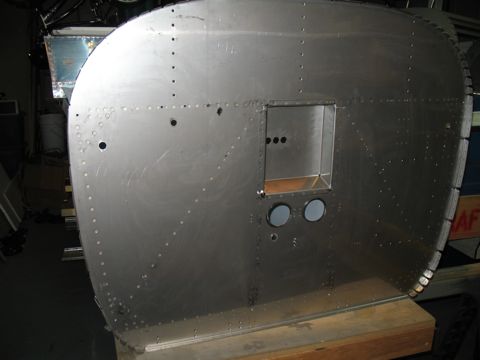
I riveted most of the firewall using a back riveting plate. I learned the hard way on my previous plane that this stuff is easy to dent and once it's dented there isn't anything you can do about it. So, I was extra careful riveting this thing together.
|
 |
| |
|
One note about the holes for the oil cooler. They should definitely be dimpled if you are using the stock oil cooler mount. I wasn't sure until I did some searching online to find pictures of the oil cooler setup. I had to go back and dimple them later, after I took these pictures. |
 |
| |
|
| |
 |
| |
|
| |
 |
| |
|
| |
 |
| |
|
| |
 |
| |
|
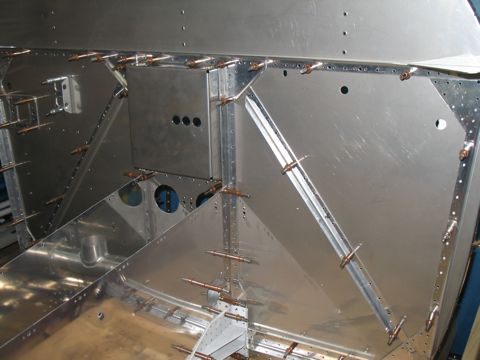
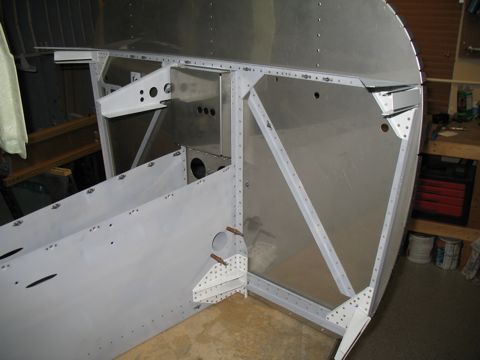
Another interesting puzzle is making sure you install the platenuts on the correct side of the firewall. There are two that get installed on the forward side. The rest are installed on the aft side.
Also, there are platenuts on the center ribs, some of which are installed on the outside. Just pay attention to the instructions and you should be okay. |
 |
| |
|
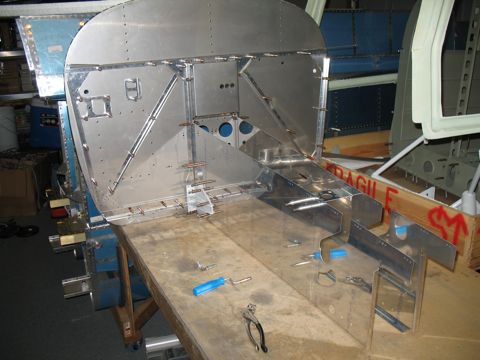
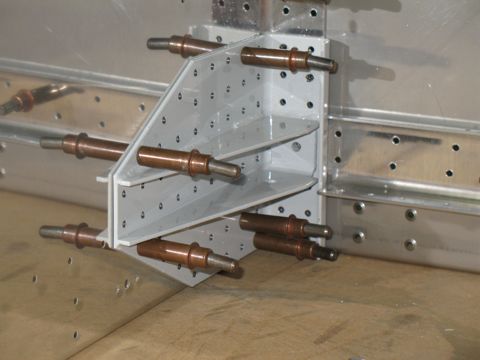
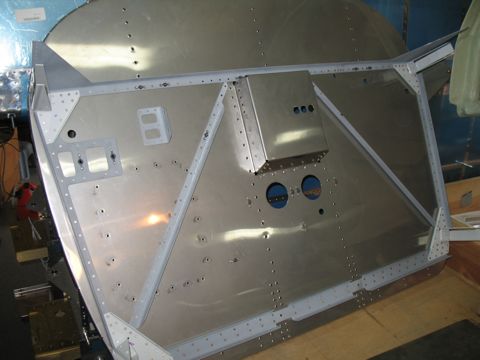
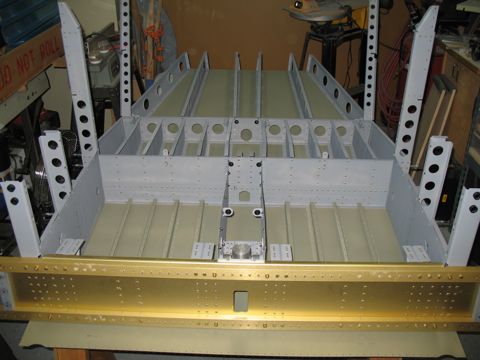
Here's the aft section.
|
 |
| |
|
So, that's it, except for the sealant that I need to use on the recess.
Next: Section 28 - Forward Ribs & Skins |
 |

