Previous: Empennage Attach |
| |
|
8/11 - 8/18/2013 - 16 hours
Upon our return from AirVenture 2013 I am once again super motivated to get this plane in the air. So I spent a good part of the past two weekends at the airport getting a lot of little things done, and a few bigger things as well.
While at Oshkosh I bought fresh epoxy resin. I used this resin to bond the remaining empennage tips in place. |
 |
| |
|
| |
 |
| |
|
Next up was the tail strobe. I had to find a location to connect the ground wire for the position light. Once I did that I installed the connectors for both the position light and the strobe (it is one unit, but has two connectors).
|
 |
| |
|
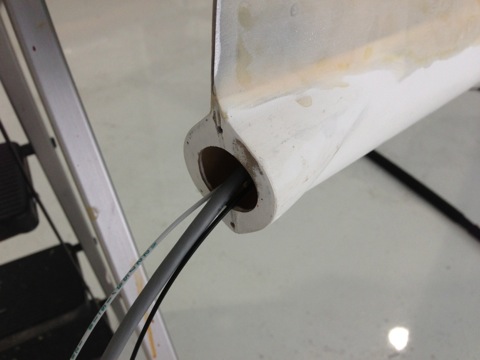
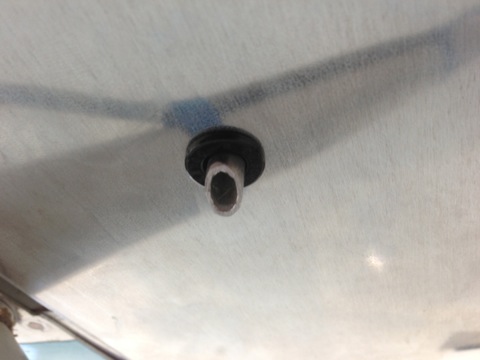
I had to drill a hole for the wires. I drilled it just below the lowest hinge, and I installed a snap bushing through wich to run the wires.
|
 |
| |
|
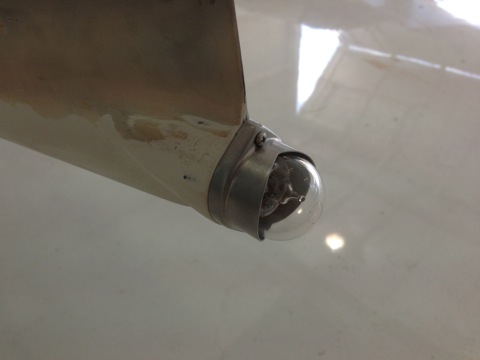
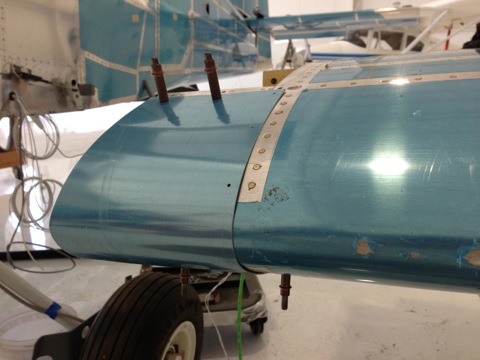
And there it is, one tail strobe/position light.
|
 |
| |
|
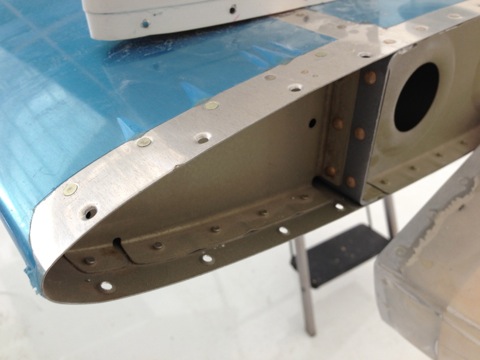
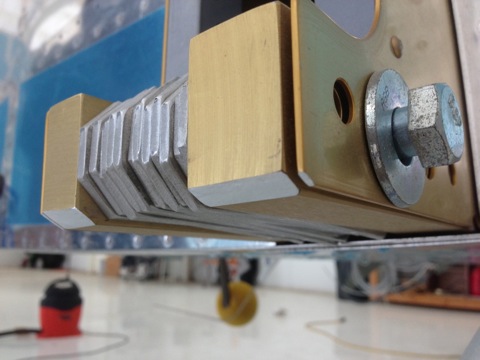
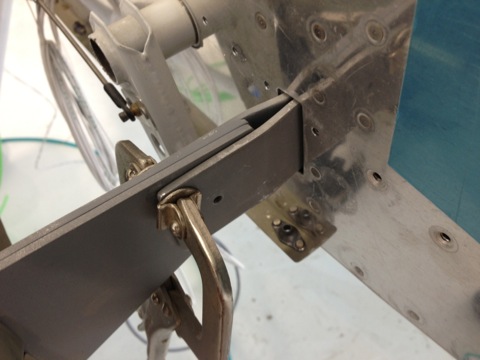
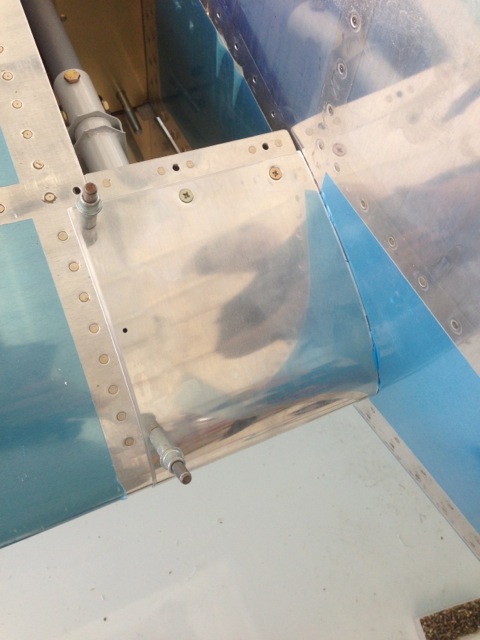
These are brackets that connect the wing root fairings to the fuselage. They have to be fluted so the holes match up.
|
 |
| |
|
Jonny helped to debur the holes.
|
 |
| |
|
The undersides of the center spar corners need to be beveled according to the plans, so I did that on both sides.
|
 |
| |
|
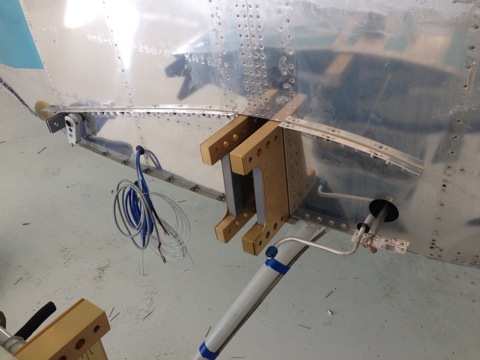
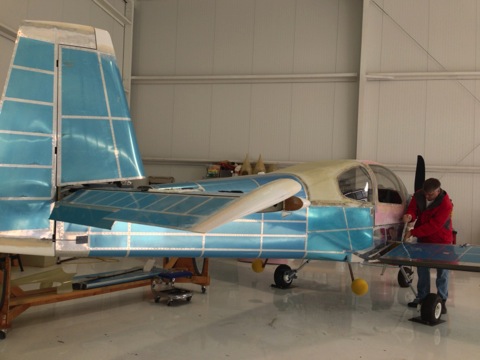
After a bunch of prep work Jonny helped me pin the right wing in place.
|
 |
| |
|
| |
 |
| |
|
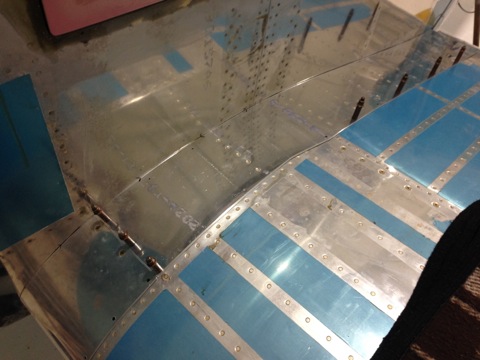
Instructions also call for the root fairings to be bent by hand to match the wing, so I did that on both sides.
|
 |
| |
|
| |
 |
| |
|
| |
 |
| |
|
| |
 |
| |
|
So here it is with both wings pinned temporarily in place. I marked the locations for holes and for cutting the fuel lines. I need to finish up a few things and then remove the wings one more time before they go on forever.
|
 |
| |
|
8/18 - 11/30/2013 - 50 hours
It's been a while since I've done an update, so here I go with everything I've done since August. |
 |
| |
|
With the wings temporarily pinned in place, I was able to get the root fairings prepared.
|
 |
| |
|
Here's the plumbing for the left fuel tank. It extends downward through the root fairing. |
 |
| |
|
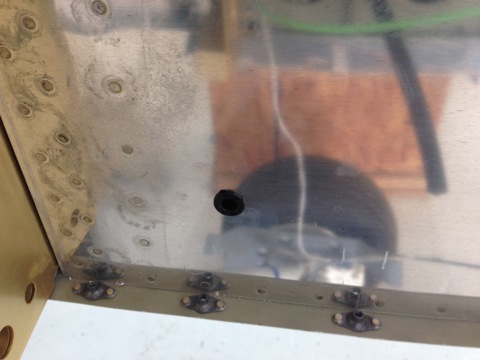
| Here is where the vent exits the bottom of the wing root fairing. |
 |
| |
|
| |
 |
| |
|
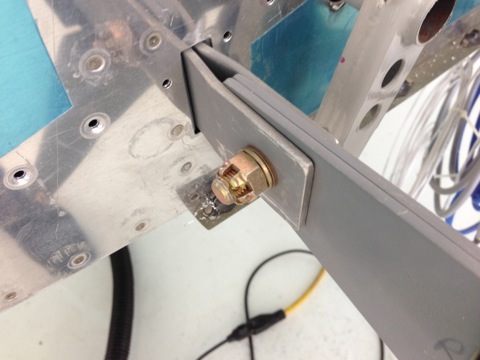
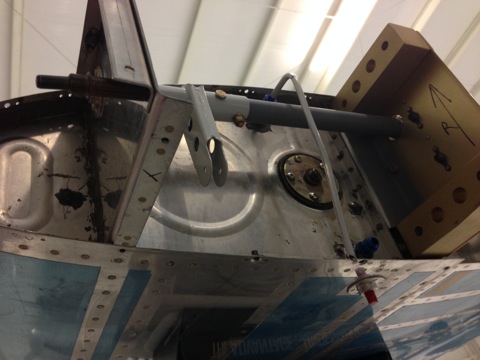
With the wing off the plane once again I was able to install the platenuts in the flange.
|
 |
| |
|
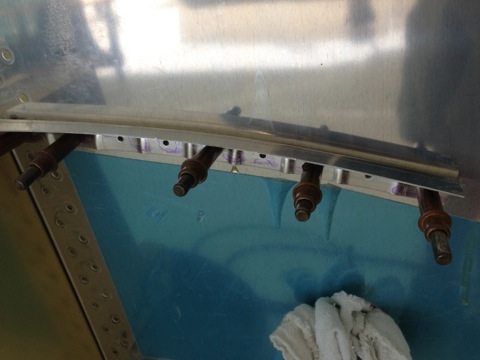
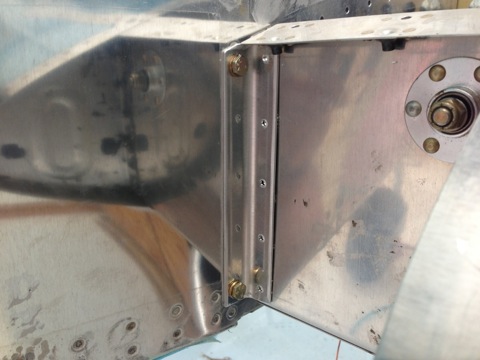
After installing the platenuts in the root flange, I also riveted these parts to the fuselage.
|
 |
| |
|
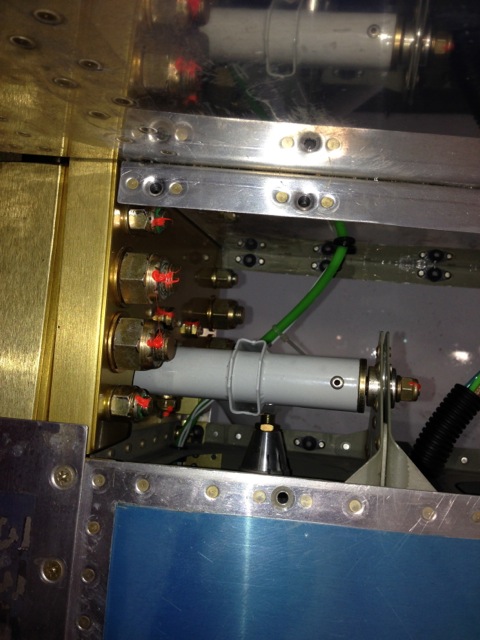
I had to provide a hole through the fuselage skin to connect the remaining items in the wing:
* Pitot
* Pitot Heat
* AOA port
* Nav Antenna
* Com Antenna
*
Stall warning |
 |
| |
|
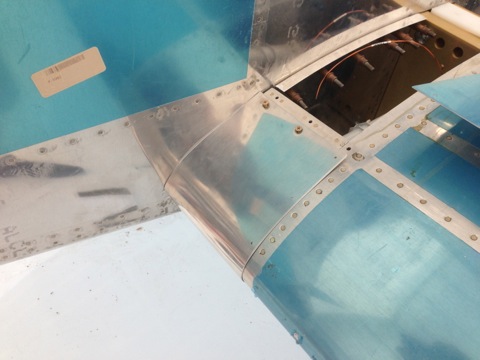
Here is the root attachment fairings all finished up...
|
 |
| |
|
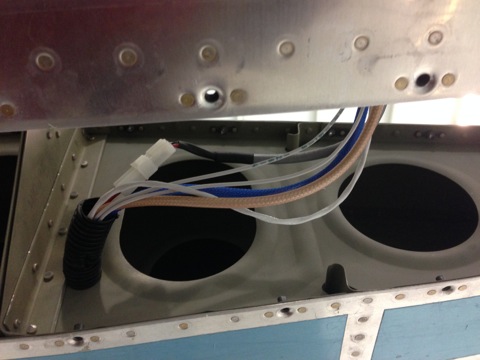
Wires...
|
 |
| |
|
More wires...
|
 |
| |
|
Here's the AOA port...
|
 |
| |
|
Heated Pitot controller...
|
 |
| |
|
| |
 |
| |
|
| |
 |
| |
|
| |
 |
| |
|
| |
 |
| |
|
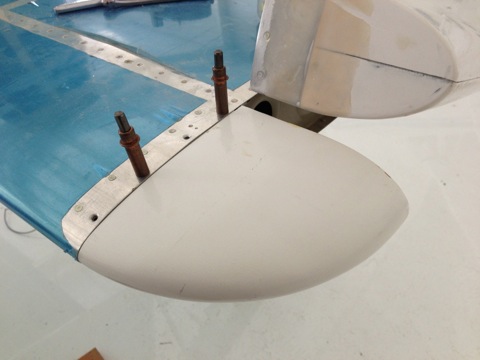
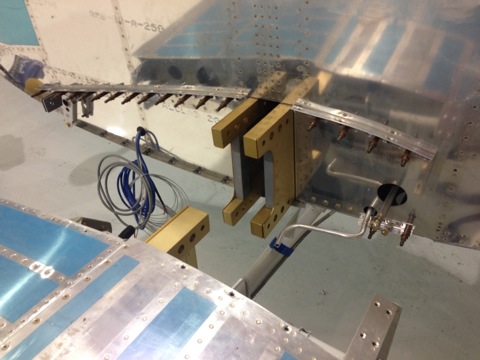
The wing bolts are now permanently installed and torqued.
|
 |
| |
|
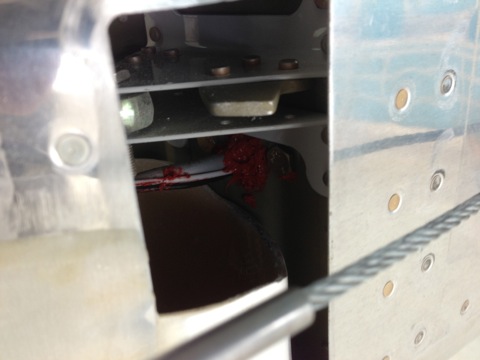
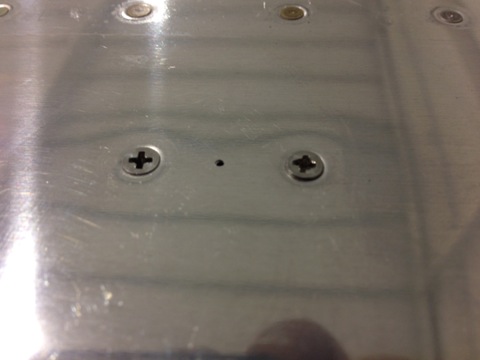
Spacer installed with red RTV.
|
 |
| |
|
What I don't have pictures of is the wiring work I did wiring the lights and the antennas in the wing tips. |
 |
| |
|
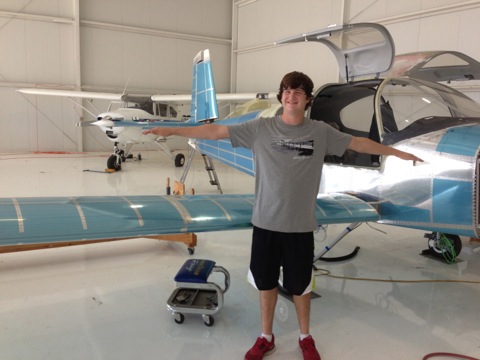
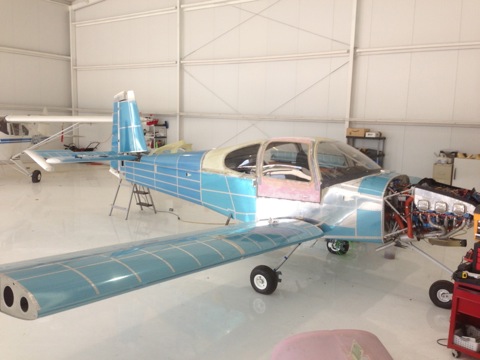
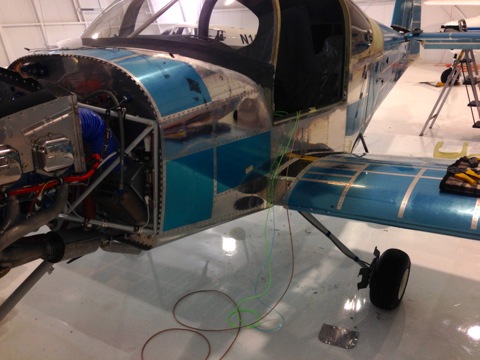
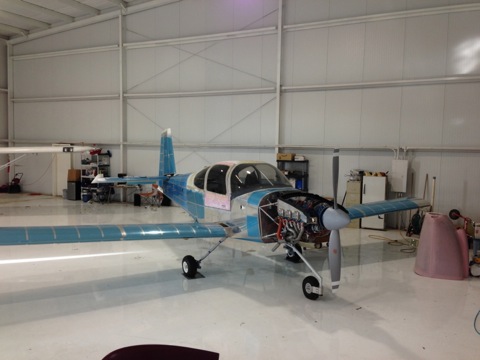
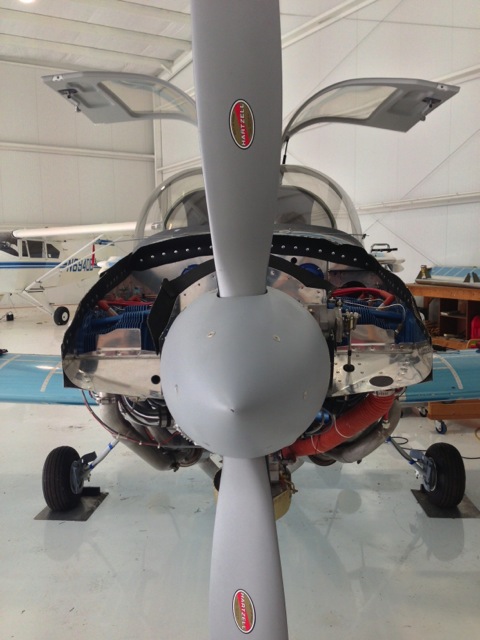
My wife took this unique photo. I like it.
|
 |
| |
|
| |
 |
| |
|
Next: Rigging
|
 |

