Home
Overview
Links

Empennage
Inventory
Vertical Stabilizer
Rudder
Horizontal Stabilizer
AirVenture 2006
Horizontal Stab. Cont.
Elevators
Elevators Part 2
Tailcone

Wings
Main Spar
Main Ribs
Rear Spar/Top Skins
Leading Edges
Fuel Tanks
Fuel Tanks continued
Ailerons
Flaps

Fuselage
25-26:Getting Started
27:Firewall
28:Forward Ribs/Skins
29:Fuse Side Skins
30-31:Steps, Fwd Fuse
32-33:Tailcone, Baggage
34-35:Baggage Door, Etc.
36-37:Brake & Fuel Lines

Finishing Kit
38-39:Brake/Rudder Pedals
40-41:Flaps/Fwd Fuse
42:Cabin Top
Instrument Panel
43:Cabin Cover
45:Doors
Overhead Console
45:Doors (cont)
Door Latch
More Door Work
Landing Gear
Misc. Stuff
Panel Work
Wingtip Lights
Cowl Work
Baffling
Intake
Wing Work
Empennage Tips
Empennage Attach
Wing Attach
Rigging
Final Prep Work
More Final Prep
Gear Fairings
Inspection and First Flight

Firewall Forward
Engine Installation

Systems
Instruments
Antennas
Wiring


Previous: Door Latch


6/11-6/12/10 - Doors - 10 hrs

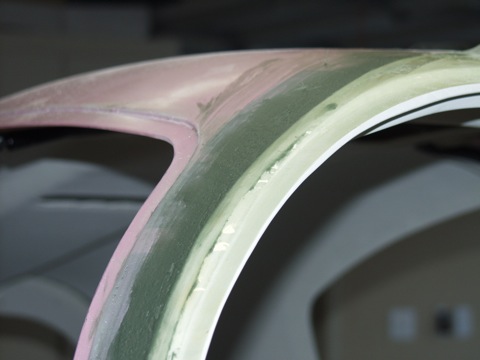
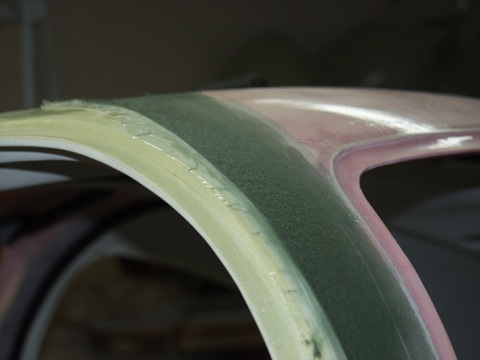
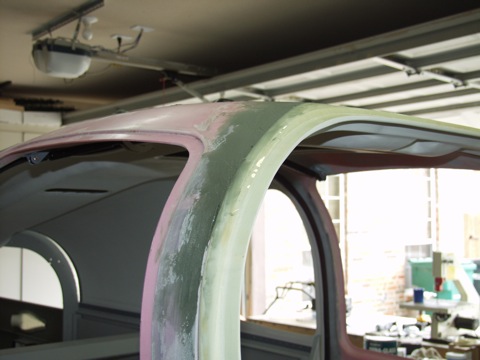
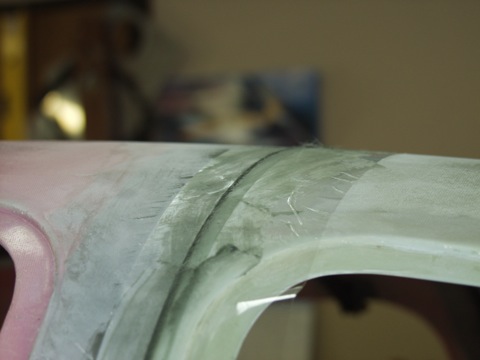
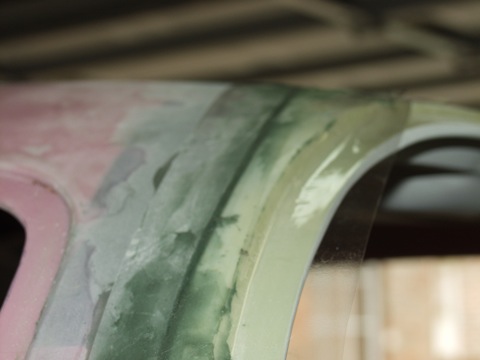
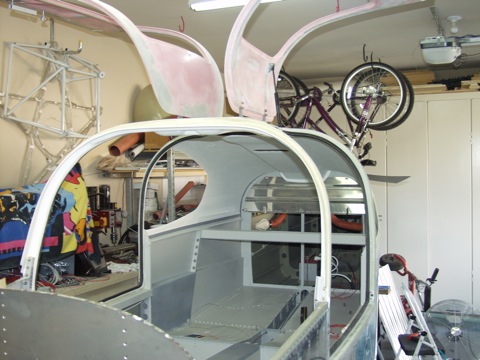
Once I had the door latch situation under some control, I started to pay attention to how well the doors sat against the side of the cabin top.

While the cabin top is formed pretty well, the doors are more flimsy and don't match up perfectly to the cabin top. So, based on some other builders' experience, I decided to level the doors and reduce the gap around the door opening.


I started by putting packing tape around the door opening as a release agent. Then I sanded the door itself to give the filler something to grip.


I spoke to Grady Oneal at GLO Custom Aircraft. He is the one that painted my RV-9A, and who will eventually paint this plane. He strongly suggested I use this product for leveling the cabin and doors. It's called Dyna-Glass, and I got it from Spruce.

It is a filler that is reinforced with strands of fiberglass. It cures quickly, so I could only mix up a small batch at a time, but it was easy to work with.


Next: Landing Gear