Previous: Composite Panel |
| |
|
8/11-8/16/09 - Section 43 - Cabin Cover - 16 hours
I did some more work on the cabin cover over the past week. Most notably I decided to attempt to create an overhead console in the cabin cover. There is one available for $600 or so, but I figure I can probably lay one up using fiberglass cloth.
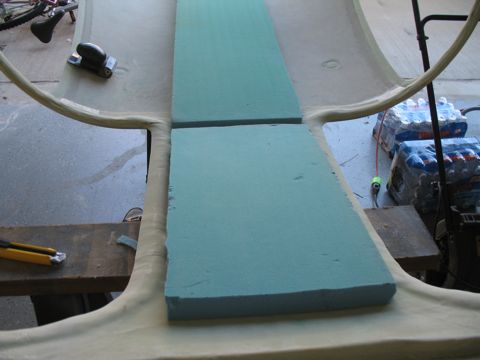
So I started by digging out some polyurethane foam that I had bought from Spruce for this very purpose. I have both 1" and 2" foam boards.
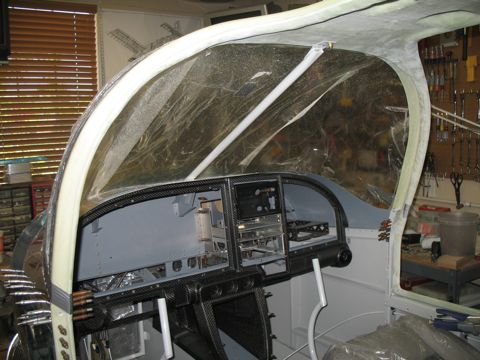
I also installed the seats in the plane to get an idea of how much space is available. I really want an air vent near my head. The one below the panel is just too far away to provide enough cool air in the hot Texas sun. |
 |
| |
|
The other reason for doing this is because I want to get rid of those goofy metal vents that Van's has you install for the back seats. I think a set of eyeball vents overhead would be much more better.
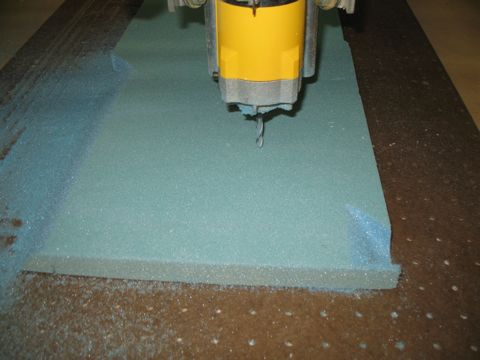
So I played with some thicknesses and quickly decided that it would be easier just to shape the foam on my CNC router. |
 |
| |
|
| |
 |
| |
|
I am going to have panel inserts in the overhead console. So I had the CNC machine do it's magic and create pockets in the foam that will hopefully translate into an adequate space for the panel inserts.
At this point I'm not quite sure if I will lay up the fiberglass with a mold release on the cabin top, or if I will just affix the fiberglass permanently when I do the layup. |
 |
| |
|
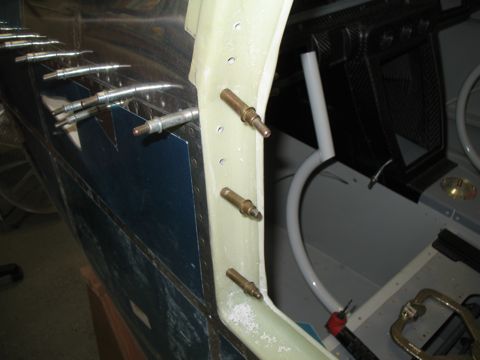
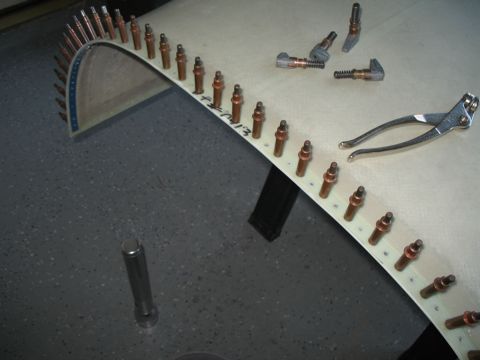
Before doing any fiberglass I needed to finish drilling the holes in the cover. |
 |
| |
|
| |
 |
| |
|
| |
 |
| |
|
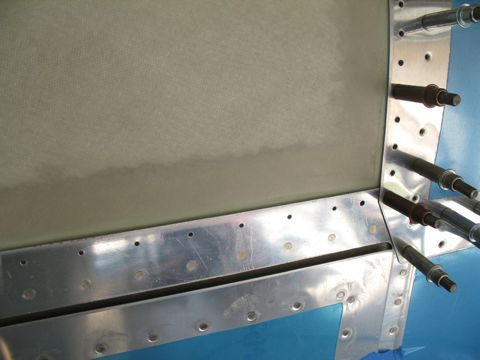
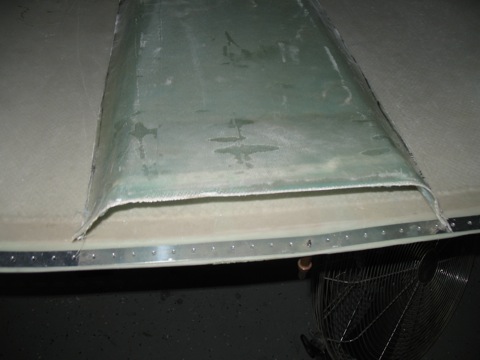
The plans say not to worry about the gap between the cabin cover and the bulkhead, but there is quite a gap that needs to be filled.
|
 |
| |
|
| |
 |
| |
|
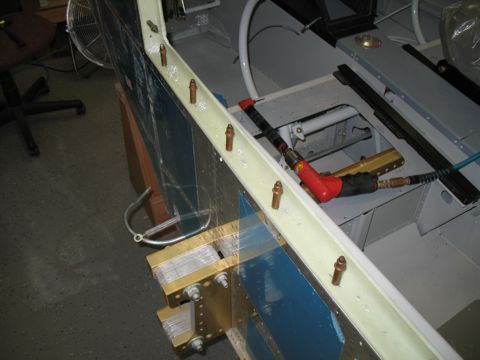
Next came the reinforcement bar.
|
|
| |
|
| |
 |
| |
|
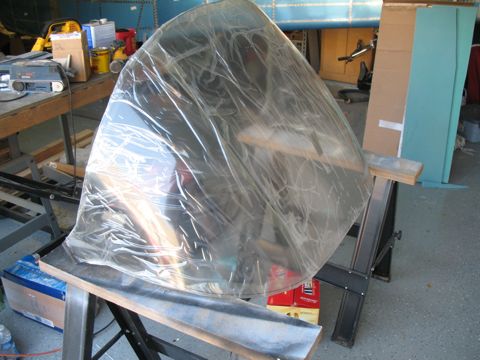
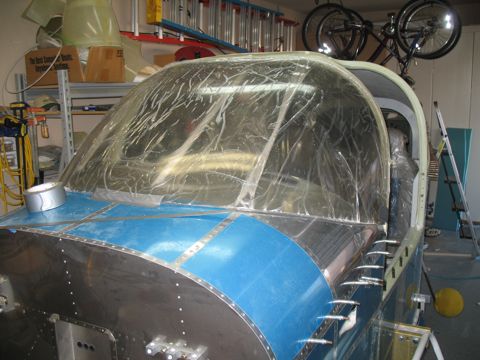
I also cut the windscreen...
|
 |
| |
|
I'm not ready to permanently attach this thing, so it will go back into storage until a later time.
|
 |
| |
|
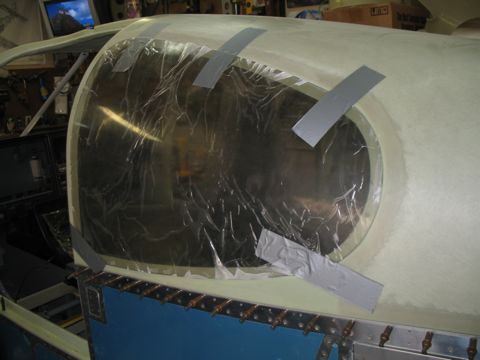
I also cut the side windows to size...
|
 |
| |
|
| |
 |
| |
|
| |
 |
| |
|
8/17-8/24/09 - Overhead Console - 20 hrs
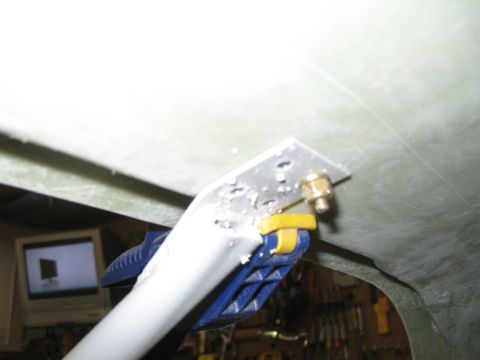
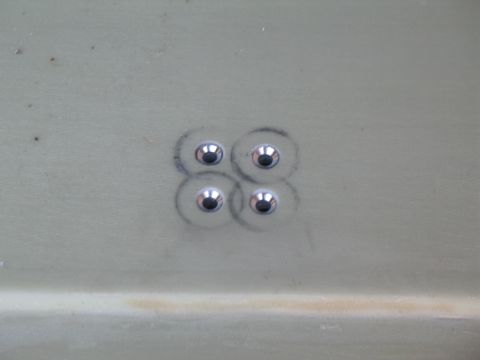
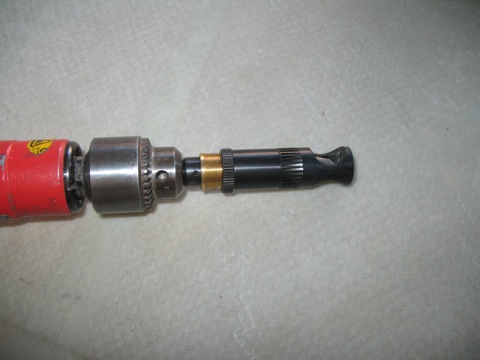
Before I discuss the overhead console, let me show you a cool tool I got at Oshkosh this year. It's a tiny machine countersink cage. It fits in places that the other one doesn't. The reason I show it here is because I was able to use it very easily to countersink the holes around the edges of the cabin top without using any sort of hokey shim system. |
 |
| |
|
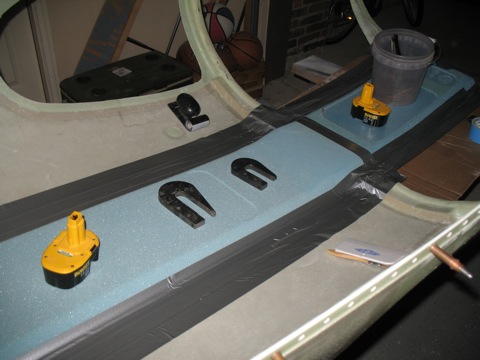
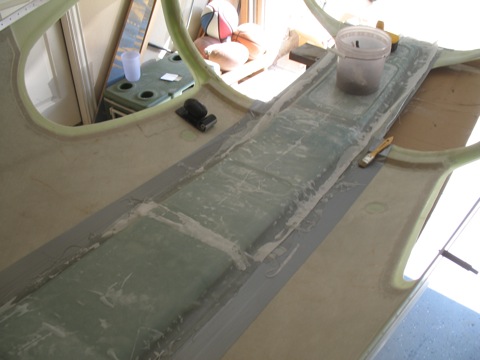
Earlier I showed the foam being cut on the CNC router for use as a mold for the overhead console. Well in the past two weeks I've worked on it some more. Making fiberglass parts is messy and not all that compatible with taking lots of pictures, but here are the steps I took and a few pictures along the way.
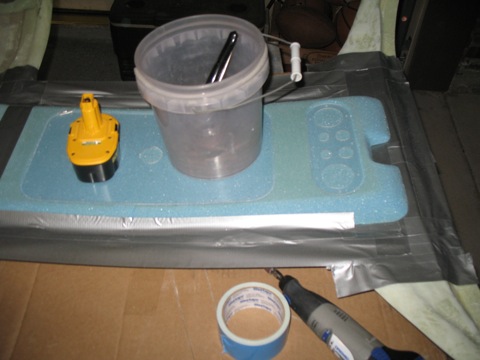
I used 3M spray adhesive (super 77) to temporarily affix the foam to the cabin top. I then used duct tape (lots of duct tape) to create a nice transition and to protect the cabin top from the epoxy. |
 |
| |
|
|
 |
| |
|
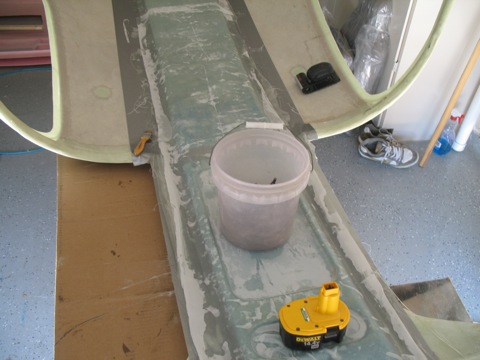
Here it is with the layup complete and the peel ply on top. I had cut some plexiglass panel inserts to use as templates, so I just placed these and then set something heavy on top of them...just to make sure I had a good shape in the panel areas.
|
 |
| |
|
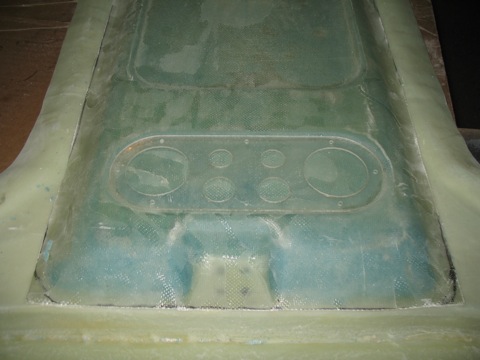
I used four layups of 8oz cloth. This is just about perfect but if I had to do it again I might go with an extra layer. As it turns out, I went back after the fact and added some reinforcement in a few areas just to make it more stiff.
|
 |
| |
|
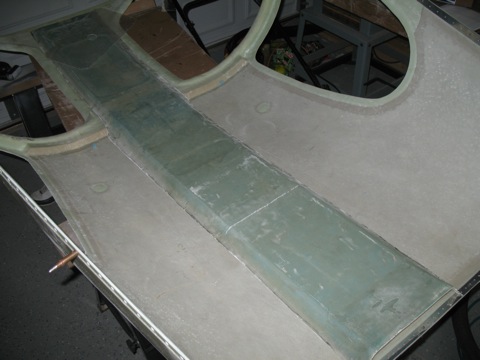
Here is the front after I cleaned everything up but before any sanding. You may notice that the cutout for the reinforcement bar is slightly off center...That's because the bar comes off of the forward fuselage on the left side of the center rib.
|
 |
| |
|
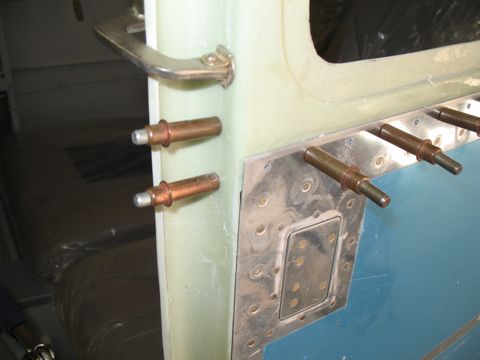
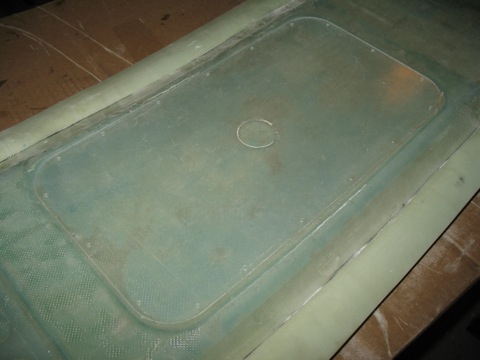
This is the panel that will allow access to the door hardware and stuff. It will be cut out and I will install platenuts to hold the panel. I will probably install hooks for the seatbelts, as well as a cabin light...
|
 |
| |
|
This doesn't really show it very well, but it's the aft side of the console. I molded it so it has a 2" opening. I will build this up a bit and create a flange so it can seal against the bulkhead.
|
 |
| |
|
And here's what it looks like just sitting in position. I have a lot of sanding to do before I install it permanently, but I am pretty happy with it so far.
The worst part is that I did somthing to my back when I was reaching across the cabin top with a long piece of fiberglass. So for the next few days I have to obey my wife and rest my back instead of work in the garage.
Next: Section 45: Doors |
 |

