Previous: Top Skins |
| |
|
1/11/07 - Drilling - 5 Hours
I received a letter in the mail last week saying that Van's is planning to ship my fuselage kit on the week of February 12. That means I have a month to get a whole bunch of wing stuff done. Right now I'm guessing that I won't be ready to just dive right into the fuselage kit as soon as it arrives. I figure the control surfaces are going to take a while. But right now at least I can push forward on the leading edge subassemblies. These should go quickly.
I had already fluted the ribs, but I still had to deburr the edges of the flanges. Really I should have done this first, because the flutes make it more difficult to deburr. |
 |
| |
|
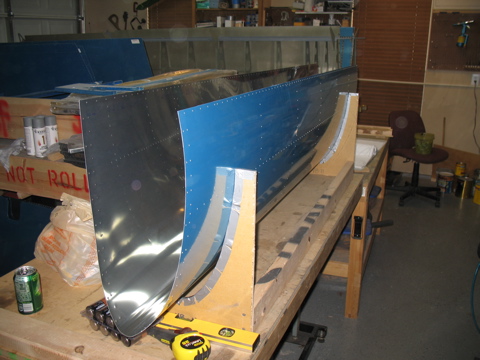
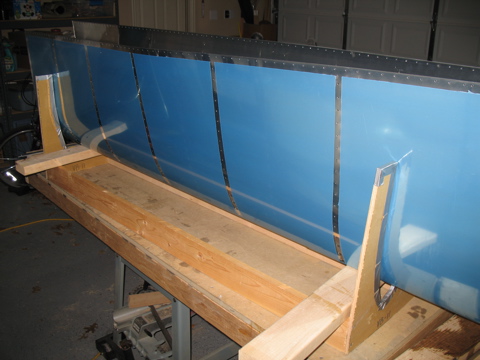
Last week, while I was waiting for a riveting helper, I assembled the leading edge cradle. When I built the -9A I made two of these so that I could work on both of the fuel tanks at once. I may go back and build another one, but right now I'll make do with this one. I still have the ones for the -9A, but the profile is different so they can't be used on the -10.
I removed the plastic from the inside of the left leading edge skin. |
 |
| |
|
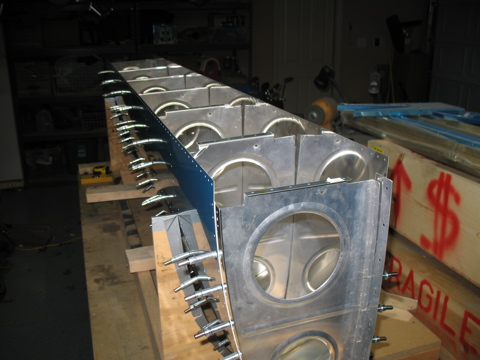
Next, I clecoed the ribs in place. Each rib I picked up needed a little adjustment to the flanges to make sure they were perpendicular to the web.
|
 |
| |
|
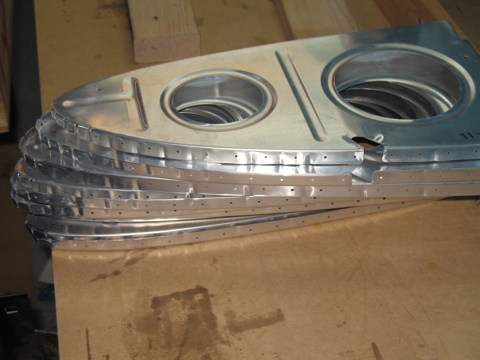
The most tricky rib was the one that goes inside the doubler strip. This is the connecting point for the fuel tank. After a few tries I got it to fit correctly.
These are great. On the -9A these had to be formed by hand and then drilled manually. I messed one up and had to reorder parts. With the -10 all I had to do was cleco it in place. Better. One more reason this plane is going to be so awesome. |
 |
| |
|
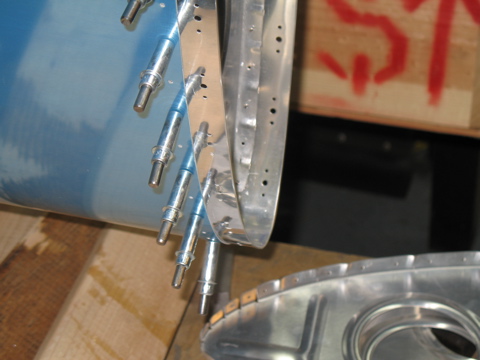
At some point over the holidays I had cut the J-stiffeners to length and marked the flange, so I slid one into place. Moving from one end to the other and clecoing as I went, I match-drilled the holes in the stiffener. Easy stuff. Just look for the centerline through the hole in the skin and drill.
I then match-drilled the remaining #40 holes. |
 |
| |
|
Before moving to the other leading edge subassembly, I went ahead and removed the plastic from around the rivet lines.
I spent some time deburring the skin, but didn't get to the ribs yet. |
 |
| |
|
1/13/07 - Right Side - 5 hours
Today was a cold, rainy day and there was no way I could go flying, so instead I worked on the new plane. I did the same steps on the right side as I had done on the left side. I didn't take any pictures but you can imagine the above tasks just for the opposite side. Both leading edge assemblies are at the same point now. They need to be scuffed, dimpled, primed, etc. |
| |
|
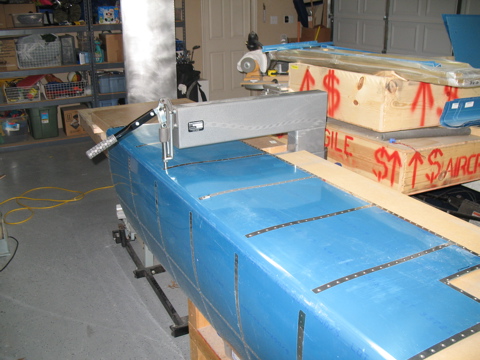
1/15/07 - Stall Warning Access - 2 hours
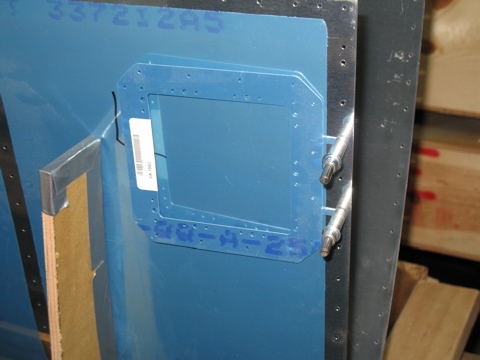
Winter has arrived in full force here in North Texas, and I'm not in the mood to spend much time out in the freezing cold. I did, however, work on the cutout for the stall warning access panel. This was a bit unnerving, since you've got to cut a big old hole out of one leading edge. Using the machined locating tabs it was a cinch to position the backing plate. |
 |
| |
|
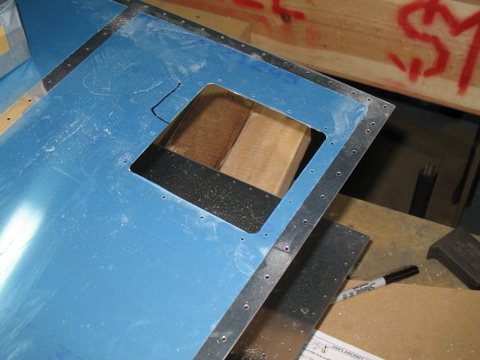
I match-drilled the holes, and then I used a 1/2" unibit to drill the corners. Next, I drew tangent lines from the outside of each hole and used a cutoff wheel in the die grinder to cut the opening the rest of the way. |
 |
| |
|
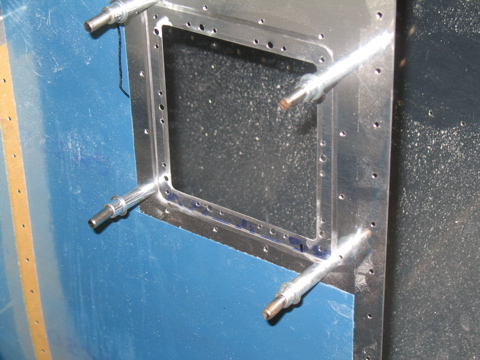
Here's the setup. I test-fit the access panel cover and made a few adjustments.
I really need to prime all these parts, but it looks like we're going to have a week or more of cold, rainy weather, which isn't a good environment for priming. |
 |
| |
|
1/21/07 - Scuffing, Dimpling - 5 hours
Today was a great day weather-wise, so I decided to try and get my priming done. Unfortunately I forgot how much work I still had to complete. So, I scuffed all of the parts and then dimpled everything.This took a long time, but the NFC championship game was on, so I felt better that I was getting work done during the game instead of just sitting.
By the time I was finished, it was getting dark, so I didn't get to prime, but at least I am ready for the next nice day. |
 |
| |
|
1/22/07 - Priming, Riveting - 3 hours
I was worried that this might be the only nice day available for me to prime, so around lunch I dragged all the stuff out on the driveway and shot a coat of primer on it. One more benefit of working from home. The cool weather means that the primer takes longer to dry, but I let it sit for a good six hours before I did any assembly.
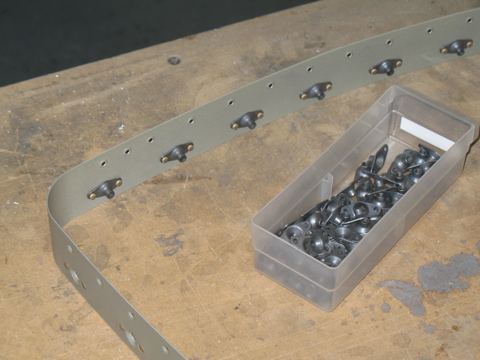
With all of the parts primed, I started by installing the platenuts that will eventually be used to screw the fuel tank to the leading edge. Easy work with the pneumatic squeezer. |
 |
| |
|
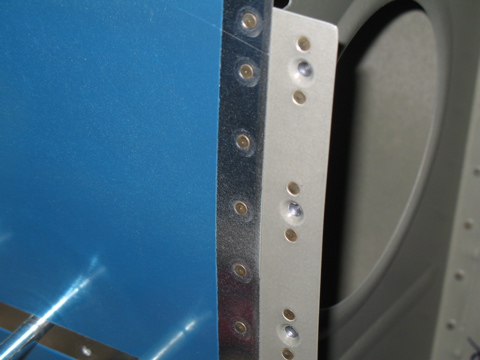
Next I installed and clecoed each of the ribs in place, including the splice strip on the inboard edge.
This is the right side, so I riveted the two extra holes that are used for the stall warning switch on the left side. I thought about the possibility of using the area to install a "gun camera", but ultimately decided not to because I don't expect to do many strafing runs in this plane. |
 |
| |
|
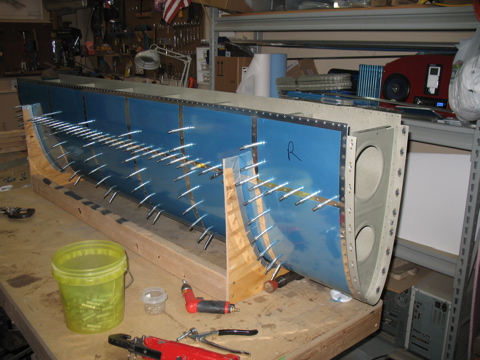
I got started on the riveting of the ribs, starting at the back and working forward on both the top and the bottom. Eventually I will need to get some help when it comes time to drive the forward-most rivets, but right now it's going pretty well all by myself.
|
 |
| |
|
1/24/2007 - Riveting - 1.5 hours
With help from Tim, I got the rest of the right leading edge riveted. It all went together easily. |
| |
|
1/25/07 - 2/4/2007 - Attach to spar - 4 hrs
These past two weekends I've been doing an annual on the RV-9A, so my build time has been fairly limited. It's also been terribly cold out in the garage, making it difficult to get motivated to work late in the evening.
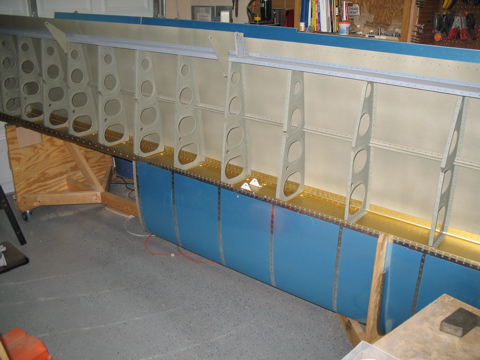
So I have done little stretches of work here and there, and today I finally finished riveting the leading edge assemblies to the spars. This process is fairly straightforward. Unfortunately I don't have pictures of the installation, but here is the end result.
Next: Fuel Tanks |
 |
| |
|
| |
|

